Walkthroughs
Chapter-by-chapter walkthroughs with every route, choice and missable called out, so you never have to replay a section. Newest at the top.
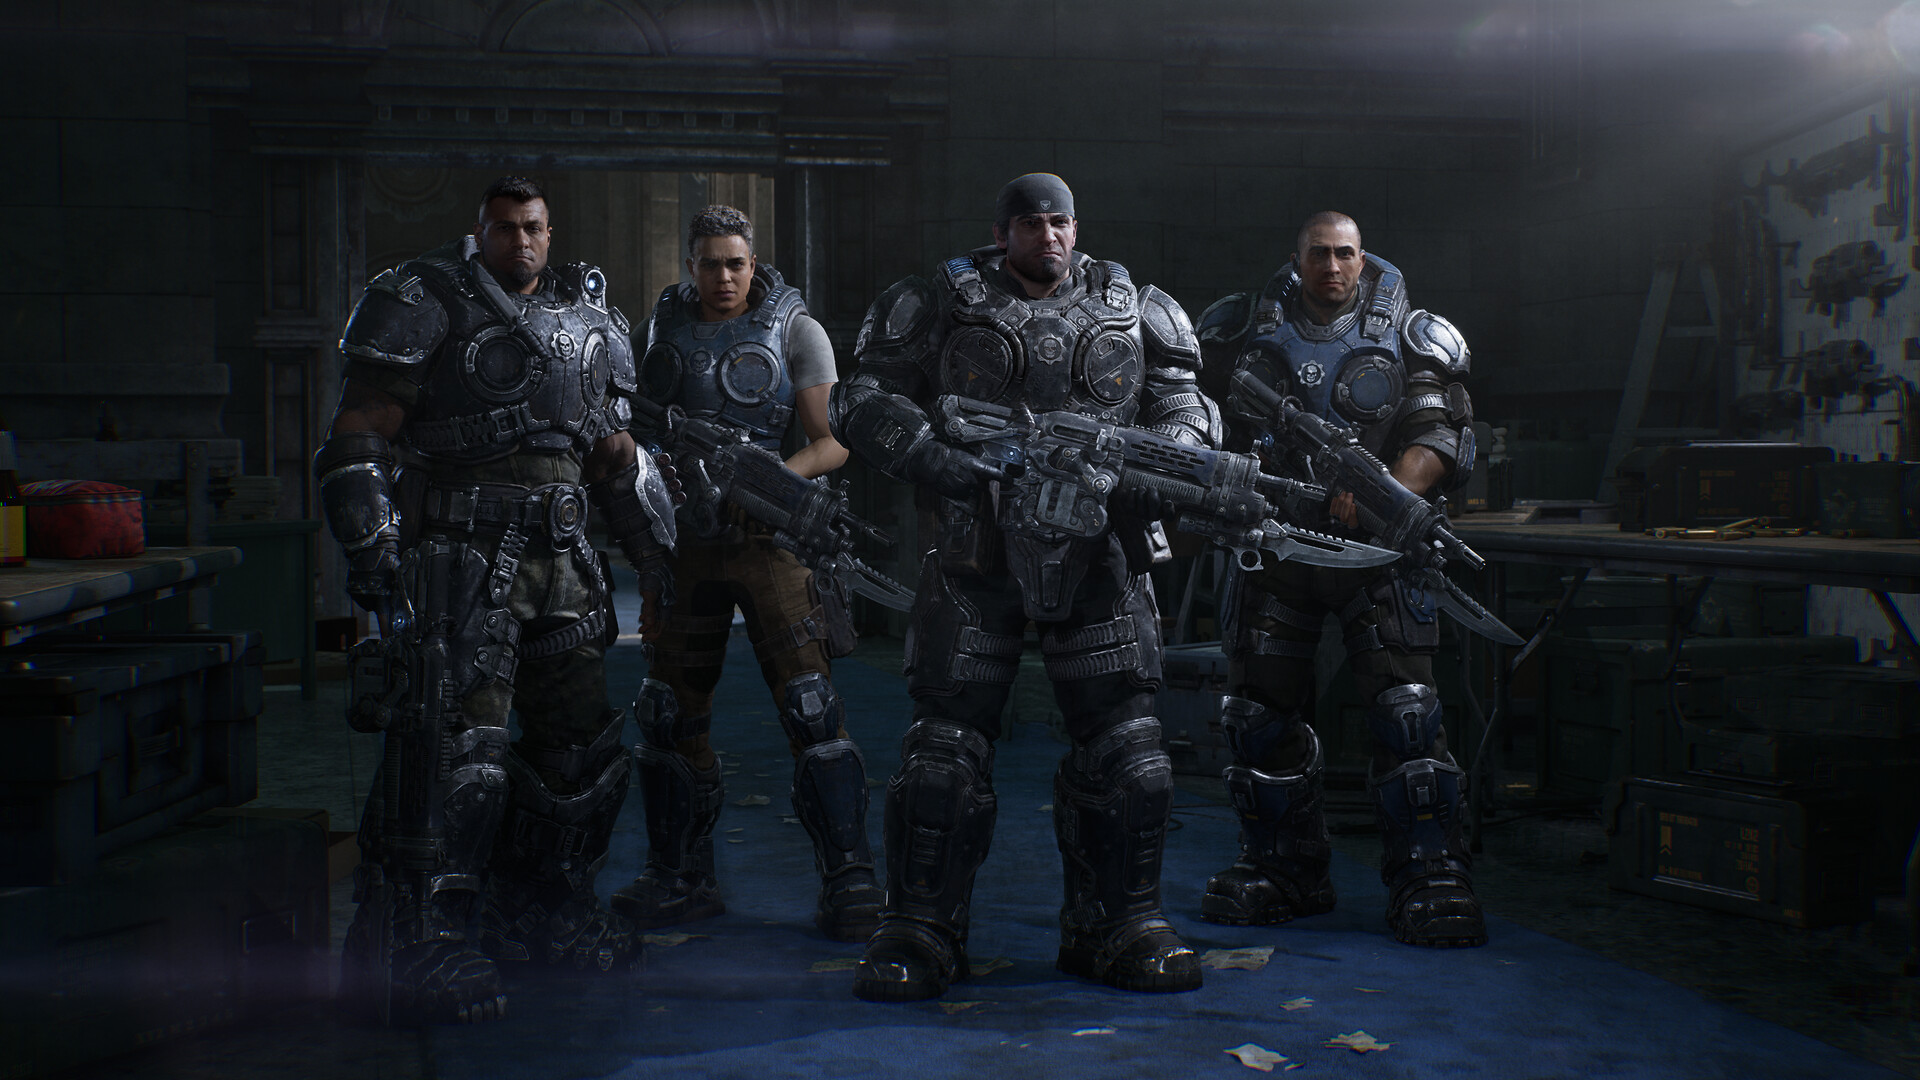
Gears of War: E-Day Chapter 15 Walkthrough: Technical Difficulties and the Sky Train Crash
Bravo Squad races across Kalona by rail, battling a Grinder in Allfathers Avenue station and two Reavers before the sky train crashes at the end of the downtown line.
Read walkthrough →
Gears of War: E-Day Chapter 14 Walkthrough: Hope and Ruin's Cathedral District Run
Bravo squad leaves Fort Vigil for Prospect Bay in Gears of War: E-Day's Hope and Ruin chapter. Here is how to clear the cathedral, cemetery, hotel and Kalona Square without burning through ammo.
Read walkthrough →
Gears of War: E-Day Chapter 13 Walkthrough: Desperate Times and the Fort Vigil Brumak
Bravo Squad escorts civilians across the Golden Quarter rooftops, then holds the Fort Vigil wall against a full Locust assault and an armored Brumak fought across two brutal phases.
Read walkthrough →
Gears of War: E-Day Chapter 12 Walkthrough: Last Foothold and the Convoy to Fort Vigil
A full walkthrough of Gears of War: E-Day Chapter 12, Last Foothold: clearing Kalona Hotel and Landa Memorial Hospital, beating the floating Locust, and starting the convoy escort toward Fort Vigil.
Read walkthrough →
Gears of War: E-Day Chapter 11 Walkthrough: Enemy Lines and the Corpser Boss Fight
Bravo Squad drops into the Locust tunnels beneath Kalona in Gears of War: E-Day Chapter 11. Here is every collectible, the two easy-to-miss detours, and how to actually break the Corpser with the support pillars.
Read walkthrough →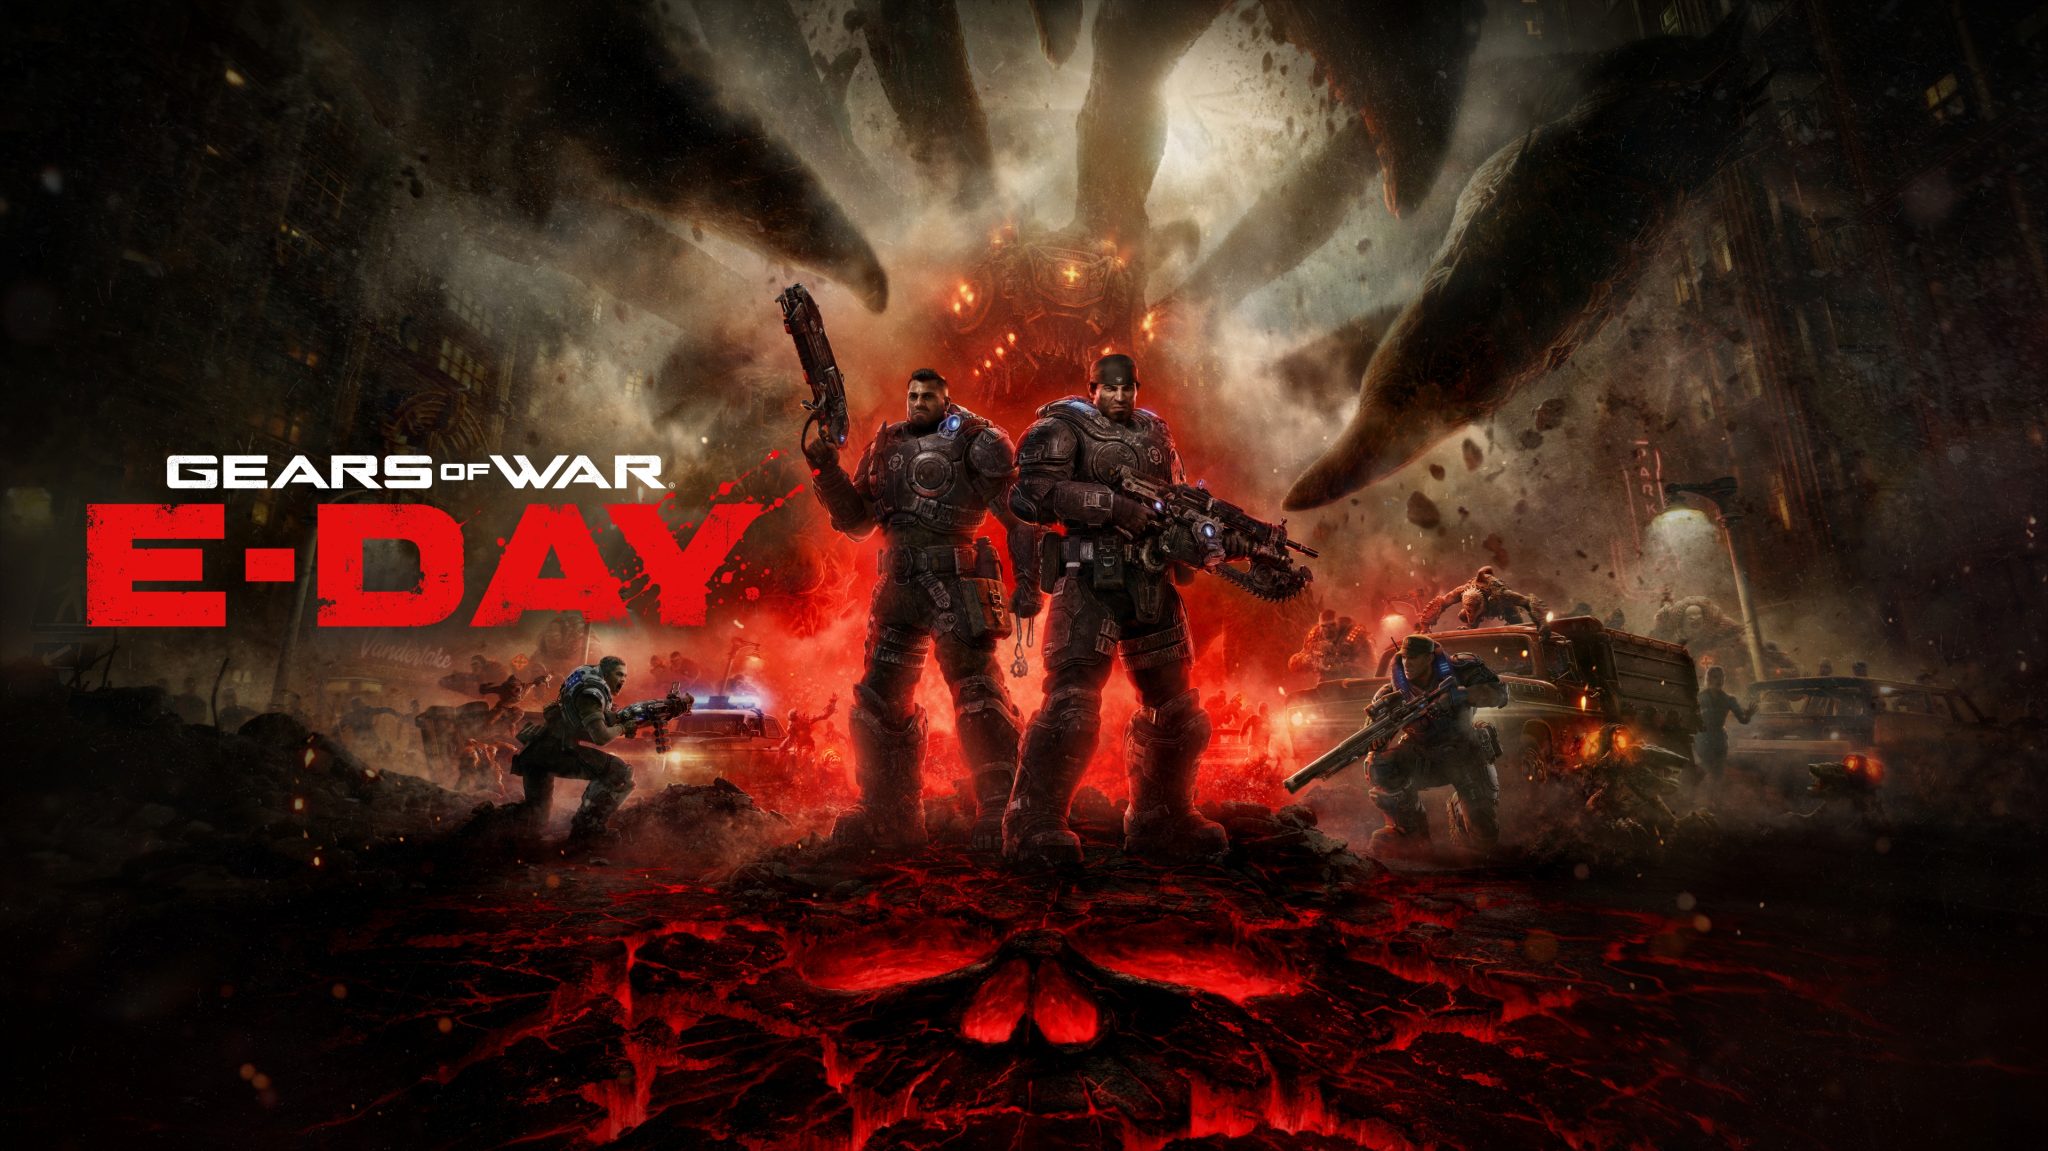
Gears of War: E-Day Chapter 10 Walkthrough: Stranded at Fairlight Outpost
Bravo Squad reaches Fairlight Outpost, restores power to the helipad, and fights off two Grinders before the landing pad collapses and drops the squad straight into the Locust tunnels below.
Read walkthrough →
Gears of War: E-Day Chapter 9 Walkthrough: Holding Fort Vigil and Beating the Brumak
Fort Vigil's wall defense and the Weaponized Brumak fight that follows it, step by step: gun priority, wave pacing, armor-breaking order and where to stand for the kill.
Read walkthrough →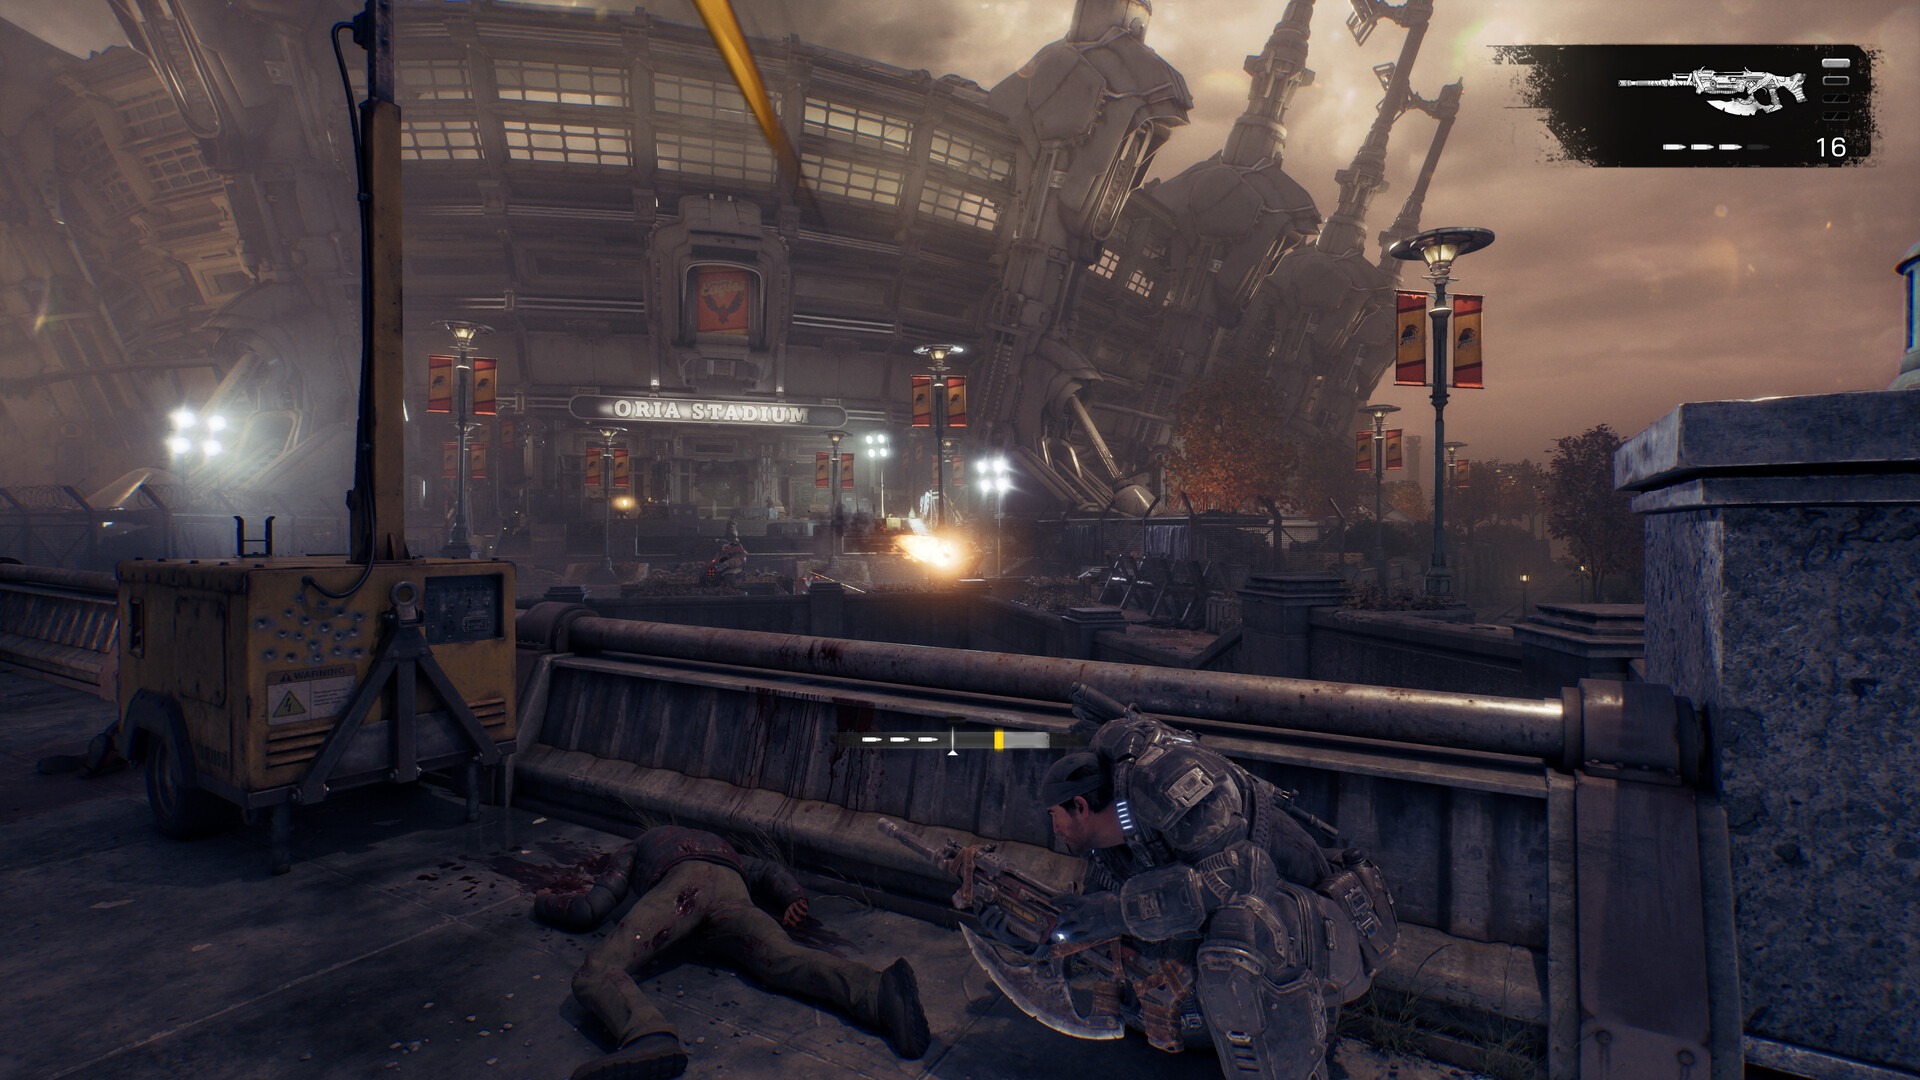
Gears of War: E-Day Chapter 8 Walkthrough: Flyboys and the King Raven Run to the Airfield
Chapter 8 trades Gears combat for a King Raven gunner run across Kalona. Here's how to protect the chopper, clear the Seeders, and land safely at the airfield to meet Commander Zee.
Read walkthrough →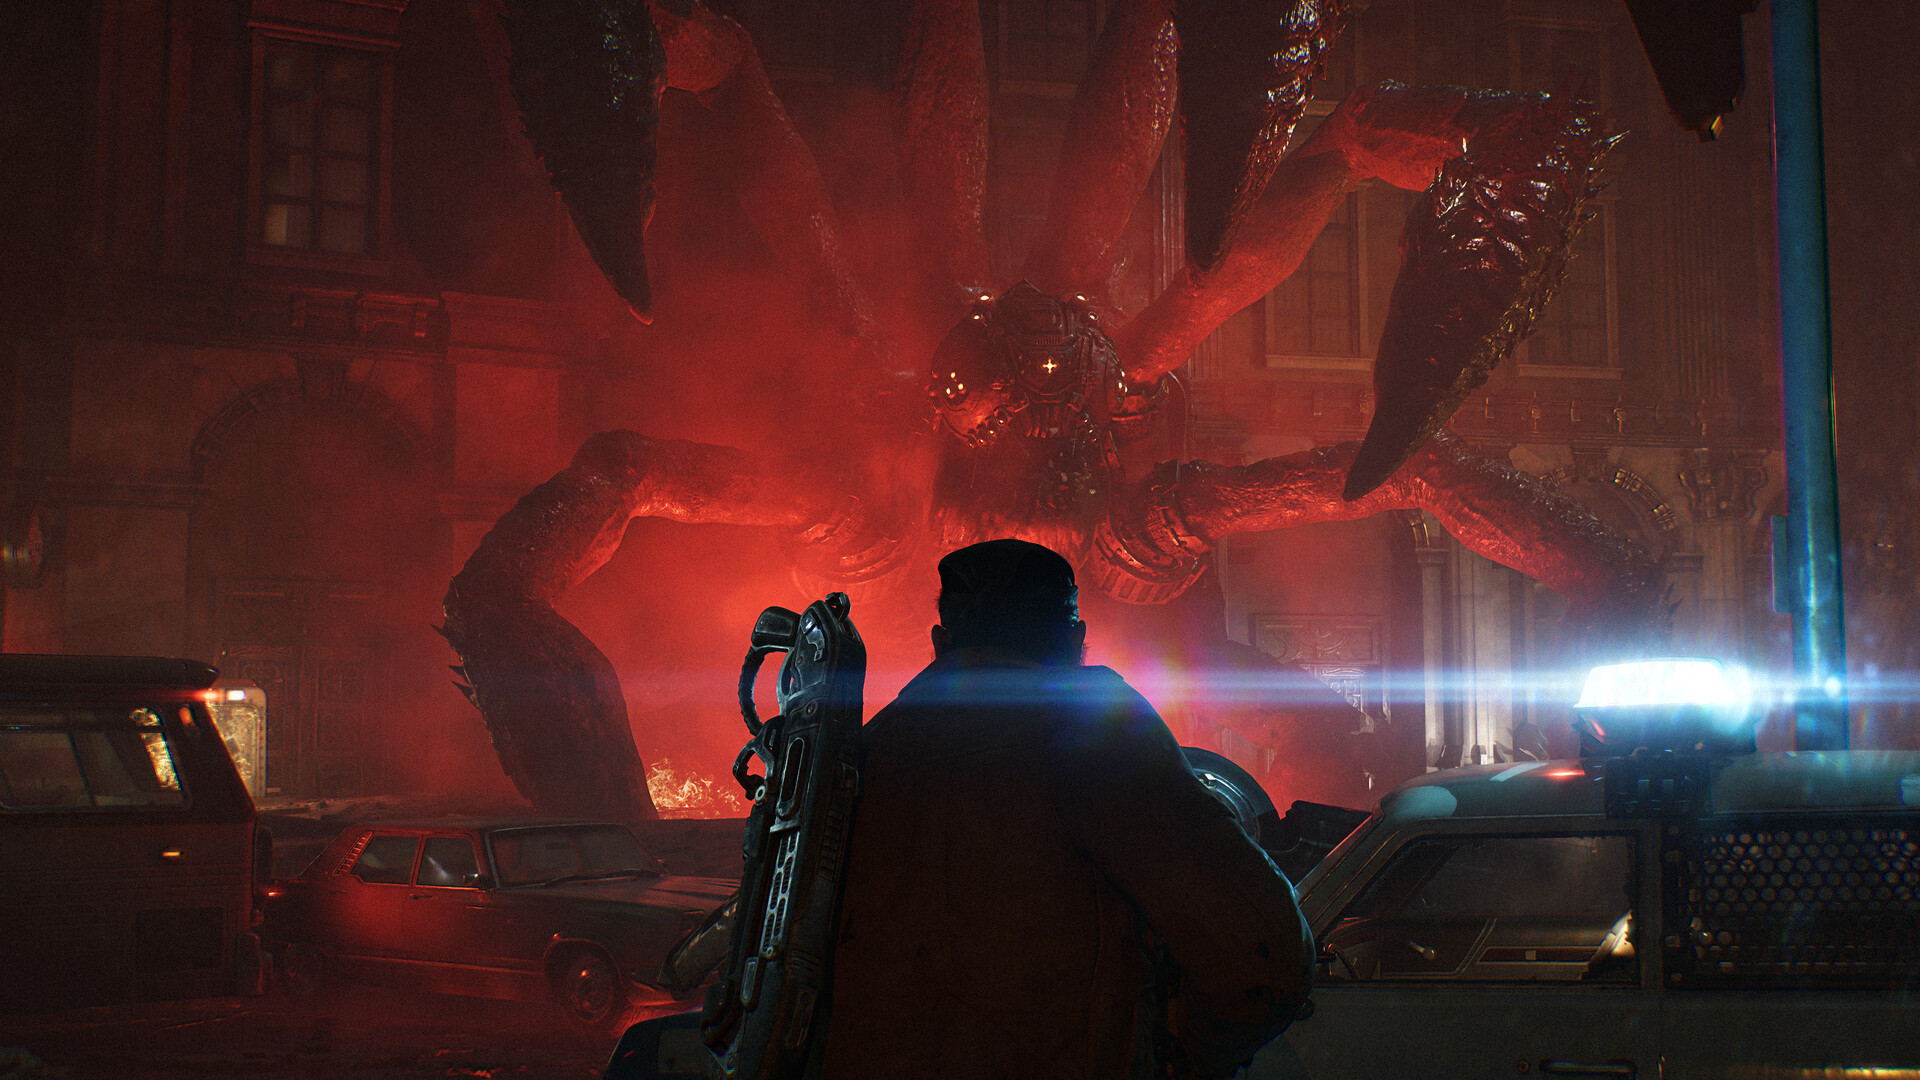
Gears of War: E-Day Chapter 7 Walkthrough: No Gear Left Behind and the Seeder Boss
Bravo Squad tracks Charlie Squad into Allfathers Plaza, fights to the Seeder at the Octus Tribunal steps, and follows Captain Grey out — every step, collectible and boss tactic along the way.
Read walkthrough →
Gears of War: E-Day Chapter 6 Walkthrough: Hold the Line at Octus Way and Kalona Hotel
Bravo Squad clears Octus Way Station and Allfathers Plaza, then holds Kalona Hotel long enough for Reyes to restore a long-range relay. Every objective, the corrosive threat, and what to skip.
Read walkthrough →
Gears of War: E-Day Chapter 5 Walkthrough: Bravo Squad and the Legacy Bridge Crossing
Bravo Squad's first mission sends Marcus and Dom across Legacy Bridge to free a pinned Charlie Squad, lower the central span through two control rooms, and clear the crossing before reporting in at Oria Stadium.
Read walkthrough →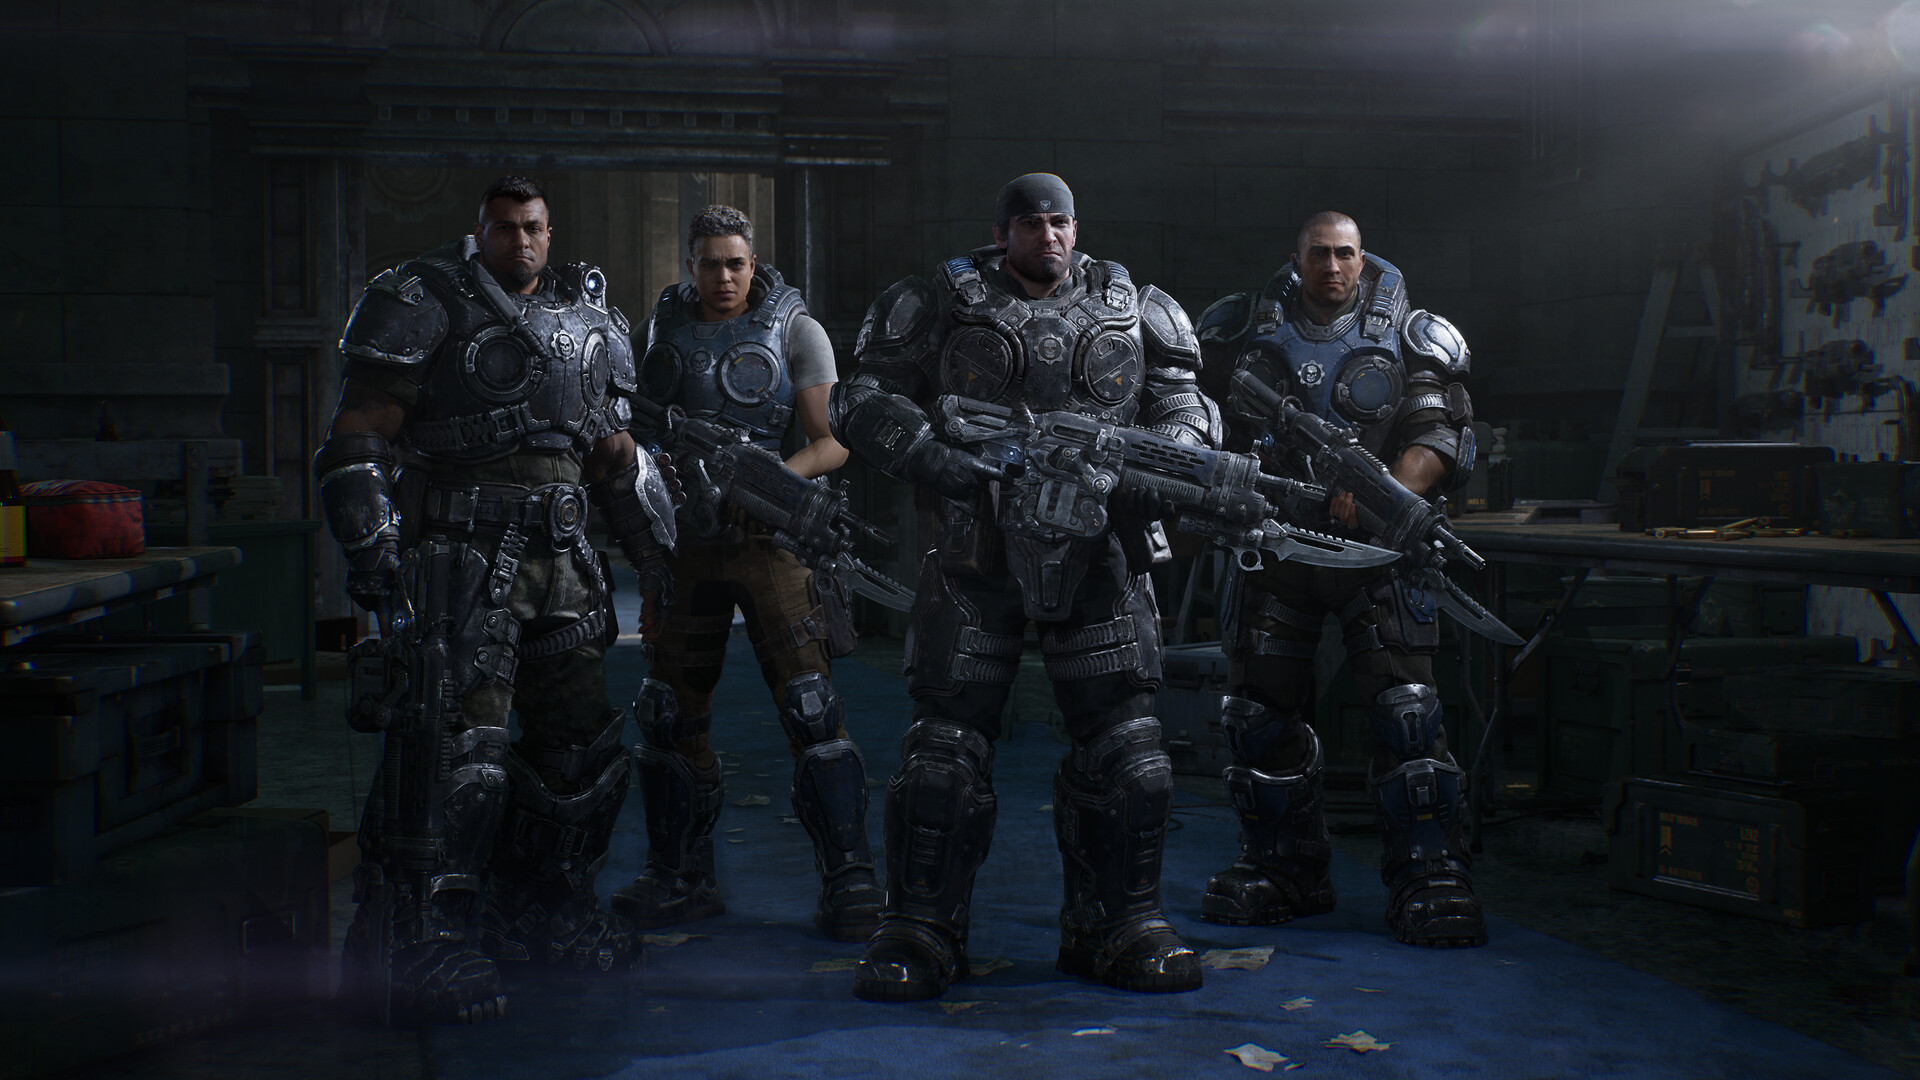
Gears of War: E-Day Chapter 4 Walkthrough: Back in the Fold and the First Brumak
Escort Mayor Shaw through collapsing Emergence Holes, defend City Hall, and beat the campaign's first Brumak as Marcus, Dom, Carter and Reyes become Bravo Squad in Act 1's finale.
Read walkthrough →