Gears of War: E-Day Chapter 8 Walkthrough: Flyboys and the King Raven Run to the Airfield
Chapter 8 trades Gears combat for a King Raven gunner run across Kalona. Here's how to protect the chopper, clear the Seeders, and land safely at the airfield to meet Commander Zee.

Bravo Squad gears up before the King Raven flight that opens Chapter 8. Image: The Coalition/Xbox Game Studios.
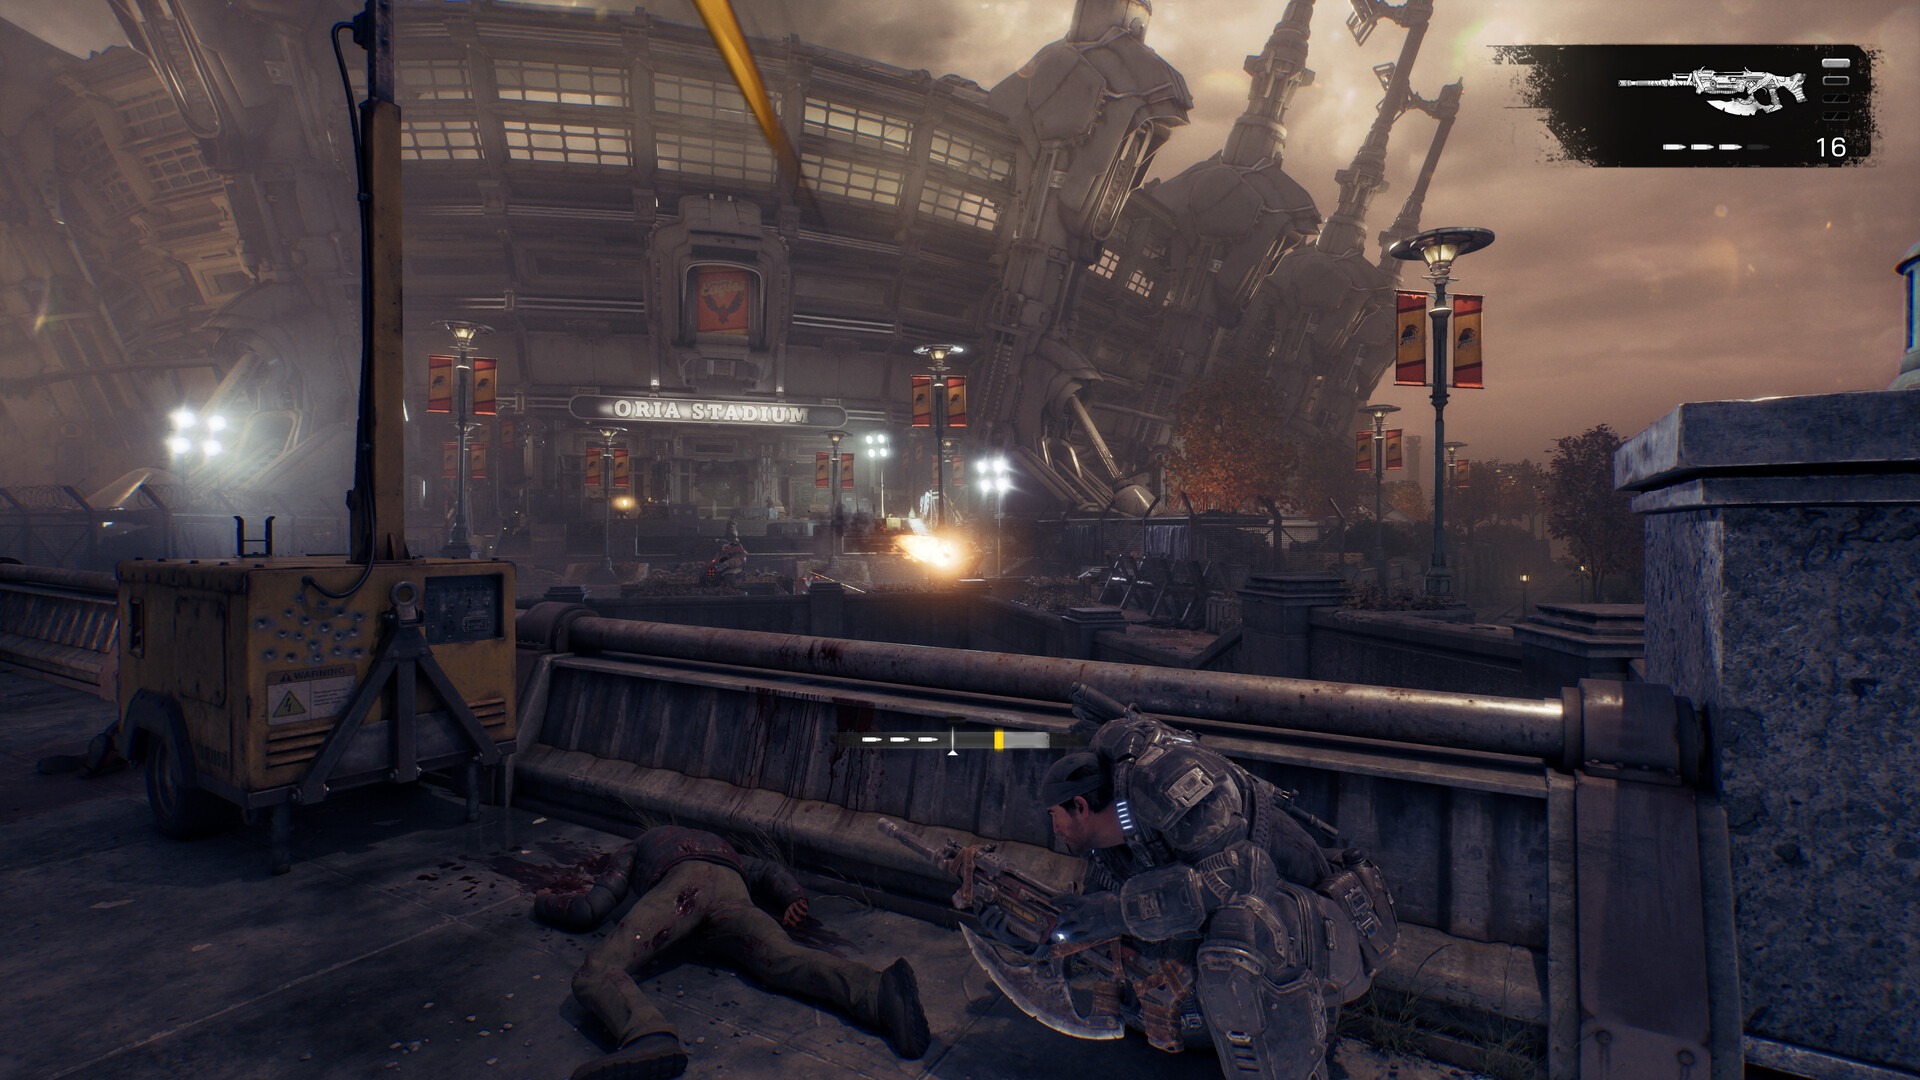
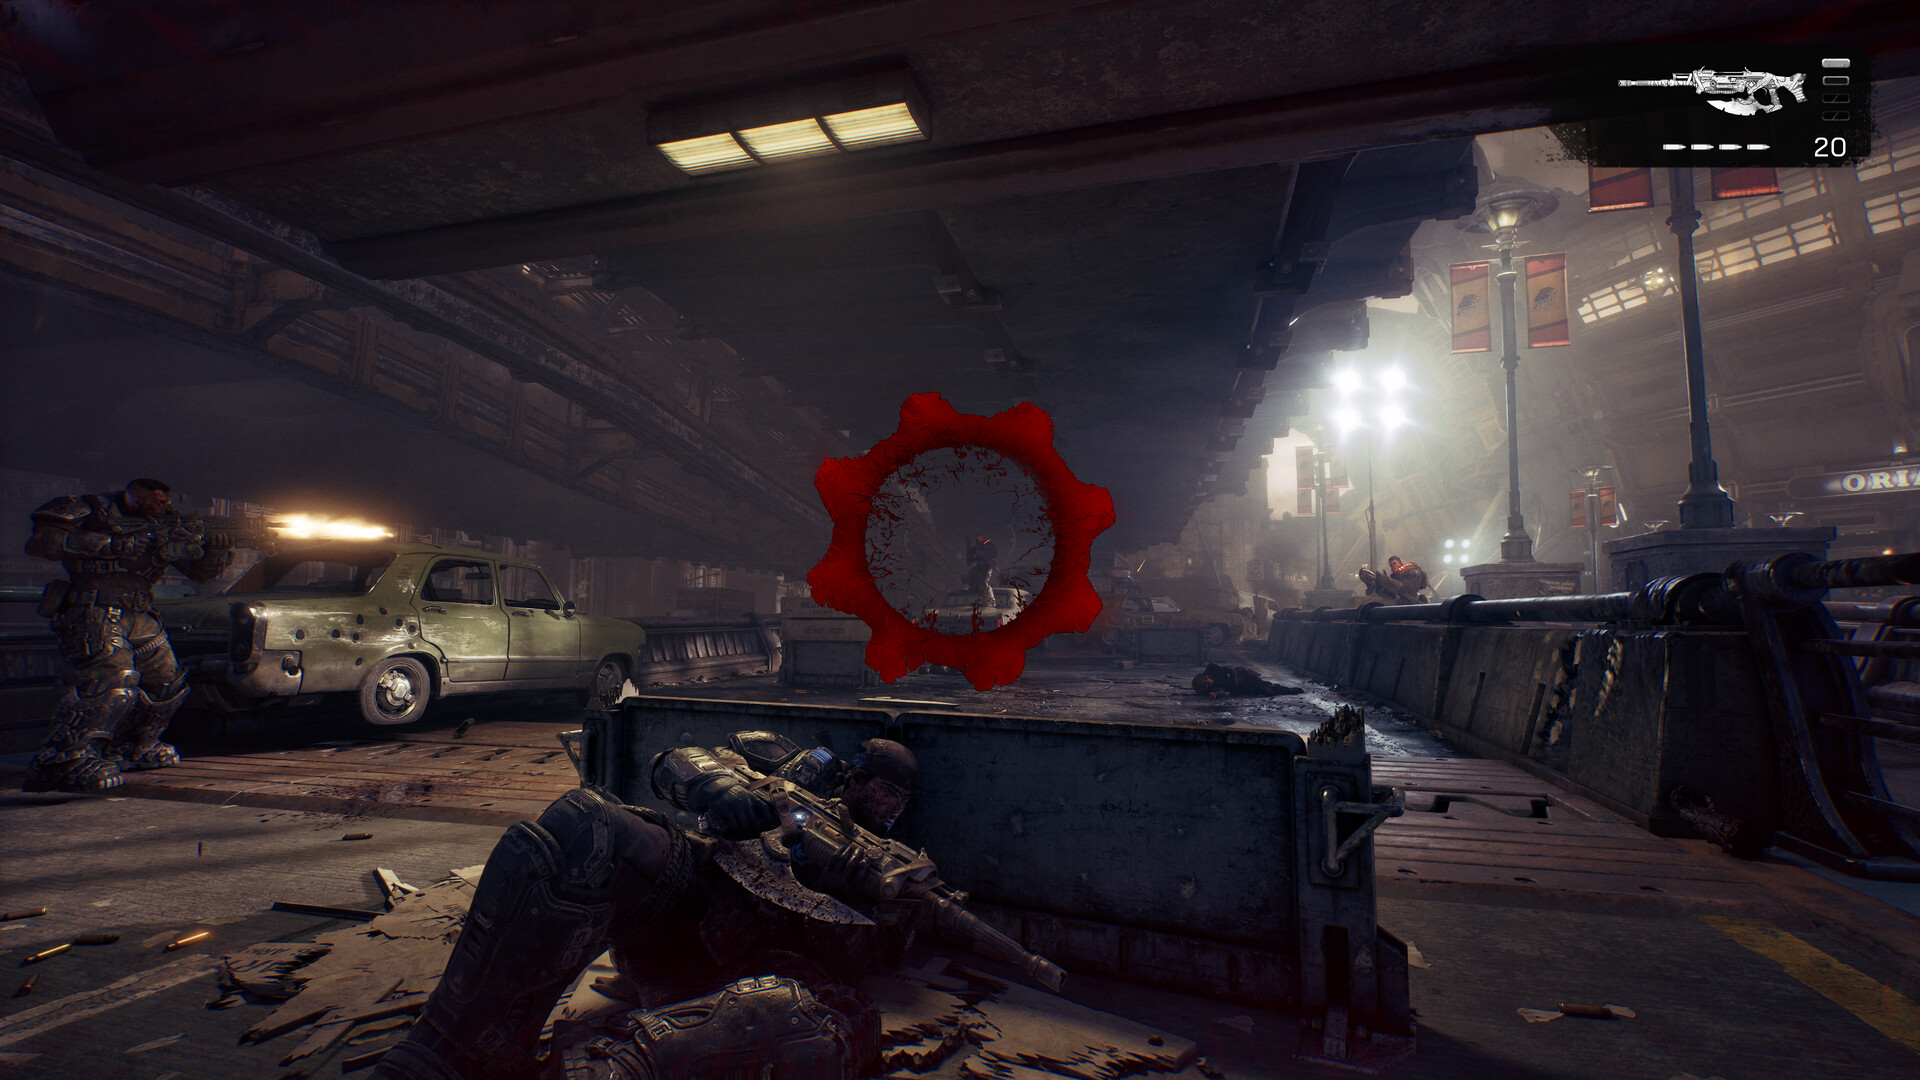
Chapter 8 of Gears of War: E-Day is called Flyboys, and it breaks the chapter-to-chapter rhythm the game has built up since Emergence. There's no cover to duck behind here. Bravo Squad boards a King Raven at the ruined Oria Stadium and the whole chapter plays out as a gunner sequence, trading the Lancer for a mounted minigun while pilot Gill Gettner and crew chief Daan Riggs fly the squad across Kalona toward the airfield that opens Chapter 9, Overrun. As of the current build, here's how to get through it clean.
It's a short chapter by E-Day standards, usually ten to fifteen minutes depending on how clean your target priority is, and it has no fail state tied to Marcus or the rest of Bravo's personal health. That makes it one of the lower-stress chapters in Act 2 on paper, but it's also easy to misplay if you treat it like a normal horde encounter: there's no reloading, no cover-swapping, and no weapon switch to bail you out of a bad angle. The entire chapter comes down to reading which enemy is currently a threat to the aircraft and clearing it before the next one spawns.
Boarding the Raven at Oria Stadium
The chapter opens with a cutscene at the Oria Stadium forward operating base. Daan introduces the squad and the Raven lifts off over the wrecked arena. Nothing to do yet, but pay attention to the wreckage framing the shot, that collapsed structure draped over the stadium gate is the same landmark you'll fly past seconds later when the first explosion rocks the aircraft. Once control kicks in, you're locked onto the side-mounted minigun. You can't swap weapons, you can't move on foot, and you can't leave the gun until the Raven lands. The only resource you manage is a heat gauge in the corner of the screen. Hold the trigger too long and the gun locks up for a cooldown stretch at exactly the moment you need it, so fire in controlled bursts rather than holding it down on reflex.
Protecting the Raven over the transit bridge and the Seeder streets
The first real objective is "protect your Raven." An explosion hits near the aircraft almost immediately, and from here on, enemies on the ground are shooting at you, not just at each other. The priority target is whatever is actively hitting the Raven, not whatever's biggest or closest. Early on that means enemies launching ink rounds from an elevated transit bridge; they track the aircraft specifically and need to go down first. As the Raven drops lower over the streets, the game shifts you onto Seeders, the same large, armored ground threats from Chapter 7's boss fight, except here they're regular infantry-support targets moving with squads of grunts below. A couple of things make this stretch much faster:
- Fuel tankers sitting in the street will detonate in one hit and clear every enemy standing near them, so treat them as free kills rather than saving ammo for precision shots.
- The minigun's spread is wide enough that you don't need pixel-perfect aim, walk the reticle across a cluster rather than chasing a single target.
- During hard banking turns the Raven tilts enough that your shots go wide anyway. Let off the trigger, wait for it to level out, then reacquire.
- Ground units clustered around a Seeder usually fire in short, staggered bursts rather than all at once, so the incoming tracer fire is a better guide to what's actually dangerous than the enemy count on screen.
There are no collectibles or secondary objectives in this chapter. Every source that's mapped out Act 2's weapon mods and journal pages places them off the main route in Bravo Squad, Hold the Line and Overrun, not in the air during Flyboys. If you're chasing full completion, don't waste time scanning rooftops here, there's nothing to find and no way to leave the gun to go get it anyway.
Holding the rooftop extraction and the second Raven's fall
Midway through the flight, the Raven swings in over a rooftop where a second unit, callsign KR-92, is pulling wounded Gears out under fire. The objective marker shifts to "support the Gears on the rooftop." Fire into the windows and ledges surrounding the landing zone rather than the rooftop itself, that's where the ground fire is coming from, and the extraction won't complete while those positions are still live. Shortly after the rooftop clears, a nearby Raven goes down, and the chapter's second wave starts: flying creatures attack from both sides of the aircraft and from directly overhead. This is the one stretch where checking your six matters as much as checking your sides. Enemies keep spawning until the game throws a checkpoint, so don't expect the sky to go quiet, just keep rotating fire toward whatever's closing distance fastest.

Running the flooded streets past Fort Vigil
The last leg of the flight takes the Raven low over flooded streets and the naval port near the CNV Safehold, with Fort Vigil visible off to the side as the convoy passes. Squid-like flyers swarm from multiple angles here while Gil throws the Raven into evasive maneuvers to shake them off, so expect your aim to drift involuntarily through this section. After a short lull, a second wave of flyers hits before the Raven finally commits to its landing approach. Keep firing through the lull, early threats that spawn during the pause are easier to drop before they're in formation with the rest of the wave. Once the approach begins, you lose control of the gun automatically and the game cuts to the landing cutscene, there's no input needed to end the chapter from this point.
The flooded-streets stretch is where most repeat checkpoints happen, mainly because the flyers approach from below the waterline as well as from the rooftops, and it's easy to keep your reticle high while something is closing in from underneath the Raven's flight path. Dip your aim toward the water on each pass rather than fixating on the skyline, and treat every evasive maneuver as a cue to scan the opposite side of the aircraft from wherever you were just shooting, that's usually where the next wave is massing.
If you keep losing health during the flight
Flyboys doesn't have a fail state tied to your own health bar the way ground combat does, but the Raven itself can take enough damage to fail the "protect your Raven" objective and reset you to the last checkpoint. If that keeps happening, the fix almost always comes down to target priority rather than reflexes, you're likely clearing visible enemies in the order they appear on screen instead of the ones actively locked onto the aircraft. Watch for muzzle flashes and tracer lines pointed at your own position; that's the enemy to drop first, every time, regardless of what else is on screen.
Quick checklist
- Fire the minigun in bursts and watch the heat gauge, don't hold the trigger through a whole cluster.
- Target whatever is actively firing on the Raven first, not the nearest or largest enemy.
- Detonate fuel tankers to clear ground clusters in one shot.
- Stop firing during hard banking turns and evasive maneuvers, then reacquire once the Raven levels out.
- Protect the rooftop extraction by shooting the windows and ledges around KR-92, not the rooftop itself.
- Keep firing through lulls in the flooded-streets section; early stragglers are easier than a full formation.
Chapter 8 ends with Bravo Squad meeting Commander Zee at the airfield, right before the ground opens up underneath them and Chapter 9, Overrun, begins. For the fight that leads into this flight, see our Chapter 7 walkthrough covering the Seeder boss at Octus Tribunal. For the current patch notes, platform availability and full campaign structure, check the official Xbox store page, the Gears of War site, or the game's Steam listing. Background on the game's setting and cast is on Wikipedia, and the content rating is on the ESRB ratings page.