Gears of War: E-Day Chapter 16 Walkthrough: Tough as Nails and the Power Grid
Bravo Squad restores power to Prospect Bay's communications grid while defending frightened survivors from Locust attacks. Here's every objective, sentry placement and Hard Case in Chapter 16's Tough as Nails mission.


Prospect Bay's shattered waterfront, the industrial district Bravo Squad must cross to restore Kalona's power grid. Image: The Coalition.
Bravo Squad reaches Prospect Bay in Chapter 16 of Gears of War: E-Day, Act 4's third mission, "Tough as Nails." As of November 2026, this is the longest stretch of Act 4 so far: a full district of dockworkers and refiners who have held the Locust off for days without help, a power grid that has to come back online before anyone can call for backup, and a port control tower that still has to be cleared by hand once the lights are on. Here is every step, every optional detour worth the time, and what to watch for when the generator starts climbing.
Before You Head Into Prospect Bay
Prospect Bay sits in East Kostra, cut off from the rest of Kalona since the main highway bridge collapsed on Emergence Day. The dockworkers, ship breakers and Imulsion refiners who live here have survived this long because Joyce "Auntie" Bolden turned the Line's End Pub into a supply point and rallying position. Bravo Squad is here for one reason: the comms tower at the Port of Kalona control tower, the only way to reach Coalition High Command in Ephyra. The catch is that the local power network took Locust damage and the tower is dead without it.
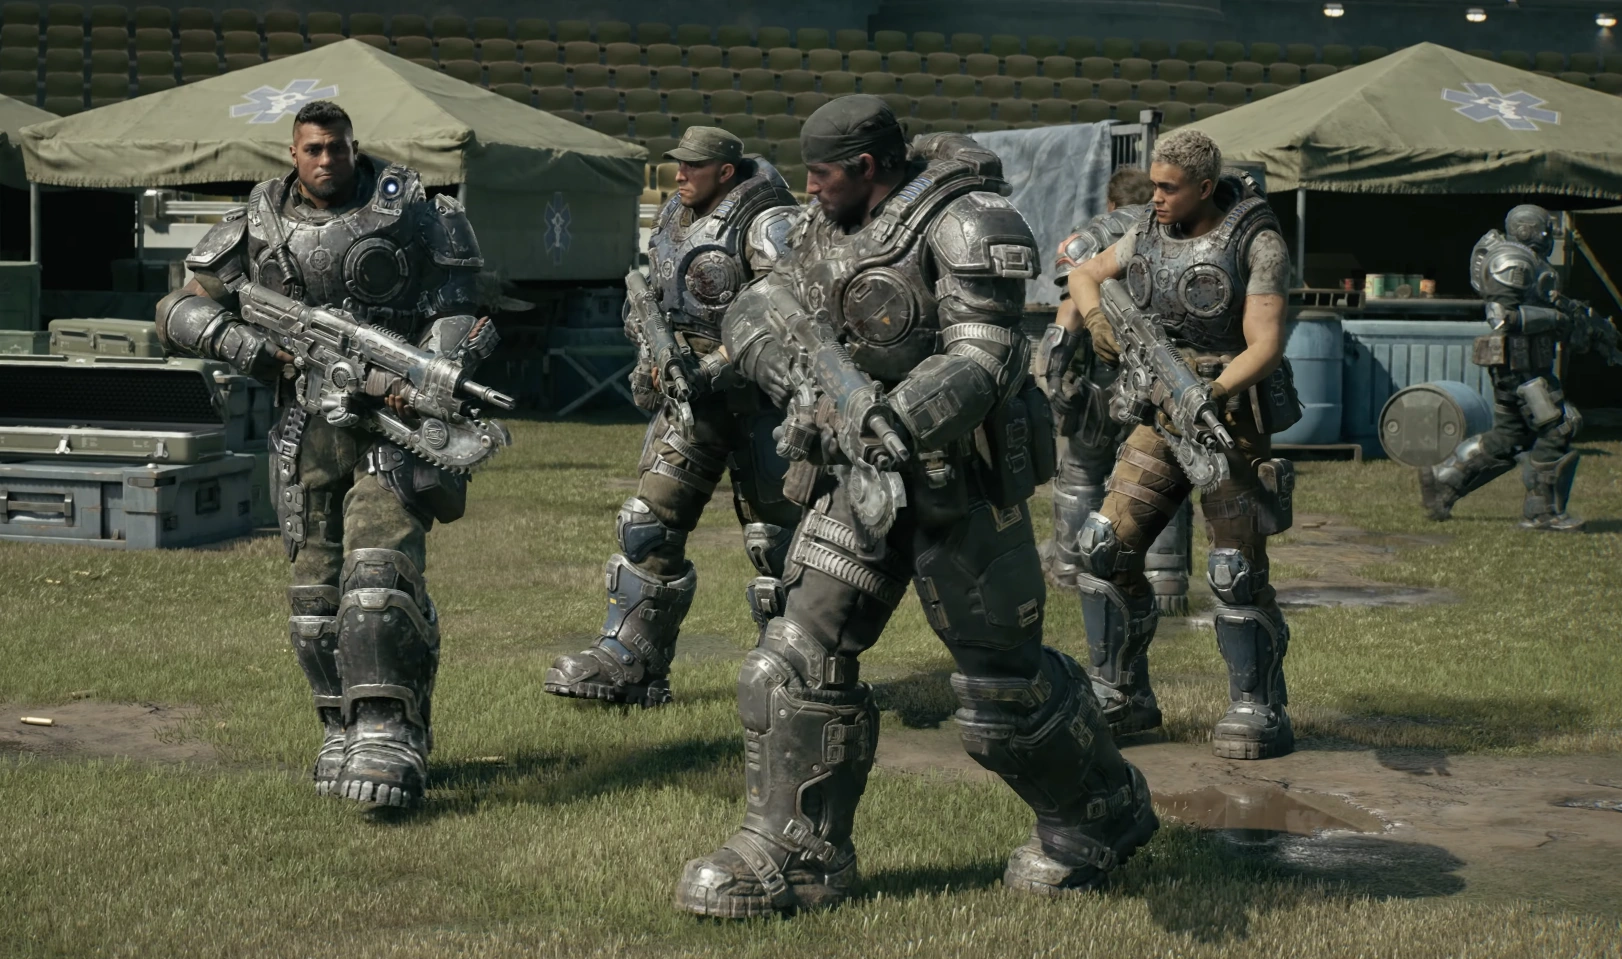
Enter through the Prospect Bay gate and head straight for Line's End Pub. Auntie Joyce hands over the district map here, which is worth grabbing before doing anything else since it marks the weapons warehouse, the rail yard and the power station you'll need later. Expect Drones, Elite Drones and the odd Sniper on the approach; none of it is a real wall yet, but it sets the tone for how crowded this district gets once the Locust realize you're restoring power.


Securing the Weapons Warehouse and the Power Station
Before the grid restart, push to the weapons warehouse, which runs through the Seradyne Industries Administration building and the rail yard behind it. Three optional objectives sit along this route and all three are worth the detour:
- Special Cargo, on the western edge of the Gavel Dockyard: the keypad code is 1548, and clearing it opens a case with two Longshot mods.
- Trapped Locust, in the center of the dockyard: summon and open the train car for an Incinerator general slot mod and a springloaded-mag Incinerator mod.
- Fire in the Hole, east of the control tower: help the wounded civilian here for the Gut-Puncher mod and a Ripper LMG mod.
Expect heavier resistance through the warehouse itself, including Scorched Drones, Grenadiers, Boomers, Wretches and Flayers, plus at least one Rusher and a Grinder that will close distance fast if you let it. A couple of floating Locust also show up over the street and on the roof of the Seradyne Armor Assembly building, and a larger one joins the fight during Special Cargo, so clear sightlines before committing to a push through open ground.

Tough as Nails also has the busiest collectible list in Act 4 so far: 14 items split between this main route and a handful of optional detours, plus 12 Hard Cases scattered through the dockyard, the warehouse and the catwalks around the power station. Most of them are worth grabbing on the way rather than backtracking for later. The Hard Case on the Calder Hunt rooftop pays out a Longshot mod, the one behind the lower-level door in the tank room guards a Striga mod but has Screamers waiting on the other side, and the case at the power station itself (reachable after loading the truck at the warehouse) drops an armor mod slot along with a Breechshot mod. If you only chase a handful, prioritize those three and the one on the Control Tower helipad, since all four feed directly into weapons you'll be leaning on for the rest of Act 4.
Once the warehouse is clear, head for the power station. A crate just inside holds Machine Gun Sentry kits; take all of them before you start the restart, since you won't be able to back out and restock once the technicians begin work. Place one covering the street approach and one on the overhead bridge, which is the route Locust use to flank the technicians from above. Stay close enough to the pallets near the station entrance to respond fast when pressure shifts to one side, and keep the technicians alive while generator output climbs: 45 percent, then 65 percent, then 85 percent. Close the breaker the moment it hits 85 percent to restore power across the district.
Clearing Port Control
Power alone doesn't restore communications. The Locust still hold the ground around port control, so push back toward the comms tower and clear it room by room. This is also where the optional Death from Above objective opens, at the Armadillo factory once power is back; finishing it hands over a Torque Bow mod and a Hammerburst mod, both useful heading into the rest of Act 4. Use the tower comms once the area is secure to reach Coalition High Command in Ephyra, which is the actual objective of this entire chapter.

With the tower back online, head back to Line's End Pub to call in the favor Auntie Joyce is owed and talk to her about what comes next. Bravo then leaves the district at the truck tailgate, convoy-bound, which sets up the next leg of Act 4.

If the Grinder or a Rusher Catches You Off Guard
The Grinder is the one enemy in this chapter that punishes hesitation. It closes distance faster than anything else here, and if it gets within melee range while you're mid-reload near the warehouse racks or the dockyard containers, you will lose the exchange. Back off into open ground the moment you see one, strip its shield with sustained fire before it commits to a charge, and don't try to out-DPS a Rusher in a doorway — both enemies are built to punish tight corners, which this district has in excess around the rail yard and the catwalks leading into the power station. If a technician goes down during the restart sequence, retreat to the pallets, clear the immediate threat, and get back to reviving before output drops.

Quick Checklist
- Enter Prospect Bay through the gate, reach Line's End Pub, and get the map from Auntie Joyce.
- Clear the weapons warehouse via Seradyne Administration and the rail yard; grab Special Cargo (code 1548), Trapped Locust and Fire in the Hole along the way.
- Take every Machine Gun Sentry kit from the power station crate before starting the restart.
- Place sentries on the street approach and the overhead bridge; protect the technicians through 45, 65 and 85 percent output.
- Close the breaker at 85 percent, then push back and clear port control.
- Use the tower comms to contact HQ, then grab Death from Above at the Armadillo factory.
- Return to Auntie Joyce at Line's End Pub to call in the favor before leaving by truck.
Prospect Bay is the first real breathing room Act 4 gives you, mostly because Auntie Joyce's survivors have already done the hard work of staying alive. The next stop for Bravo Squad is the long-range communications site, covered in the chapter after this one. For the mission before this, see our Chapter 15 walkthrough, and for everything else on the campaign, check the official Gears of War site, the game's Wikipedia entry, and its store pages on Xbox and Steam. Gears of War: E-Day carries an ESRB rating of M for Blood and Gore, Intense Violence and Strong Language.