Gears of War: E-Day Chapter 15 Walkthrough: Technical Difficulties and the Sky Train Crash
Bravo Squad races across Kalona by rail, battling a Grinder in Allfathers Avenue station and two Reavers before the sky train crashes at the end of the downtown line.

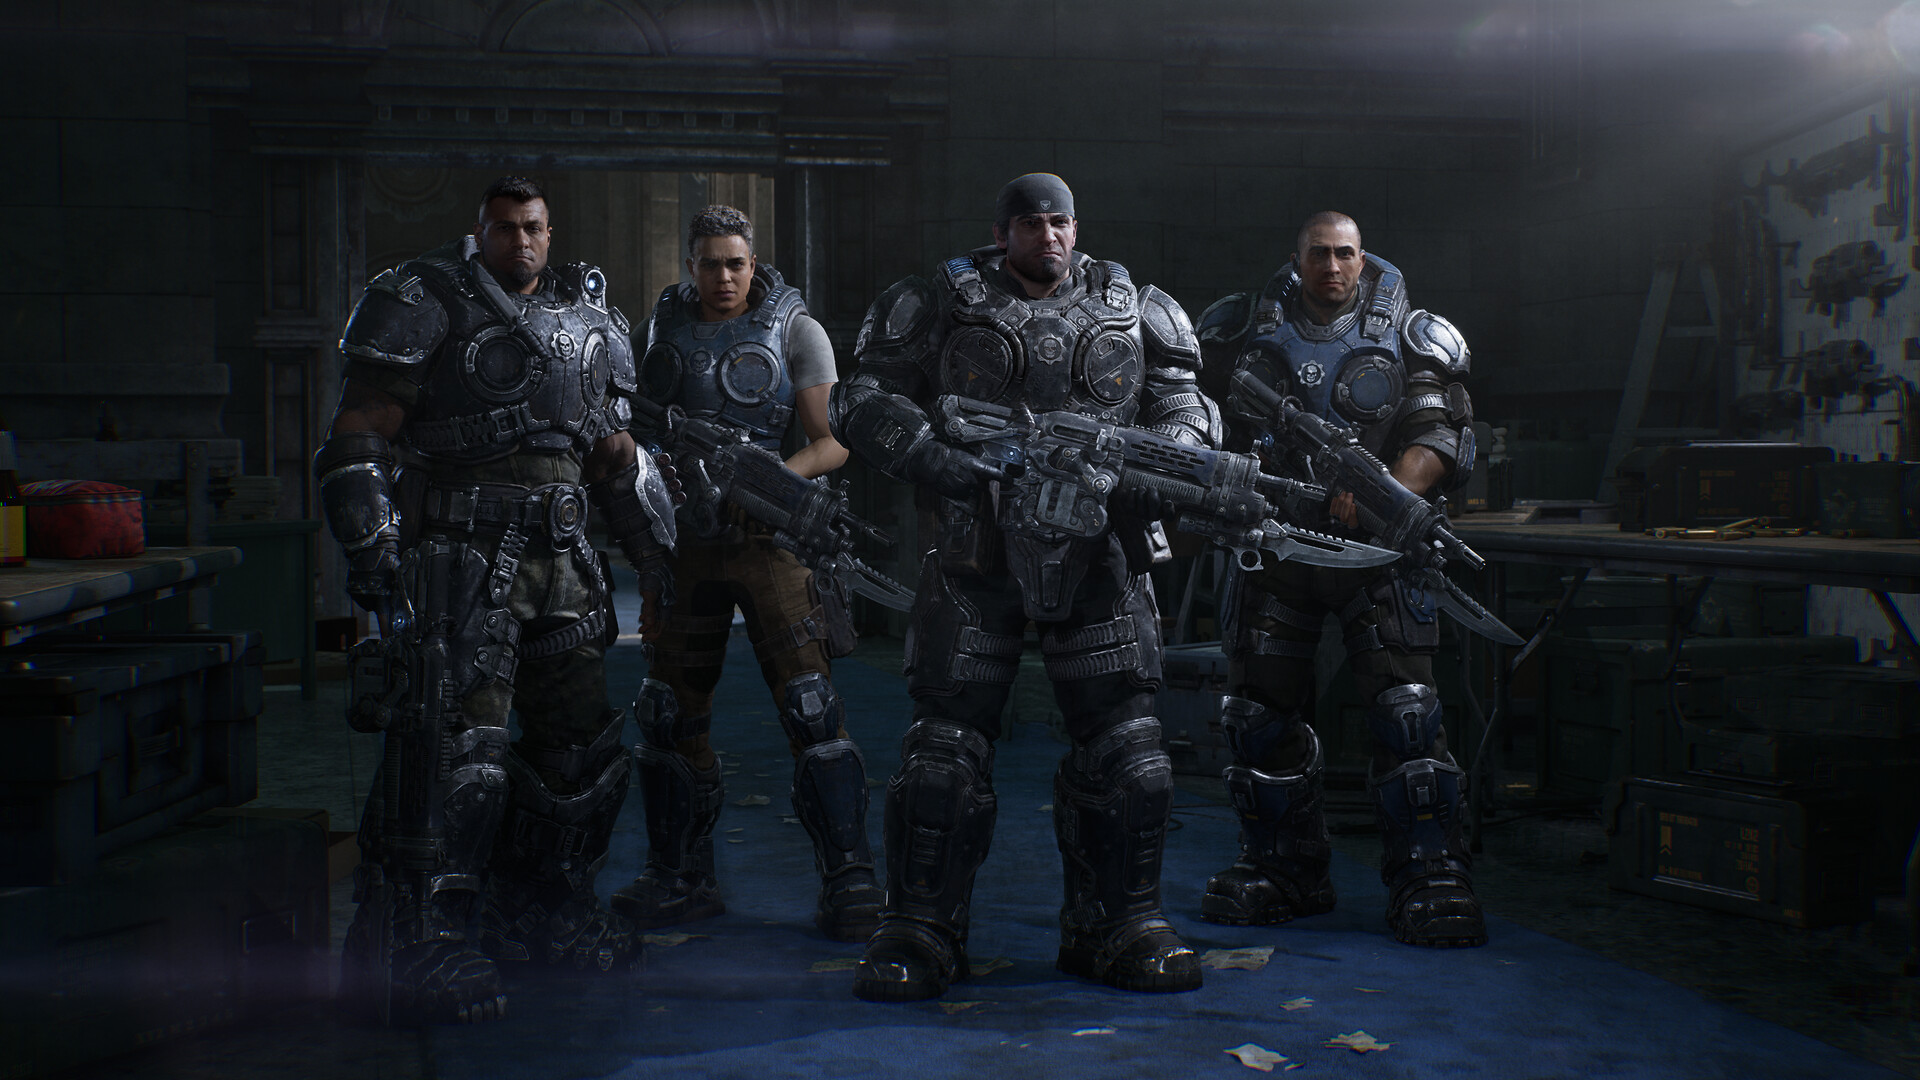
Bravo Squad regroups before pushing across Kalona in Gears of War: E-Day's Chapter 15. Image: The Coalition.
Chapter 15 of Gears of War: E-Day picks up right where Chapter 14 left off: Bravo Squad has fought through the cathedral district and found the rail line out of Kalona. As of November 2026, Technical Difficulties is the short rail crossing between the cathedral grounds and Prospect Bay, and it is the shortest chapter in Act 4 at roughly 13 minutes on Normal if you move with purpose. It is also the first chapter in a while where the squad does more running than clearing, so knowing which train to board and where the fights actually are saves a lot of wasted ammo.
The title is a bit of dark joke. Nothing about the ride is technical, and nothing about it is minor: a Grinder blocks the ticket hall, two Reavers drop onto the street outside, and the sky train itself gets attacked twice before it finally comes apart at the end of the line. Treat this as a combat chapter with a travel theme rather than a travel chapter with some combat in it, and you will not get caught flat-footed.
Before You Board: Loadout and What to Expect
Your loadout going into this chapter is fixed: Prototype Lancer, Gut-Puncher shotgun, Snub pistol, a Machine Gun Sentry, and the Adrenaline Injector as your Tactical Gear item. There is no resupply station before the first fight, so grab everything you can on the platform before you move. The chapter has no overall timer, but a couple of its beats do flash a short warning, and both are more about reading the prompt than racing a clock.
Three Hard Case weapon upgrades and two Supply Caches are scattered along the route. None of them are hidden off the critical path; they sit in side rooms and alcoves you walk straight past, so the only way to miss them is to sprint through without checking corners.

Step 1-3: Choosing a Train and Riding Into the Red
Bravo reaches the rail platform while cutting across Kalona. There are two routes posted, Eastbound and Westbound. Take Eastbound. The Westbound train is the one that passes without stopping in some runs, and backtracking from the wrong platform wastes time you do not need to spend.
- Grab Hard Case #1 under the Kalona Hotel poster at the brick junction before you commit to a platform.
- Clear the drones on the platform from behind the low metal bin, then restock from the dropped Lancer Mk1 rifles and the ammo crate near the Ripper pickup.
- Board through whichever door is open when the train arrives. The doors close almost immediately, so do not wander far once it pulls in.
Once you are moving, the car you are in gets hit by Locust fire through the doors while a Scorched Drone lobs frag grenades from a red-lit station platform. Use the orange seat backs as cover and reposition along the car as grenades land rather than holding one spot. A set of COG Tags belonging to Sergeant Aman Landry sits on the floor by a dead Gear near one of the pillars if you want the collectible. When the subway-departing warning shows, get back through the nearest door; there is no hard timer attached to it, but dawdling in the wrong car can strand you. At the front car, you will have a clean shot at Locust standing on the track through the windscreen.
Step 4-5: Allfathers Avenue and the Grinder in the Ticket Hall
The subway lets out at Allfathers Avenue Station. Check the tiled wall above the bench near the pale blue bin for a graffitied "NO 80" poster, and look in the small side room off the main corridor, before the metal lockers, for Hard Case #2.
The ticket hall itself is guarded by a Grinder, the heavy-caliber Locust with the belt-fed cannon arm. Take cover at the low counter and work its head and chest with the Lancer between its burst-fire windows; grenades speed this up considerably. The Machine Gun Sentry can help here but is not required if you keep moving between cover. Pop the Adrenaline Injector if your health drops into the red rather than trying to push through a fight you are already losing.
Grab the frag grenade by the counter and the ammo and grenade pickups before the turnstiles. The street gate at the top of the stairs will not open, so take the plain metal door beside it instead. On the upper concourse, a compass-star floor marks Supply Cache #2; empty it completely, especially your Gut-Puncher reserve, then duck under the partly raised roll-up gate to its left to reach the street.
Step 6: The Reaver Ambush Under the Sky Train Tracks
Outside, a handful of Locust on foot soften you up before two Reavers drop in. The taxi, a row of sedans, and a burnt pickup truck along the street all give usable cover. Gut-Puncher grenades are the fastest way to bring a Reaver down; switch to the Lancer once it is grounded to finish it off. A drone can knock a squadmate down during this fight, and the "DOWNS REMAINING" counter will tell you how many revives you have left before it becomes a fail state, so prioritize reviving over chasing kills if someone goes down.
If both Reavers converge on you at once rather than splitting up, back toward the burnt pickup instead of the open taxi; it blocks more of the street and gives you an angle on one Reaver without exposing your back to the other. Running out into the open to chase a grounded Reaver for the finishing blow is the single most common way to get knocked down here, so let it come to you.

Before you head up the station steps, check the round balcony landing partway up, next to the yellow trestle leg and the railing, for Hard Case #3. That is the last of the three on this route.
Step 7: Boarding and Defending the Sky Train
Head to the lead car marked Downtown Line and make your way to the driver's cab. The activation lever is padlocked under a "wait for squad" prompt; do not pull it until the lock clears on its own once everyone is aboard.
- The sky train stalls on an elevated trestle partway through the ride. Shoot fliers from the window frames with the Lancer before they reach the car.
- When a brace prompt appears before each impact, hold it immediately. Reavers keep pace alongside the car during this stretch; return fire on them through the windows between braces.
- Locust may fire into the car when the train passes station platforms. Duck behind the window ledge or return fire depending on your position.
- Once both Reavers are down, the rear cars start breaking apart behind you. Stop fighting and follow the squad forward into the lead car.
A cutscene then shows the sky train crashing at the end of the line. Bravo survives in the lead car, and the chapter closes on the Tough as Nails title card, which sets up Chapter 16's fight to restore power at Prospect Bay.
Quick Checklist
Everything worth grabbing in Technical Difficulties, in route order: Hard Case #1 at the Kalona Hotel junction, the Landry COG Tags on the subway car floor, the "NO 80" poster and Hard Case #2 at Allfathers Avenue, Supply Cache #2 on the upper concourse, and Hard Case #3 on the balcony landing before the sky train. None of it requires a detour from the path Bravo is already walking.
For the chapter before this one, see our Chapter 14 walkthrough of the Cathedral District run. If you are just starting the campaign, our beginner tips guide covers difficulty settings and early loadout choices.
Gears of War: E-Day is developed by The Coalition and published by Xbox Game Studios. It launched October 6, 2026, on Xbox Series X|S and PC, is available on Steam, and more campaign details live on the official Gears of War site. Background on the series is on Wikipedia.