Gears of War: E-Day Chapter 14 Walkthrough: Hope and Ruin's Cathedral District Run
Bravo squad leaves Fort Vigil for Prospect Bay in Gears of War: E-Day's Hope and Ruin chapter. Here is how to clear the cathedral, cemetery, hotel and Kalona Square without burning through ammo.


Bravo Squad holds a chokepoint against Locust forces in the Act 4 opener, Hope and Ruin. Image: The Coalition.
Chapter 13 ended with the Brumak down and Fort Vigil's walls holding, but holding is not the same as safe. The wider evacuation is still falling apart, Prospect Bay has gone dark, and Bravo Squad gets almost no time to recover before Reyes sends them out again. Chapter 14, Hope and Ruin, is the start of Act 4, and it is the longest single stretch of the campaign so far: a cathedral, a cemetery, a gutted hotel, a plaza, and a city square, all held by Locust who dug in the moment the walls went up around Fort Vigil. Here is how to get Bravo through it without burning every grenade in the first ten minutes.
Getting Your Orders at Fort Vigil
The chapter opens on the fort terrace with a simple prompt: get your orders. Before moving, drop down to the lower courtyard and hit the Supply Cache there, then check the memorial shrine for a Message From The Coalition. Neither is required to advance, but both are free collectibles and the courtyard is otherwise empty, so there is no reason to skip them. When you are done, head for the broken arch, link up with Commander Zee, and cross the ruined bridge with the rest of the group. The objective updates to reach the district gate station, which is the thread that runs through the entire chapter.
If you came out of Chapter 13's Fort Vigil Brumak fight low on heavy ammo, this is also the point to budget carefully. Hope and Ruin throws a Boomer, a Corpser, and a Reaver at you before it is over, on top of the usual Locust infantry, and the chapter runs close to fifty minutes if you are picking up everything along the way.

The Cathedral and the Cemetery
Past the bridge, the route goes through a broken iron gate and up to a balustrade overlooking the cathedral forecourt. Pick off the Locust on the steps first, then push into the forecourt itself. The last enemy out is a large Locust carrying a machine gun. Do not trade shots with it in the open. Get behind the stone block, soften it with Gut-Puncher grenades, and take the machine gun off the body once it drops. It carries a full 96 rounds, which is more than enough to clear the rest of the forecourt and the cemetery beyond it.
The cemetery is the first real gear check of the chapter. Use the sarcophagi for cover against the Locust moving between the tombs, then deal with the Boomer at the top of the stairs. Close-range Gut-Puncher rounds drop it fast, and it leaves behind a Heavy Boomshot with six rockets, which you want to save for the arcade and walkway groups right after. The final wave in the cemetery includes armored Locust carrying harpoon guns. Open with the Gut-Puncher to strip their cover, then finish with the Lancer. They drop Gorehook ammo, eight shots' worth, on the terrace once they're down. Push the tall iron gate open after that and the squad splits: Bravo goes on alone from here.
- Machine gun (96 rounds) from the armored Locust in the cathedral forecourt
- Heavy Boomshot (6 rockets) from the cemetery Boomer
- Gorehook ammo (8 shots) from the harpoon-gun Locust at the cemetery gate
The Regalia Hotel
Out on the tram street, a four-legged acid beast is the first thing to deal with, and it needs sustained Gorehook fire rather than Lancer bursts. Shoot it from behind a parked car so its acid spit doesn't reach you. The hotel itself has two Hard Cases outside, one up the steps of the brick building next door and one right at the entrance, plus Wretches in the lobby that go down fast to Lancer fire.
A sniper in an upper window pins down the plaza on the far side of the hotel, and trying to cross in the open gets you killed repeatedly. Climb to the second floor of the bookshop instead, where you can kill both the sniper and a Drone with a Gut-Puncher round before they know you're there. From that same window ledge, switch to the Lancer and clear out the Locust still moving in the plaza below. The cafe upstairs has a Hard Case in its storeroom, and Cooper Commons just past it has a collectible tag and the Statuette of Roman Kalona in the red souvenir shop.
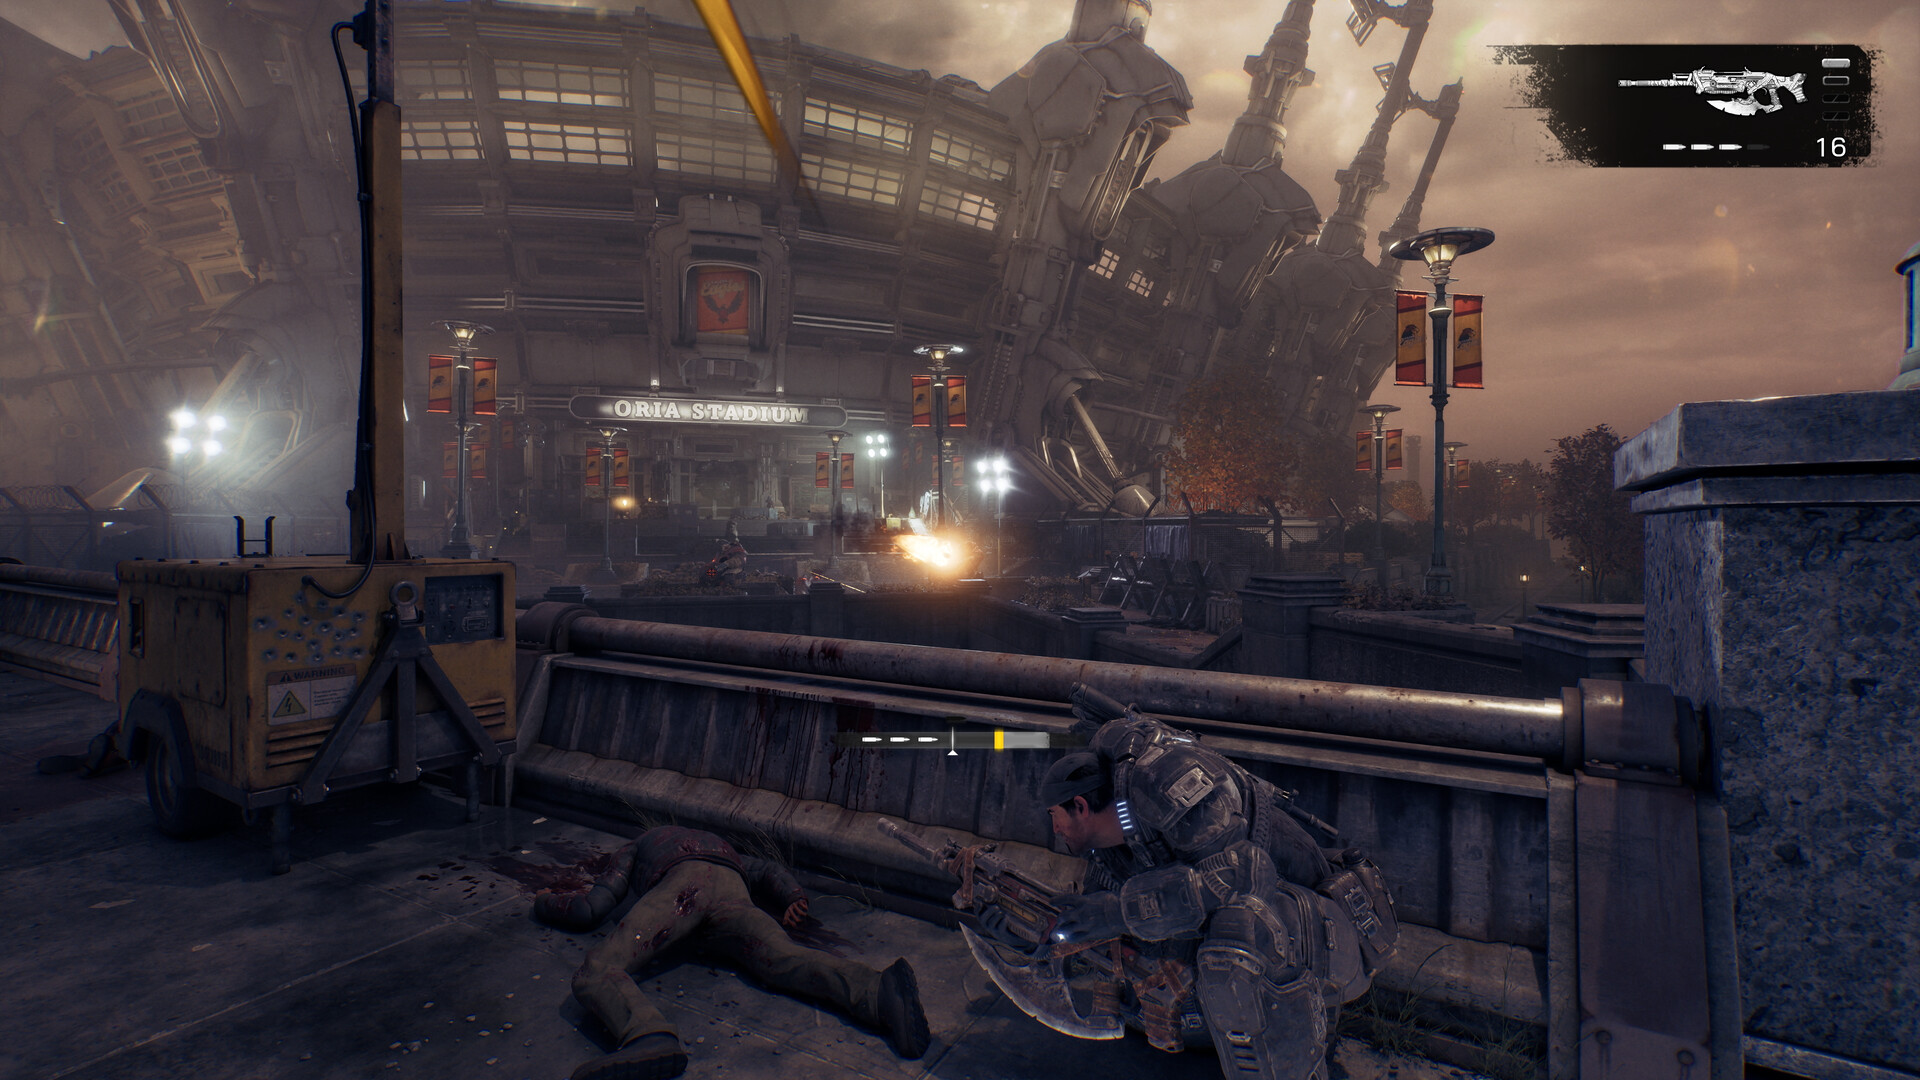
Two Optional Fights Worth Taking
Cooper Commons has a side objective called Missing Convoy. Hold the interact prompt at the marker by the stone arches to start it, then shoot the glowing centers on the Spore Matrons that spawn in and pop any mines near your feet. A hole opens by the tree planter partway through; seal it with a Gut-Puncher round before it floods the area with more spores. Finish the last Matron from the stone staircase for a Braced Capacitor and a Mobile Targeting Laser, both of which carry over into later chapters.
The second optional fight, R.I.G. Experiment, is inside the ruined university hall. Hold the prompt at the R.I.G. machine, then defend the console from the terrace while Locust climb the stairs out of red smoke. Stay inside the courtyard boundary while you do this; the game throws a mission-failure warning if you wander out, which is an easy way to lose the fight for no reason. Clearing it rewards an Overpacked Mag and a Blood Mag, and there's a tag to grab if you vault the terrace railing afterward. Neither side fight is required, but both pay out gear upgrades you will want for Kalona Square.
Kalona Square: Corpser and Troika
This is the chapter's main set piece. A Grinder holds the square behind a shop window; kill it from cover and take its Troika, since you will need the mounted gun's rate of fire for what comes next. Carry the Troika up to the promenade overlooking the square, and when the Corpser climbs up in front of the domed building, open on it immediately. Once the Corpser starts its own attack, drop the Troika and switch to the Gut-Puncher, using the nearby kiosk for cover between bursts. A Reaver joins from the glass arch partway through the fight, so keep checking above the square and not just at ground level. After the Corpser and Reaver are both down, mop up the remaining infantry with the Lancer before moving on.
Spire Opera House and the Subway
The last stretch runs through the Spire Opera House. There is a Hard Case on the planter by the police car outside, and forcing the tall iron gate open gets you to the Ulk Plushie by the dark sedan, another easy collectible. Drones firing from a curved planter are the first threat inside; take them out before dealing with a second acid beast near the opera entrance, which goes down the same way as the one on the tram street, sustained fire aimed at the head and mouth, backed up with Gut-Puncher grenades at range.
Go through the colonnade and up to the balcony, where a sniper is waiting; the Lancer handles it from distance without much trouble. Grab the Lighter Darker Opera Program by the flower planter, then rappel down the window line to street level. There is one off-route tag behind an ambulance outside if you want to finish the chapter's collectible count before moving on.
The chapter ends at a round subway entrance. Interact with the shutter to leave the area, which locks the district behind you, so make sure every Hard Case and tag on this list is cleared first. The title card for Act 4, Chapter 2, Technical Difficulties, follows immediately, and that chapter picks up on a train headed for Octus Way Station. For background on the invasion this campaign is built around, the official Gears of War site and the Wikipedia entry on E-Day both cover how this prequel ties into the original trilogy. The game is available now on Steam and Xbox, and Xbox Wire has more on the game's early access launch for players catching up on the campaign.