Gears of War: E-Day Chapter 4 Walkthrough: Back in the Fold and the First Brumak
Escort Mayor Shaw through collapsing Emergence Holes, defend City Hall, and beat the campaign's first Brumak as Marcus, Dom, Carter and Reyes become Bravo Squad in Act 1's finale.

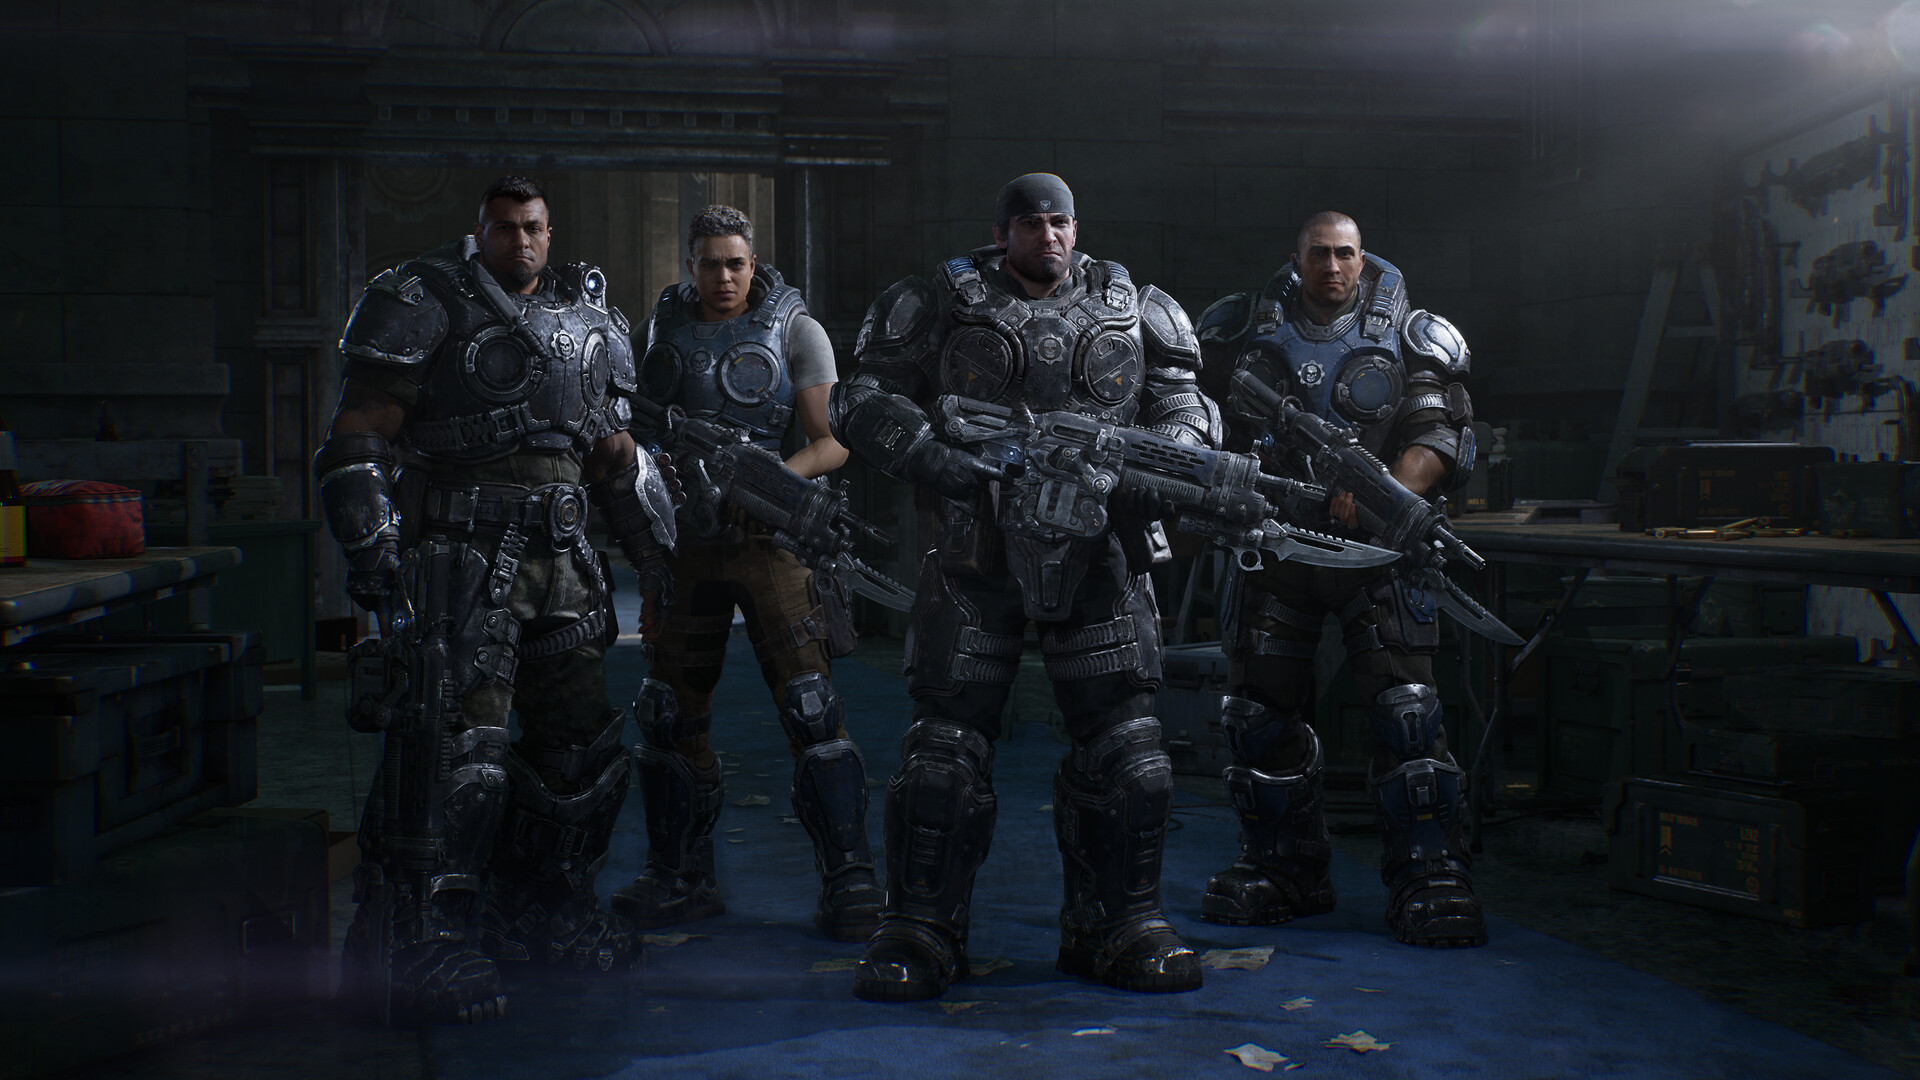
Marcus, Dom, Carter and Reyes become Bravo Squad at the end of Act 1. Image: The Coalition.
Chapter 4, "Back in the Fold," closes out Act 1 of Gears of War: E-Day. It is the chapter where Marcus Fenix, Dom Santiago and the rest of the escort group stop being a ragtag band of survivors and become Bravo Squad, and it ends with the campaign's first Brumak fight. As of October 2026 this is still the chapter players get stuck on most in Act 1, mostly because the Emergence Hole section near City Hall punishes anyone who tries to clear every Locust instead of shutting the holes down. The Coalition and People Can Fly built this chapter as the campaign's first real set-piece after three chapters of smaller street fights, and it shows: the Emergence Hole section and the Brumak that follows are both a step up in scale from anything in Chapters 1 through 3.
Before you leave the shelter
Resupply before Marcus and the combat group head out ahead of Mayor Shaw's escort. This chapter burns through ammo and grenades faster than the first three, and there is no resupply point between the shelter and City Hall that you can count on finding by accident. Top off your sidearm and Lancer Mk1, and hold onto at least one frag grenade on purpose. You will need it in a few minutes, and it is easy to waste it on a single Drone out of habit.
Tai stays close to Mayor Shaw for the whole escort. Your job is to stay ahead of the group and clear the street before Shaw's party catches up, not to babysit the Mayor directly. If you push too far ahead, enemies spawn in behind the group and the escort stalls while Tai gets overwhelmed.
This is also a good moment to reconsider your difficulty setting if Chapter 3's fight at the Pay-N-Save felt like a grind. Back in the Fold is built as Act 1's finale, with a bigger street fight and a boss encounter stacked on top of each other, and it runs noticeably longer than anything earlier in the act regardless of settings.
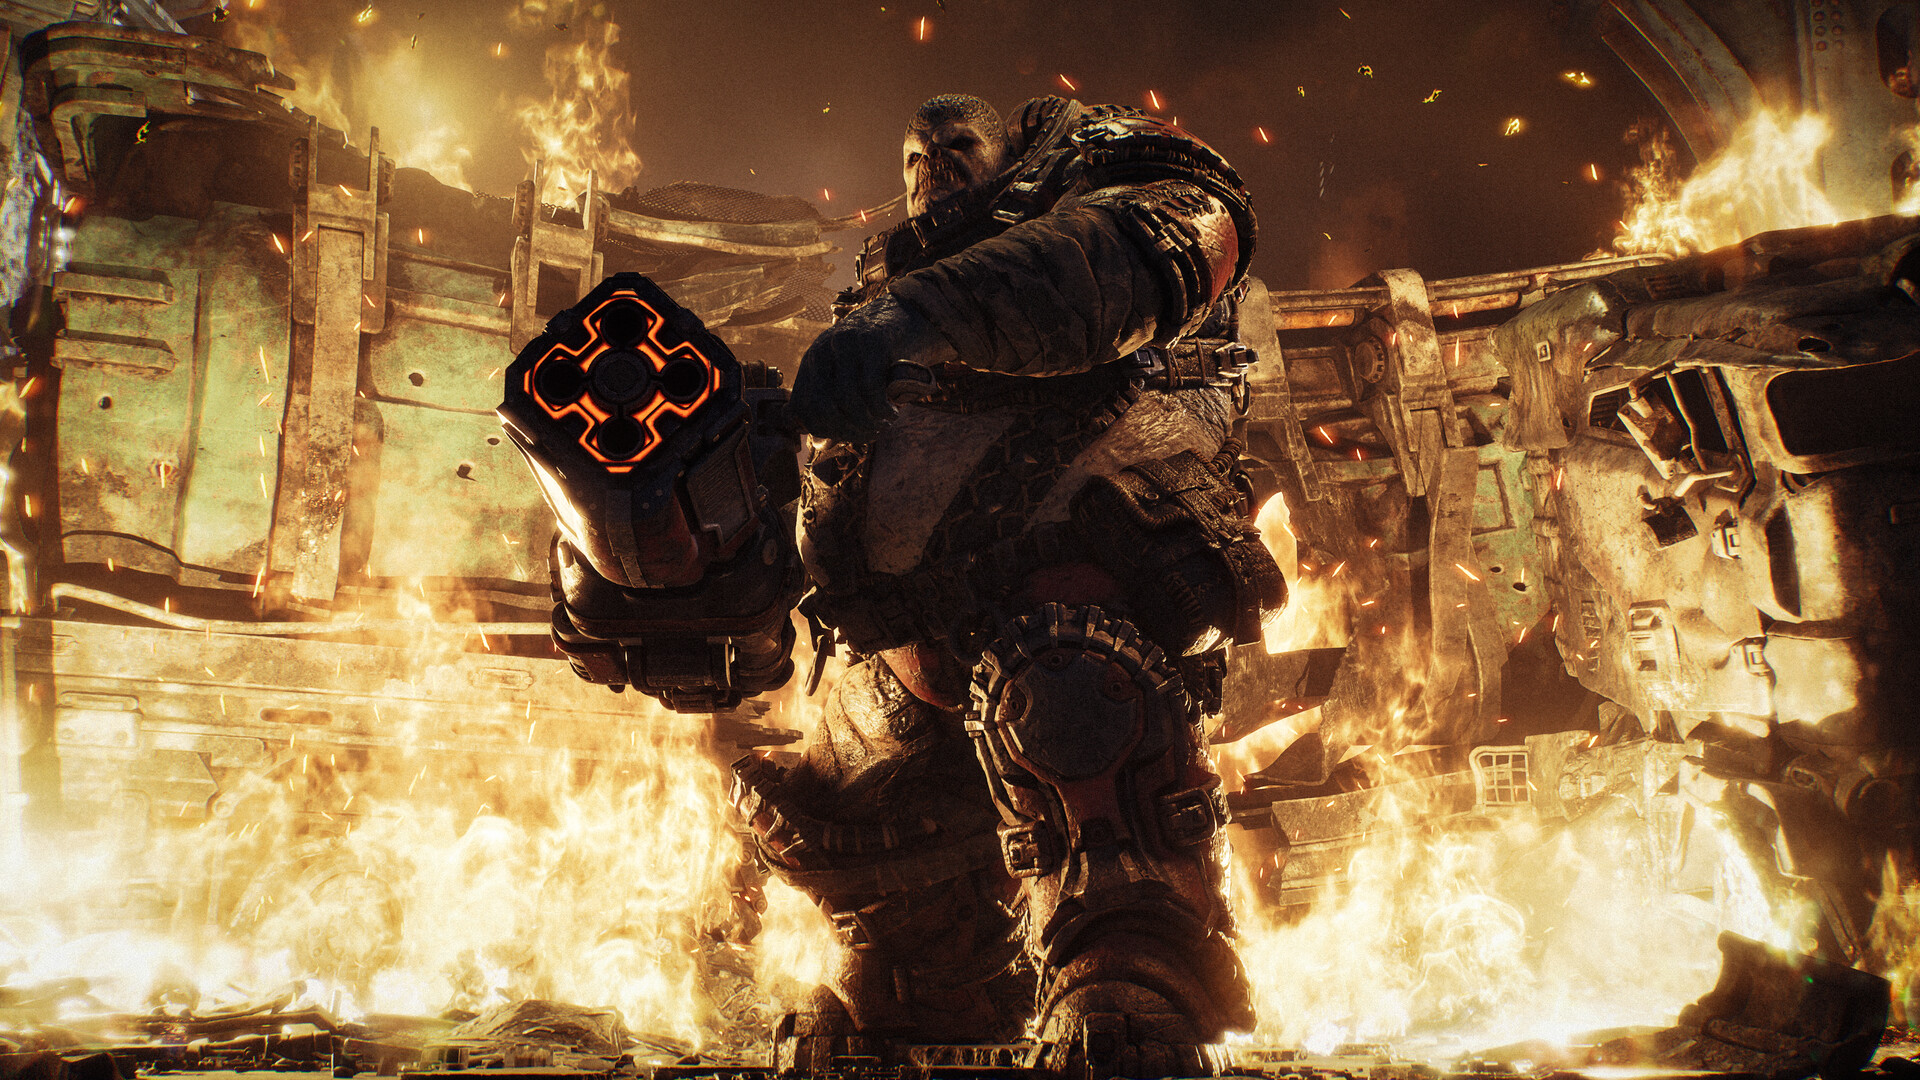
Step 1-3: escort Mayor Shaw and shut down the Emergence Holes
- Step 1. Clear the first stretch of street in short bursts. Advance a block, drop the Locust in your immediate path, then wait for Shaw's group to catch up before pushing further. Rushing ahead strands the escort.
- Step 2. A block or two out, fresh Emergence Holes start opening in the street near City Hall, and Locust keep climbing out of each one for as long as it stays open. Do not try to kill every enemy that spills out of a hole; it will outpace you.
- Step 3. Throw a grenade directly into the center of an open hole to collapse it and stop the spawns for good. This is why resupplying before the escort matters. One grenade per hole is usually enough if the throw lands center mass.
Step 4: reach and defend City Hall
City Hall sits about one block past the Emergence Holes. Follow the sound of COG gunfire rather than hunting for a side entrance; the defenders out front mark the only way in. Help the Gears clear the attackers at the entrance, then take the brief lull to resupply again before the real defense starts.
A Grenade Launcher becomes available during the City Hall defense itself. Hold the trigger to charge it and release to detonate, and don't release it too close to your own cover or you'll catch the blast radius yourself. It is most effective when several Locust push the same approach lane at once, so save charged shots for exactly that instead of firing on cooldown.
The defense is a hold-the-line sequence: keep enemies from breaking the barricade until the assault loses momentum on its own. Once Mayor Shaw makes it inside, Marcus, Dom, Carter and Reyes come under formal COG command, and Bravo Squad is officially formed. That handoff is the emotional beat the chapter title is named for.
The first Brumak fight
The City Hall defense escalates into the campaign's first Brumak, one of the first genuinely dangerous threats Marcus and Dom face in E-Day. Stock up on ammunition before the fight actually starts, and grab a Gut-Puncher launcher if one is available nearby; its explosive rounds do real damage to a target this size, where the Lancer Mk1 alone will chew through ammo for very little return.
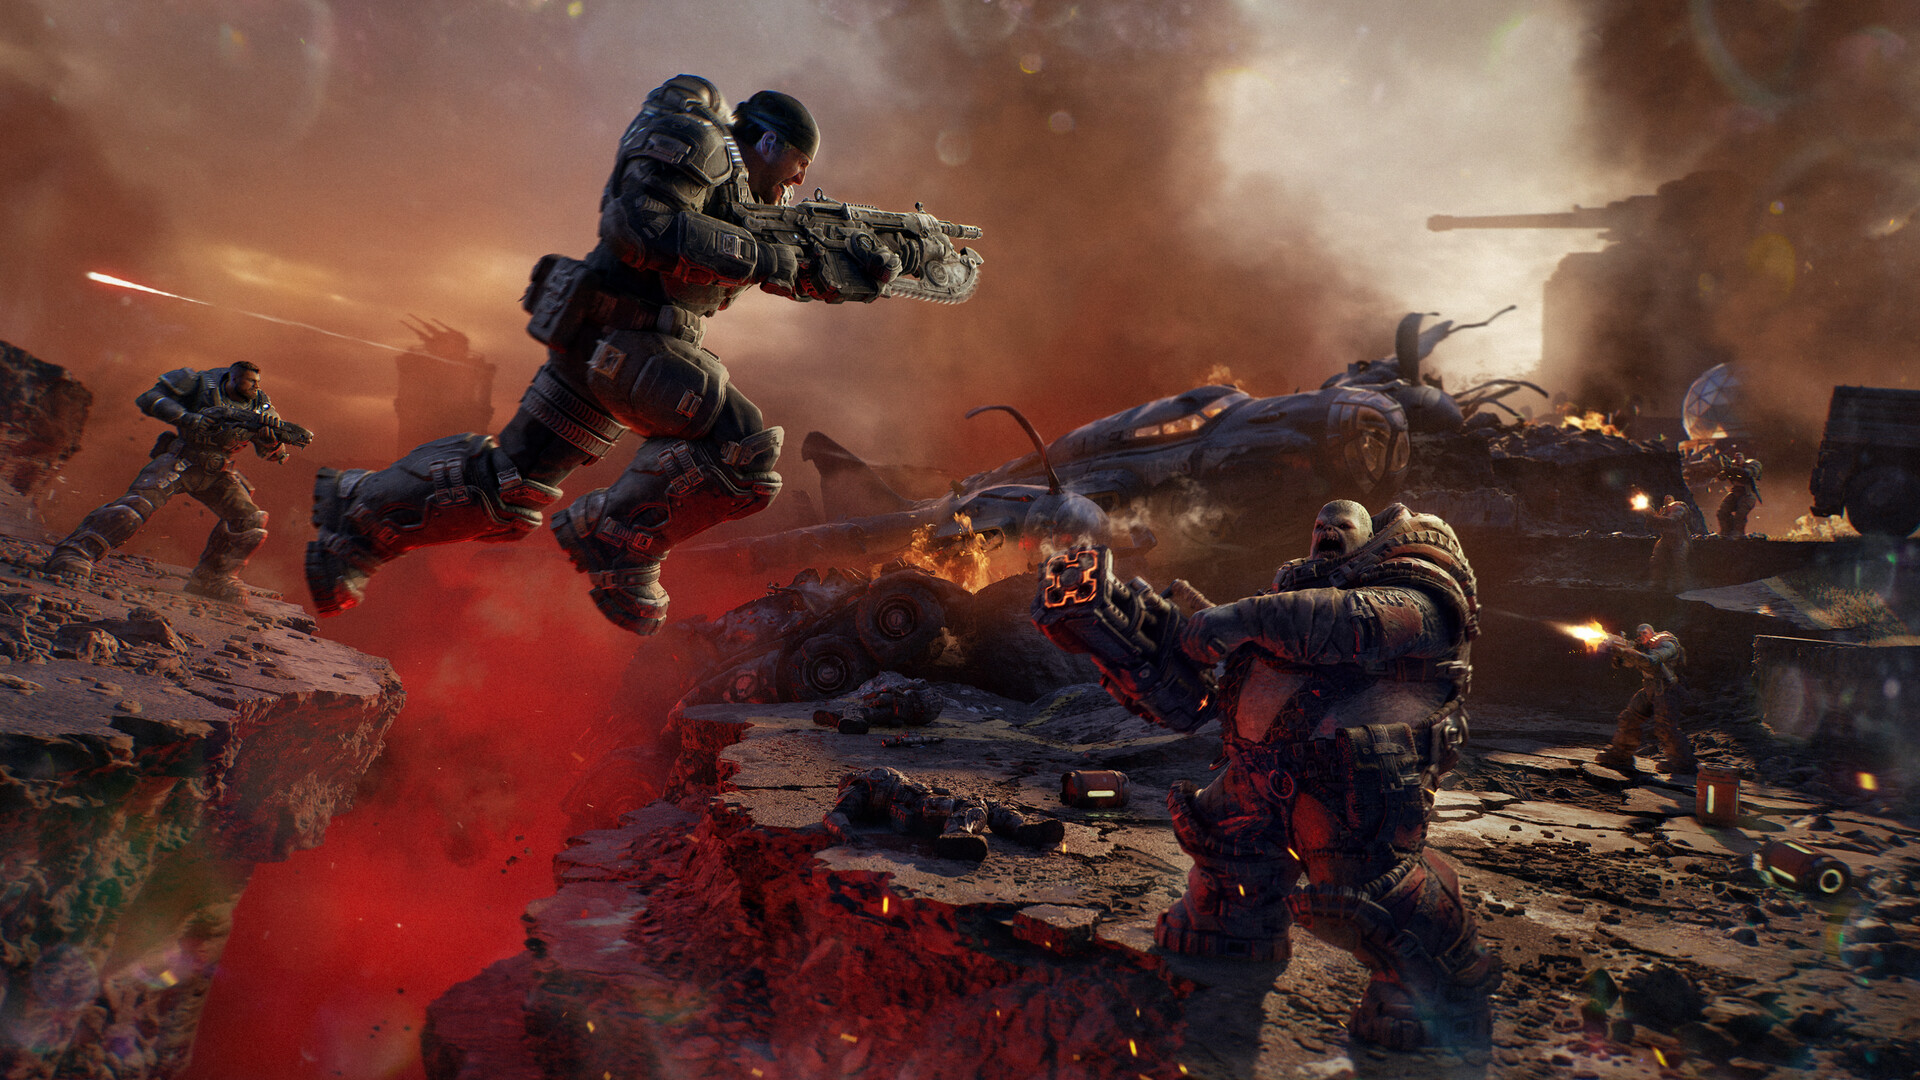
There is no scripted weak point and no separate phases to the fight. The Brumak has one health bar and closes distance fast, so the whole encounter comes down to positioning: keep an obstacle between yourself and it at all times, and relocate the instant it turns to face your last position. Fire the Gut-Puncher at its head and chest, refill from the street ammo box when you run dry, and finish it off with the Lancer Mk1 once the Gut-Puncher ammo is gone. Expect the fight to run a couple of minutes if you keep moving and closer to forever if you plant yourself behind one piece of cover and hope. Guides that have timed the encounter put a clean Gut-Puncher run at roughly two and a half minutes, which lines up with how much ammo you'll find staged around the City Hall courtyard; the game is clearly expecting you to use the launcher rather than fall back on the Lancer Mk1 for the whole fight.
- Don't stand in the open hoping for a clean shot; the Brumak will close the gap faster than you can reposition from exposed ground.
- Prioritize staying alive over maximizing damage per exchange. A slower fight you survive beats a fast one where you get downed and have to restart the encounter.
- Clear smaller Locust first if they're crowding your cover. They do less damage individually but they're what actually forces you into the open.
Collectibles in Back in the Fold
Back in the Fold carries four collectibles, the most of any chapter in Act 1 (Emergence has three, Survival of the Fittest has four, and A Gear in Need has two). Press LB to pull up the Tac-Com, which highlights any collectible within a fairly short range, then hold X to pick it up once you're standing near it. One confirmed item this chapter is the front page of the Tyran Chronicle, a newspaper clipping tucked along the escort route rather than off in a side room, consistent with how this chapter keeps you moving forward instead of backtracking. Sweep your Tac-Com at the start of each new street segment rather than waiting until combat ends; a couple of the others sit close enough to the Emergence Hole fight that it's easy to walk straight past them in the chaos. There's no penalty for going back to resweep a cleared area once a fight ends and before you move to the next street segment, and doing so is the most reliable way to catch anything the Tac-Com's short range missed the first time through.
Quick checklist
- Resupply before leaving the shelter and again after clearing the City Hall entrance.
- Advance in short bursts and let Mayor Shaw's group catch up before pushing further.
- Throw a grenade into the center of each Emergence Hole instead of fighting every spawn.
- Release the Grenade Launcher's charged shot on clustered enemies, not single targets.
- Grab a Gut-Puncher before the Brumak fight and keep an obstacle between you and it the entire time.
- Sweep your Tac-Com (LB) at each street segment to catch all four collectibles.
Chapter 4 ends Act 1 the moment the Brumak goes down. From here the campaign moves to Act 2 and Legacy Bridge, where Bravo Squad gets its first mission as an official unit. For the chapter before this one, see our Chapter 3 walkthrough of A Gear in Need at the Pay-N-Save. Full platform, pricing and system details are on the official Xbox game page and the Steam store page, and background on the series and this prequel's place in it is on the official Gears of War site and Wikipedia. The game carries an ESRB Mature 17+ rating for blood and gore, intense violence and strong language.