ARC Raiders: How to Beat a Bastion Without Losing Your Shields
A practical breakdown of the Bastion fight in ARC Raiders: its weak points, the gatling-burst timing, squad roles, and what to loot first once it goes down.


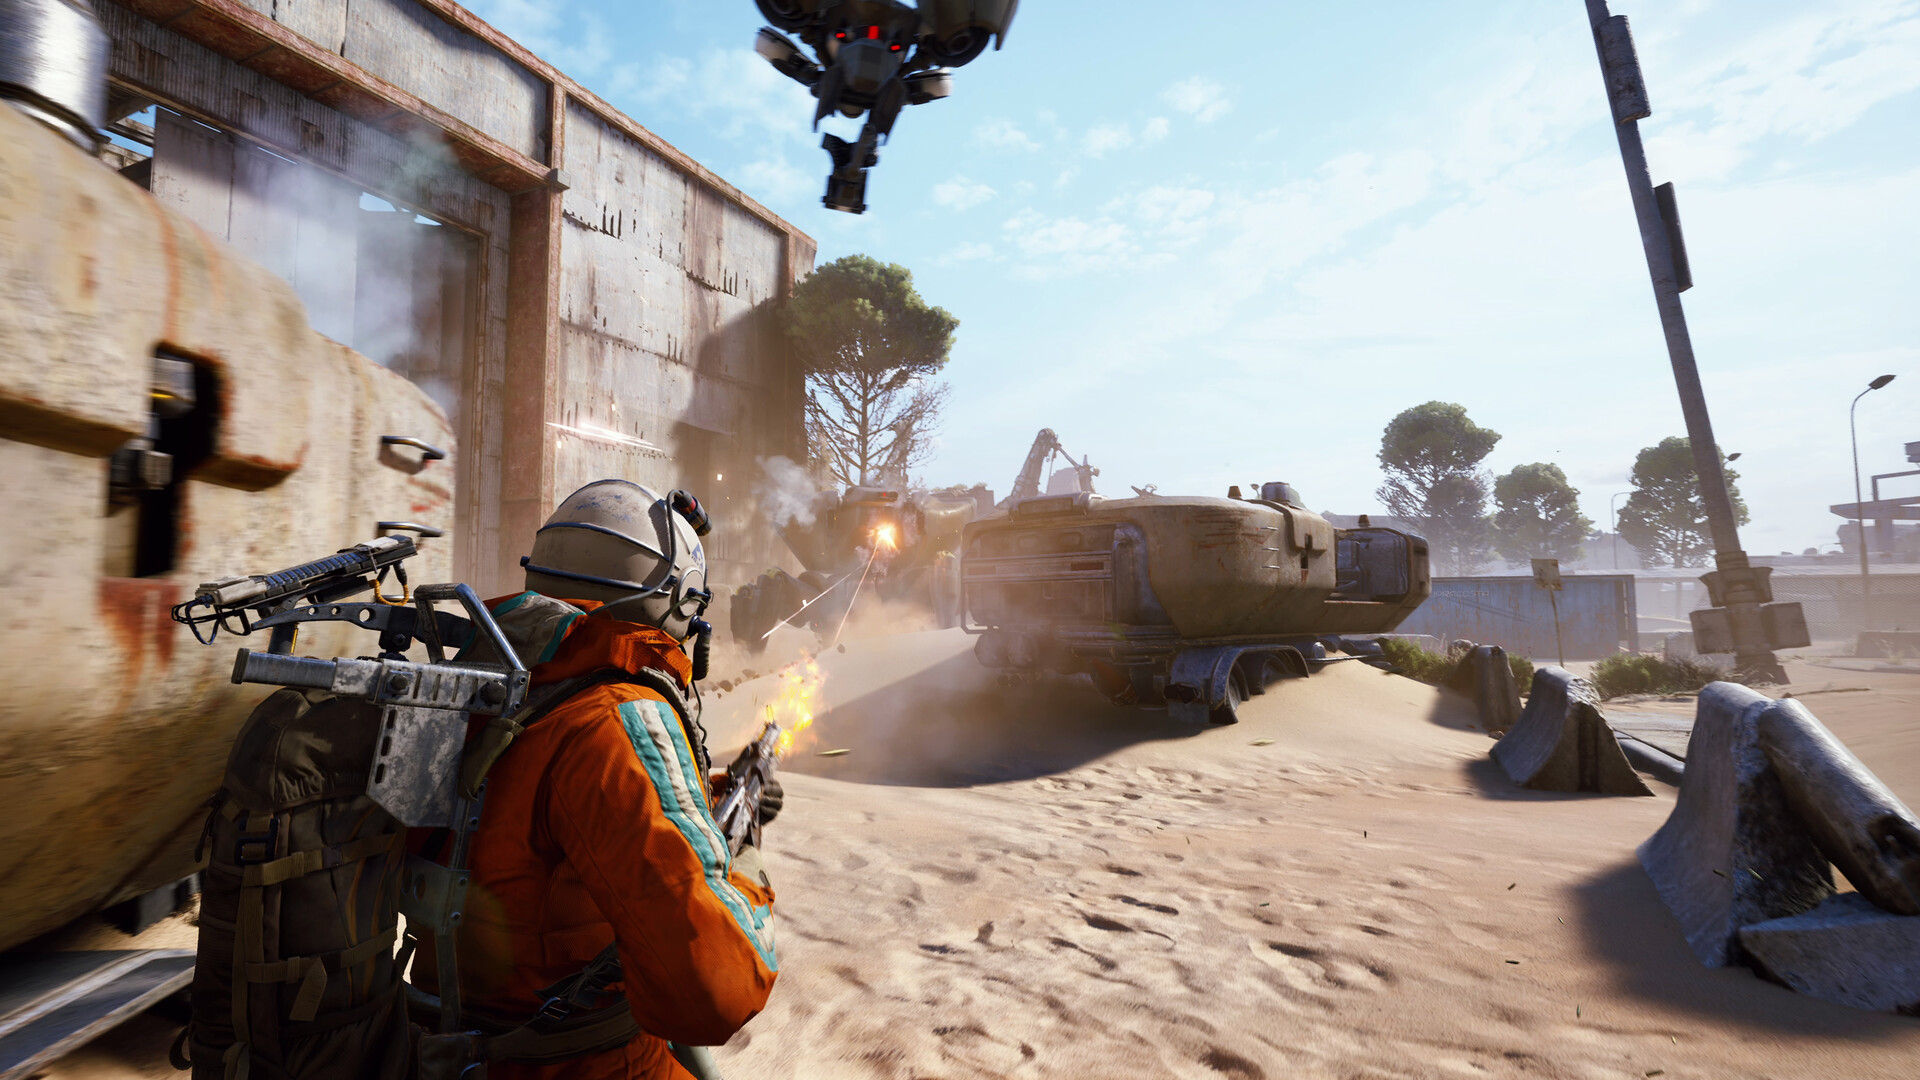
A heavily armored ARC machine bears down on a Raider sheltering behind a wrecked car. Image: Embark Studios.
The Bastion is the machine most ARC Raiders players learn to fear before they learn to beat. It is a ground-bound tank on legs, built around a front-mounted gatling gun that can strip armor and shields in seconds, and it shows up often enough on Dam Battlegrounds, The Spaceport, Buried City, Blue Gate and Stella Montis that avoiding it entirely is not a real option as of October 2026. The good news is that a Bastion fight is one of the most predictable in the game once you know where to shoot and when.
What You're Actually Fighting
A Bastion moves slowly and telegraphs almost everything it does, which is the opposite of how it feels the first time its minigun opens up. Its front plating absorbs most incoming fire with little effect, so trading shots head-on just burns your ammo. It usually isn't alone either: Wasps and Hornets tend to buzz in once a Bastion starts shooting, since the noise draws in whatever else is nearby, so treat this as a fight that can escalate rather than a clean one-on-one.
Read the Weak Points Before You Engage
Everything about beating a Bastion efficiently comes down to two targets:
- The leg joints: glowing yellow kneecaps on each leg. Landing hits here can briefly buckle the machine and tip its top section up, which exposes the midsection underneath.
- The rear canister: a yellow cylindrical tank on its back. Destroying it strips the rear hull plate and opens the innards to direct damage.
Its loud pre-fire screech is your cue to get behind cover immediately: that sound means a roughly three-second gatling burst is coming, aimed wherever you were standing when it started. Waiting out that burst behind hard cover, then popping out during the pause, is the core rhythm of the whole encounter.
The Fight, Step by Step
Start the engagement from behind hard cover at medium range rather than rushing in. Fire on the leg joints first; two or three solid hits on a kneecap will stagger it and buy you a window. Use that window to either keep hitting the legs or to flank toward the rear canister, since both routes eventually expose the same soft midsection. Heavy ammunition closes the fight fastest, and a Wolfpack-style grenade thrown at a staggered Bastion can take a meaningful chunk off what's left of its health in one go, though neither is strictly required if you're patient with cover.
If you're running with a squad, split the job: one Raider on sustained leg damage, one on adds if Wasps or Hornets show up, and a third watching the surrounding sightlines so nothing flanks you while everyone's attention is on the machine. A Bastion that goes down clean, without a second machine or an enemy squad arriving mid-fight, is a fast fight even solo once you know the pattern.
What Drops When It's Down
A destroyed Bastion scatters a mix of crafting materials: expect ARC Alloy, Mechanical Components, Medium Gun Parts and Medium Ammo most runs, with a chance at an Advanced ARC Powercell, ARC Circuitry or an ARC Motion Core. The item worth going out of your way for is the Bastion Cell, since it feeds directly into Gear Bench upgrades and isn't guaranteed on every kill. If you only have time to loot one thing before rotating out, check the wreckage near the rear canister first, since that's where the Cell tends to land.
Common Mistakes to Avoid
The fastest way to lose a Bastion fight is to stand in the open and trade shots with its front plating, which is built to shrug that off. The second fastest is ignoring the screech cue and getting caught mid-reposition when the gatling burst lands. And the third is finishing the fight loudly enough that every other Raider on the map knows exactly where you are and comes to collect what you just earned. Loot fast, loot the Cell first, and move.
The official ARC Raiders site and the game's latest patch notes are worth checking before a session, since ARC behavior and drop tables have shifted across updates. For gear and class fundamentals, our own beginner loadout tips cover what to carry into a fight like this one. Background on the game itself is on Wikipedia and the Steam store page, and the ESRB's parent's guide covers what the Teen rating actually means in practice.