Gears of War: E-Day Chapter 3 Walkthrough: A Gear in Need at the Pay-N-Save
Chapter 3 of Gears of War: E-Day sends Bravo Squad to rescue a trapped Gear at the Pay-N-Save, fight through a store defense, and meet Mayor Shaw before the push to City Hall.

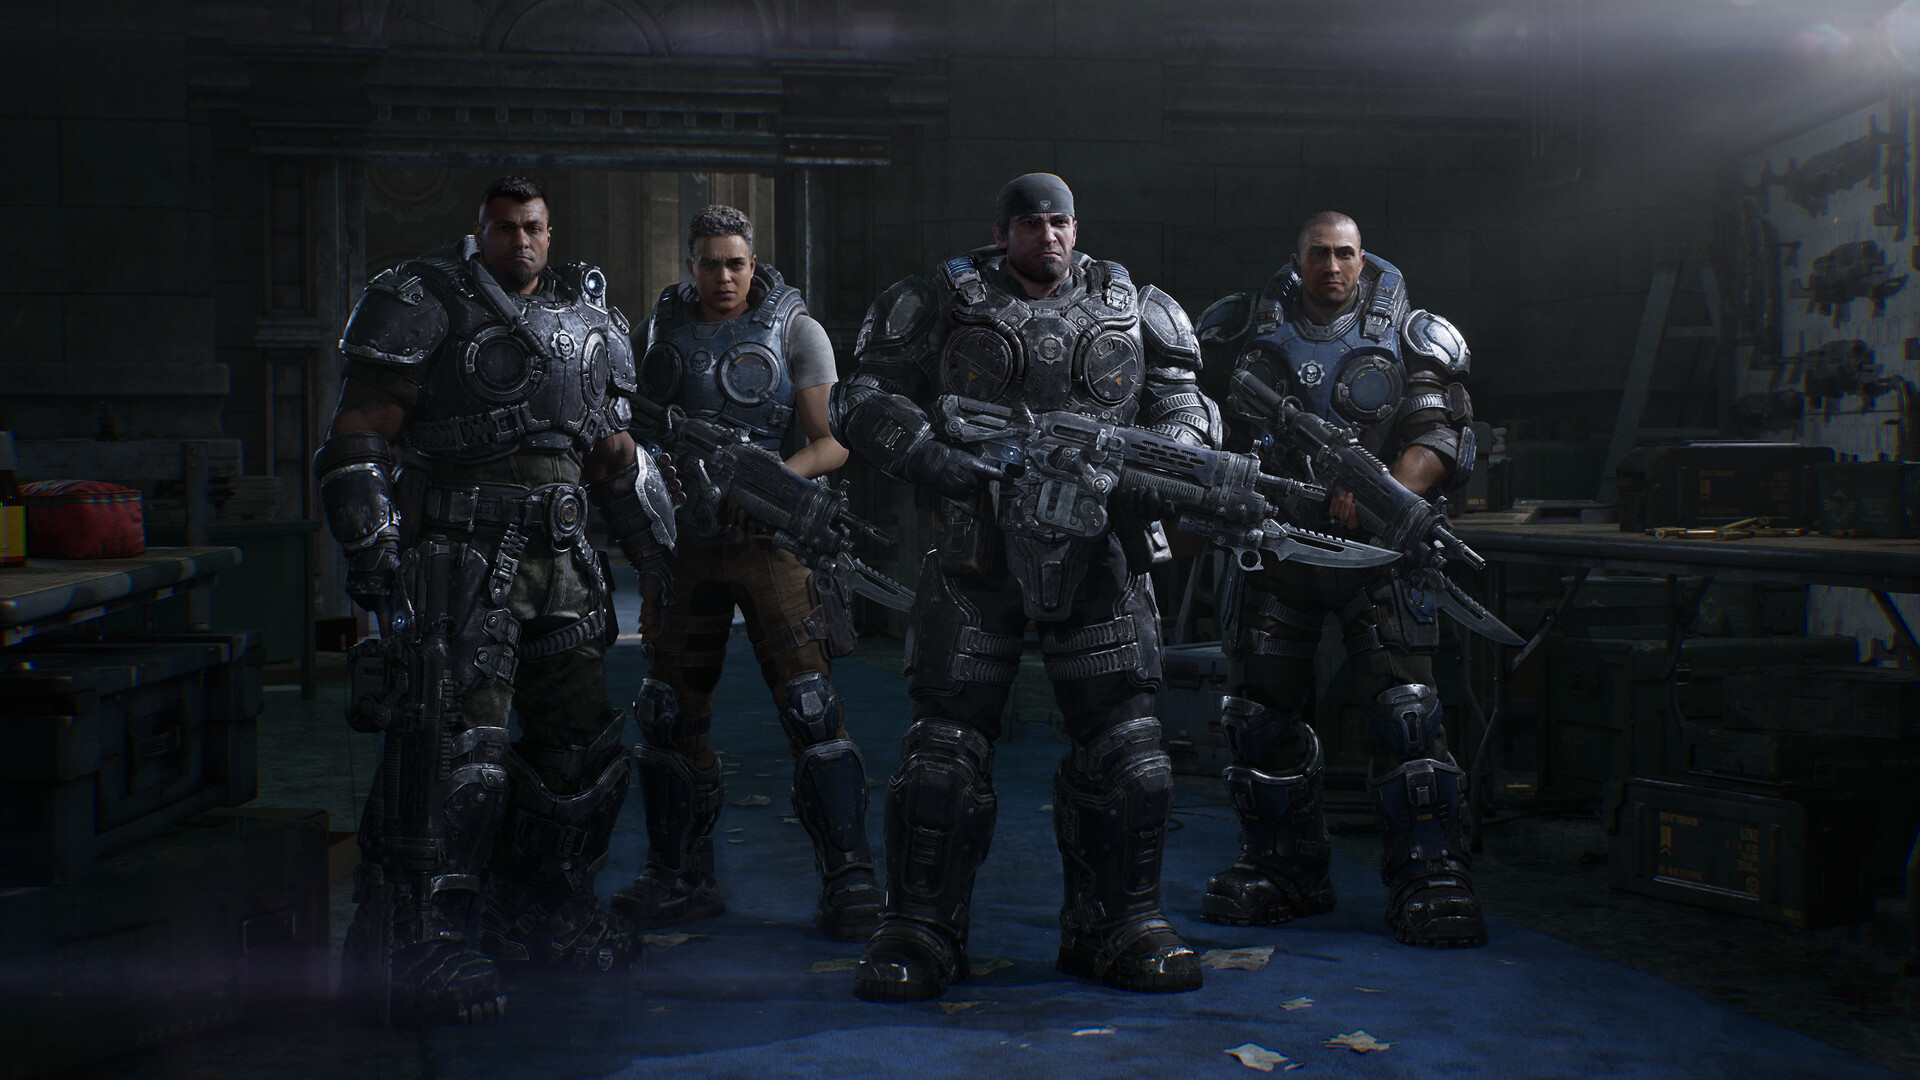
Marcus Fenix and Bravo Squad regroup in a Kalona shelter during Gears of War: E-Day's campaign. Image: The Coalition.
Chapter 3 of Gears of War: E-Day's campaign, "A Gear in Need," picks up right where Chapter 2's bus and Recruitment Center rescue left off. Bravo Squad is still clearing Kalona block by block on Emergence Day itself, and this time a police scanner call sends Marcus toward a Gear pinned down at a wrecked Pay-N-Save. As of October 2026 this is still the chapter where Marcus reconnects with Tai Kaliso and meets Mayor Shaw, and it sets the objective for the rest of Act 1: get her to City Hall. Here's how to get through the street fight, the store, and the quieter scene that follows.
Before the Pay-N-Save Call
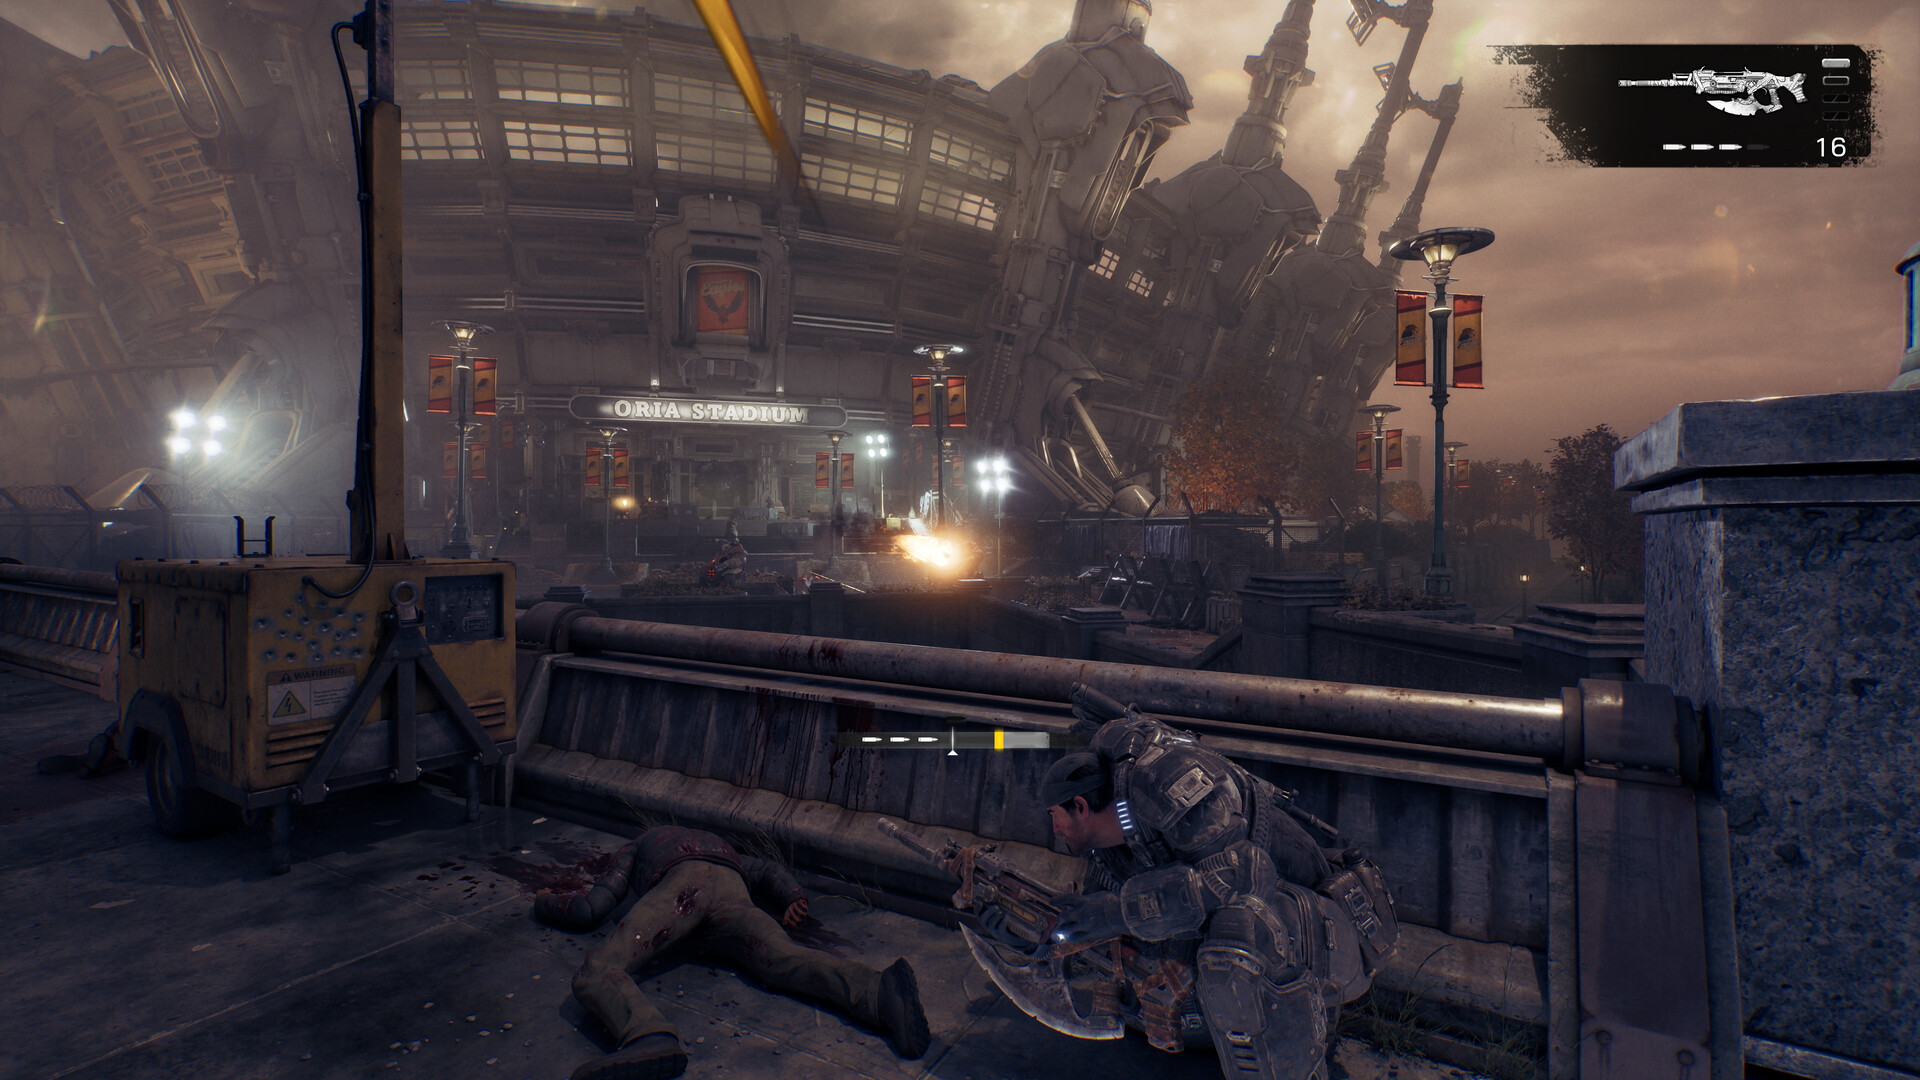
Chapter 3 opens with Bravo Squad still out on the street rather than back at Police HQ, and the game doesn't give you a loading screen's worth of downtime before the next fight starts. A police scanner picks up a Gear calling for backup from the Pay-N-Save, a grocery store on the far side of a collapsed apartment block near Oria Stadium. The surrounding streets are torn apart enough that there's no clean road straight there — you'll be climbing through the wreckage rather than walking around it, which is the chapter's way of making Kalona feel like it's actively falling apart under you rather than just serving as a backdrop.
That matters for how you should approach the next few minutes. Nothing about this chapter expects you to clear every pocket of resistance perfectly; it's built around forward momentum, with each objective leading straight into the next crisis rather than giving you a breather in between. Treat ammo and cover as things to manage on the move, not things to fully top off before you push forward, since the chapter rarely lets you sit still for long.
Step 1: Survive the Opening Push
Before you can even start toward the Pay-N-Save, a claw tears through the ground nearby and opens a hole that Locust forces pour out of. Get to cover immediately rather than trying to out-run the first wave; this fight is built to punish players who try to sprint past it. Push toward higher ground on the right side of the area if it's available, clear the close-range threats first, and save the enemies firing from range for when you've got an angle on them. The two enemy types you'll see most through this chapter are:
- Crawlers — fast and erratic at close range; they die quickly but close distance in a hurry, so don't let a pack of them reach you while you're reloading.
- Drones — hold ground and fire from range; they're the ones that punish a straight run across open street, so treat any Locust near the collapsed hole as a Drone until you've confirmed otherwise.
Once the immediate wave is down, loot the ammo the Drones drop before moving on — you'll want a full load before the store fight later in the chapter. If you're carrying a sidearm from Chapter 2 alongside your starting Lancer, this is a good spot to use it: Crawlers go down fast to a well-placed pistol shot, which saves your rifle ammo for the Drones that actually need sustained fire to put down.
Step 2: Cross the Collapsed Block to the Pay-N-Save
With the street clear, climb the rubble of the collapsed building ahead and use it to cross to the far side rather than hunting for a ground-level path — there isn't one. The route takes you through the building's interior: down a staircase, through a gap in the floor to the level below, and out through a section of broken wall that puts you back on the street facing the Pay-N-Save directly. A Rusher typically attacks somewhere along this stretch, usually near the warehouse side of the store, so keep a melee counter or a point-blank Gnasher blast ready rather than trying to backpedal and aim at something built to close distance fast.
The store's warehouse entrance is on the right once you reach it. Clear any Crawlers in the immediate area before heading in, since the chapter doesn't give you a safe moment to loot once you're inside. Players chasing the full collectible set should take a moment here, too — a couple of small, easy-to-miss items sit along this stretch of the route, tucked near debris and the bodies of earlier casualties, and both are simple to walk straight past if you're rushing toward the warehouse door.
Step 3: Clear the Store and Reunite with Tai
The trapped Gear is just inside, and the priority is clearing the Locust pressing him before he goes down — stay in the immediate area until the attack stops rather than pushing deeper into the store first. Once it's secure, he tells Marcus his own squad didn't make it and points toward more survivors nearby, which is the cue for a second, larger wave: a swarm of Locust and Drones floods in through the store's broken storefront. Use the checkout counters and shelving for cover, pick up ammo as you clear each push, and fire in short, controlled bursts rather than holding the trigger down — Kalona's Locust close distance fast enough that a wasted magazine here can leave you empty exactly when you need it.
A scripted moment follows the second wave: a larger Locust grabs Marcus when his rifle jams, and Tai Kaliso — who's been protecting a group of survivors nearby — steps in with his chainsaw to finish it. Once control returns to you, there's a second small collectible sitting a few steps away on the store floor, worth grabbing before you move on since the next beat triggers a cutscene that locks the area behind you. Tai then leads Marcus toward the survivors sheltering a short distance away, which is where the chapter's tone shifts from combat to its first real character scene.
After the Rescue: Mayor Shaw and the Push to City Hall
Following Tai brings Marcus to the group of civilians he's been protecting, and this is where Marcus meets Mayor Shaw for the first time. She refuses to stay put at Police HQ and instead wants to reach City Hall, where she believes the city can actually organize medical support and emergency shelter rather than just scattering survivors between whatever buildings are still standing. That becomes the squad's objective for the remainder of Act 1, carrying straight into Chapter 4, "Back in the Fold." The chapter itself winds down quietly from here — there's no second ambush waiting once Shaw sets the objective, so take the moment to loot anything left in the store before you follow the squad out.
If you've been collecting items along the way, this chapter and the last one share a theme: Kalona keeps punishing anyone who stops moving, which is also the throughline the early-game difficulty and loadout tips for this campaign are built around.
Quick Checklist Before You Leave
- Clear the opening street wave from cover rather than sprinting for the collapsed building.
- Use the interior route through the wrecked apartment block — there's no clean street-level path to the Pay-N-Save.
- Watch for a Rusher near the warehouse entrance and have a melee counter ready.
- Save ammo for the second, larger wave inside the store rather than burning it all on the rescue fight.
- Top off ammo in the store before following Tai out, since Chapter 4 opens on an escort mission with little room to resupply.
Gears of War: E-Day is rated Mature by the ESRB and is available now on Xbox Series X|S, PC, and Steam, with day-one access through Xbox Game Pass. For more on the story's setup and the cast returning for this prequel, see the game's background on Wikipedia or the launch coverage on Xbox Wire.