AION 2: How to Beat All Three Bosses in the Draupnir Cave Expedition
Draupnir Cave is the level 45 Expedition dungeon tripping up new AION 2 parties. Here is how to beat Saraswati, Lakshmi and Transcendent Bakarma without wiping.

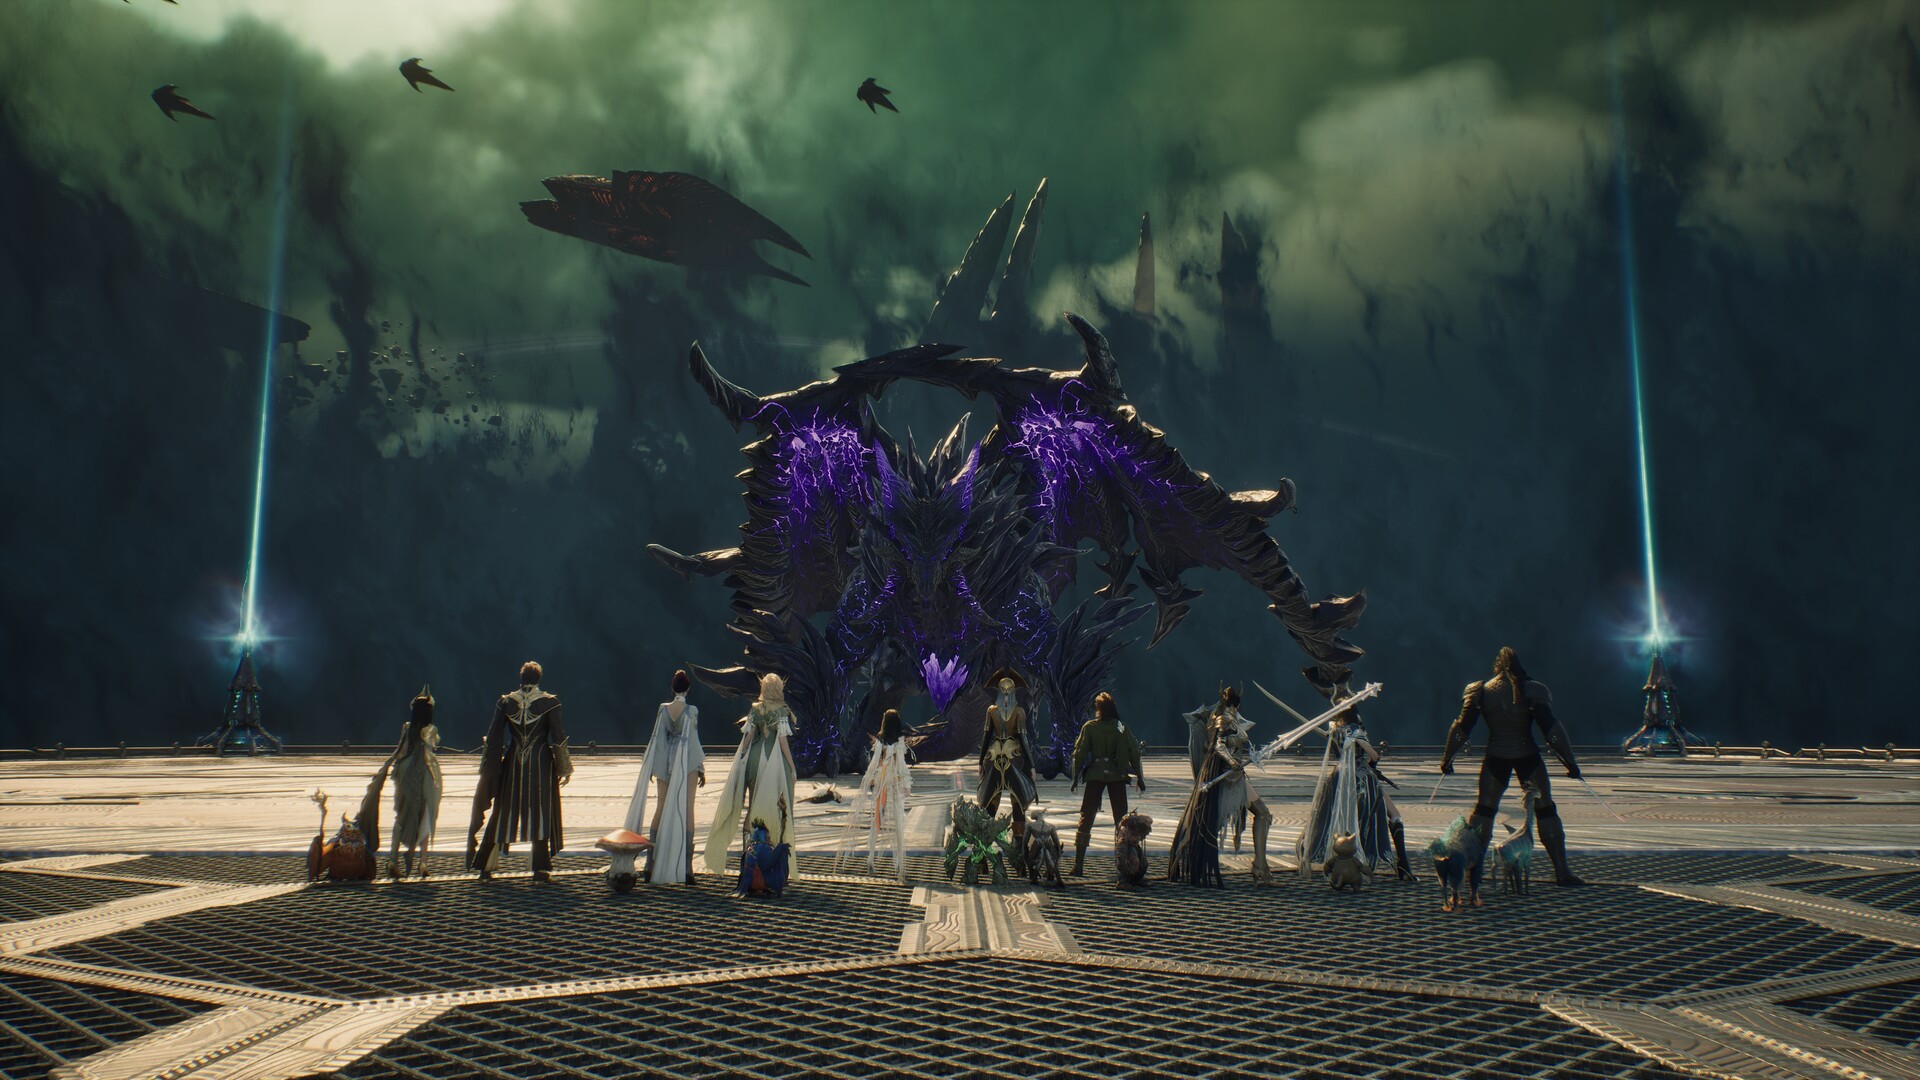
Raid-scale content in AION 2 pits full parties against towering Balaur bosses. Image: NCSOFT.
Draupnir Cave is the Expedition dungeon most AION 2 players run into first once they clear the level 45 gate: a 1-to-5 player instance locked behind 700 item level and a 60-minute clock, with three bosses standing between you and a vault of Anguish gear. It is also the point where a lot of parties wipe for the first time, usually on the same two mechanics. Here is what each boss does and how to get through all three without burning the whole run.
Getting into Draupnir Cave
Draupnir Cave runs in two modes. Exploration sends you through all three bosses in order and is the mode to pick if you want the Saraswati Earrings or Lakshmi Necklace. Conquest skips both mid-bosses and drops you straight in front of the final boss, which is faster but means fewer item drops along the way. Either way, the first thing your party meets is the Abyss Entrance Control Device: have your tank hold aggro on the enemies that swarm the moment someone starts channeling it, then jump into the whirlpool ahead and glide down. Past that point, assign one player to run ahead and activate the Kibelisks marked on your map before the rest of the group clears the first boss.
Predator Saraswati: respect the puddles
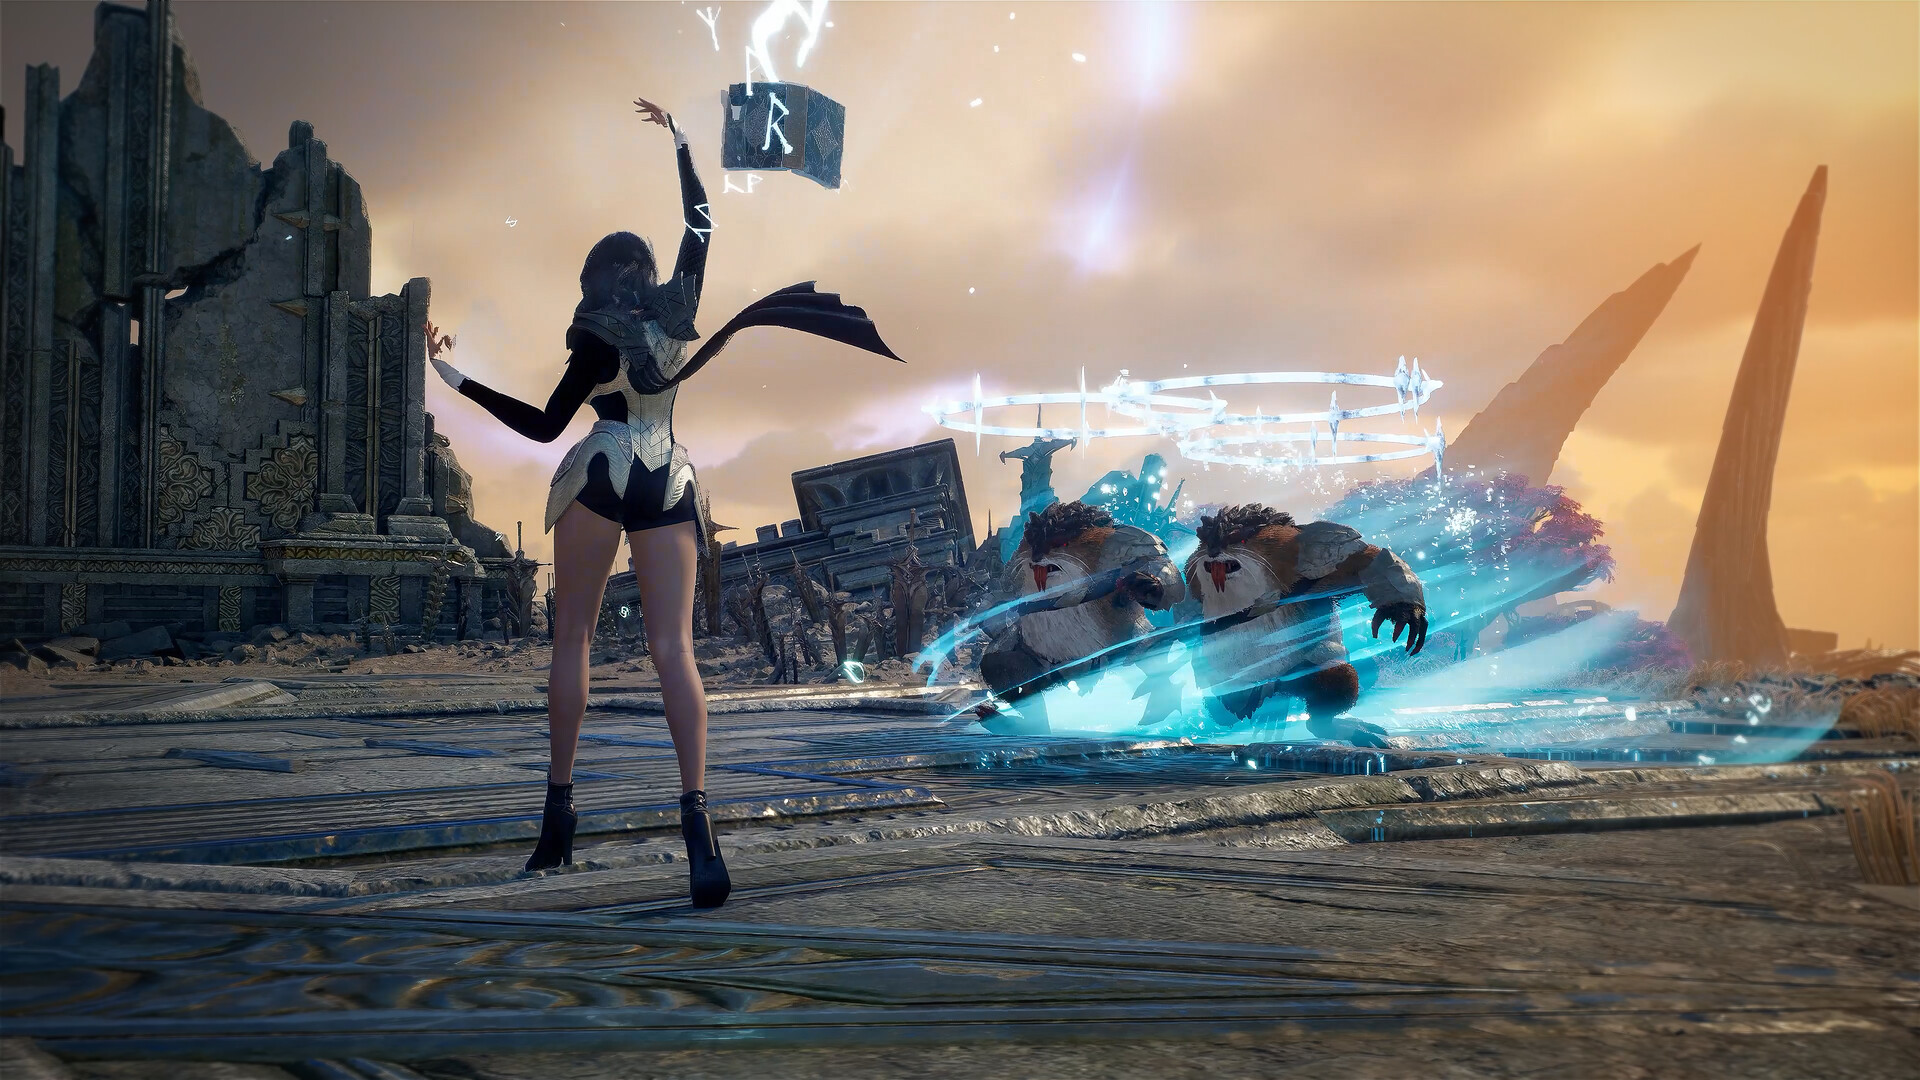
Saraswati is the easier of the two mid-bosses, and most of the fight comes down to footwork. She leaves blue poisonous pools on the ground that deal escalating damage the longer you stand in them, and significantly more on Hard mode, so treat every puddle as instantly lethal and step out the moment one appears under you. Her other dangerous attack targets a single player with a root, followed by a cone-shaped poison cloud that turns whoever it hits into a larva, stripping their control entirely until it wears off. She also throws out three circular AoEs in sequence that leave their own puddles behind, so keep moving between casts rather than standing still to trade damage.
Phantasmal Lakshmi: kill the healer first
Lakshmi opens with a large aerial circular attack that stuns and hits hard if you eat it, so block it or dodge out with a sidestep the instant you see the windup. She likes to teleport directly behind a player before following up with smaller AoEs and falling projectiles that can also stun, so watch your flanks rather than only the boss model. At roughly half health she summons a healing minion, and killing that add immediately is non-negotiable, because letting it live turns a two-minute fight into a war of attrition. If you want a second opinion on team comp before you walk in, this rundown of how each Daeva class handles early dungeon content is worth a skim beforehand. One more wrinkle: after she calls out that agony comes back around, she reflects incoming damage for about eight seconds, so hold your burst until the window passes.
The Meditation Room gauntlet
Exploration parties don't walk straight from Lakshmi to the final boss. A trash gauntlet in the Meditation Room — Petty Officer Akvar, a pack of Draconute Task Soldiers and a Draconute Task Captain — stands in the way, and it hits harder than normal dungeon trash. Clear it as a group rather than splitting up, since isolated players get swarmed fast.

Transcendent Bakarma: the ring phases decide the run
Bakarma is where most Draupnir runs actually end. The baseline kit is manageable on its own: hard-to-read projectiles, a left-to-right sweep, circular ground AoEs and a body slam that hits the area directly in front of the boss. The real test comes at roughly 75 percent and again near a third of its health, when the party gets scattered and has to cross expanding rings to reach Bakarma and fill its stagger gauge before a timer runs out — fail that and the boss resets to full health or the group wipes outright. Jump the rings early rather than waiting for them to close, and don't turn around and run back the way you came the instant you land. On Hard, whirlpools join the rings at the first checkpoint and extra projectiles get added at the second. Right after the first stagger phase, Bakarma also does a jump attack to the edge of the arena and back, stamping a ring on each landing; stand still and let it come back rather than chasing it across the room. One last thing worth knowing before you pull: everyone needs to step into Bakarma's Subspace before the fight starts, or anyone left outside gets locked out for the rest of the run.
What you walk away with
A finished run ends with a Reward Cube that costs 40 Odyle Energy to open, on top of whatever the bosses themselves drop. The loot pool across a full clear includes:
- Anguish epic gear from the mid-bosses, including the Saraswati Earrings and Lakshmi Necklace
- The full Bakarma armor set — Guard, Breastplate, Greaves, Helm, Pauldrons, Gloves, Boots and Cloak — plus Anguish weapons and the Anguish Ring
- Crafting materials: Soul Codex, Silentium, Kina, Enhance Stones and Amplify Stone Fragments
- Cosmetics from Bakarma specifically: the Sealed Blue Wave Wings and the Artwork: Draupnir item
Normal mode cubes hand out 1 to 2 Amplify Stone Fragments and 70,000 Kina; Hard mode bumps that to 1 to 5 fragments and 170,000 Kina. A piece of Bakarma's equipment is guaranteed after 14 cubes on Normal or 28 on Hard, so the gear is worth chasing even on an unlucky streak. If you're still deciding which class to bring into content like this, the AION 2 starting class breakdown covers what each option is actually good at before you commit a full gear set to it.
AION 2 is published by NCSOFT and available now on the Steam store page and through the official AION 2 site; it carries a Teen rating from the ESRB. Background on the series is on Wikipedia.