Gears of War: E-Day Chapter 2 Walkthrough: Survival of the Fittest
Step-by-step coverage of Act 1 Chapter 2, from the Lancer Mk1 pickup in the armory to freeing civilians at the Recruitment Center, with collectibles, enemy tips and what Chapter 3 sets up next.

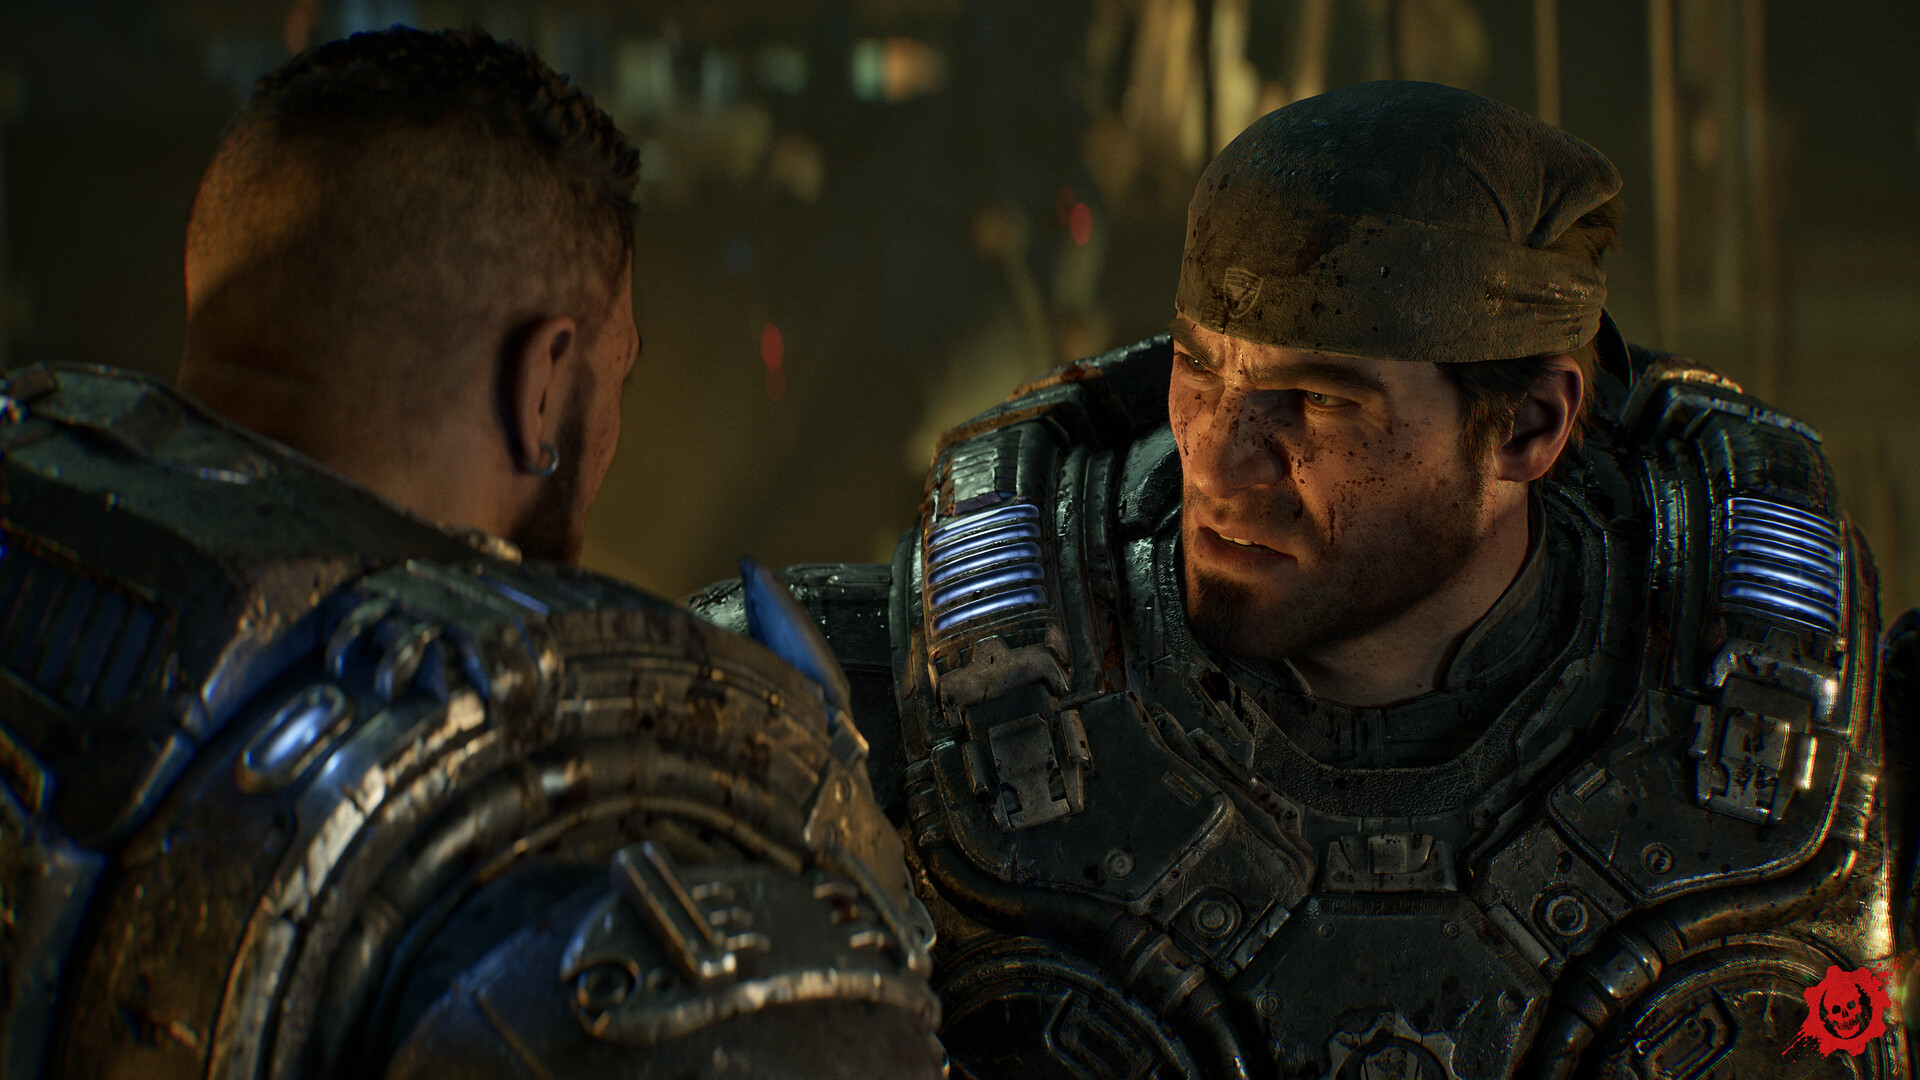
Marcus Fenix and Dom Santiago in the opening hours of Emergence Day. Image: The Coalition.
Chapter 1 ended with Marcus Fenix's squad forcing their way into Kalona Police Headquarters as the Locust assault tore the city apart. Chapter 2, "Survival of the Fittest," picks up seconds later and is the one where the campaign hands you your first real weapon upgrade and your first taste of open-street combat. This walkthrough covers the chapter as it plays as of October 2026, from the corridor ambush inside the station to the rescue at the Recruitment Center. Note that this is Act 1's Chapter 2 specifically: a later, unrelated mission in Act 2 is also numbered Chapter 2 and goes by "Hold the Line," so don't mix the two up when you're hunting for a video guide. The campaign is structured in five Acts, each with its own internal chapter numbering, which is why "Chapter 2" shows up more than once across a full playthrough.
You start this chapter still inside Police HQ, with the entrance behind you. Don't backtrack — the objective marker points toward the basement, and that's the only way forward. Walk the corridor slowly; the game uses this stretch to set up the first fight of the chapter rather than drop you straight into the next cutscene.
Step 1: Survive the Corridor Ambush
A Rusher breaks through a wall or grate partway down the corridor and grabs onto you or a squadmate. This is a quick melee-escape prompt, not a full firefight, so mash the input the game shows on screen rather than trying to aim and shoot your way out. Lucas Reyes, the squad's communications cadet, is the one who finishes the Rusher off once you've broken the grab — it's a small character beat as much as a combat one, since Reyes has no front-line experience and this is effectively his introduction to actually killing something. If you get caught a second time before the first one clears, back off and let him take point; the scripted sequence resolves faster that way.
Who You're Fighting
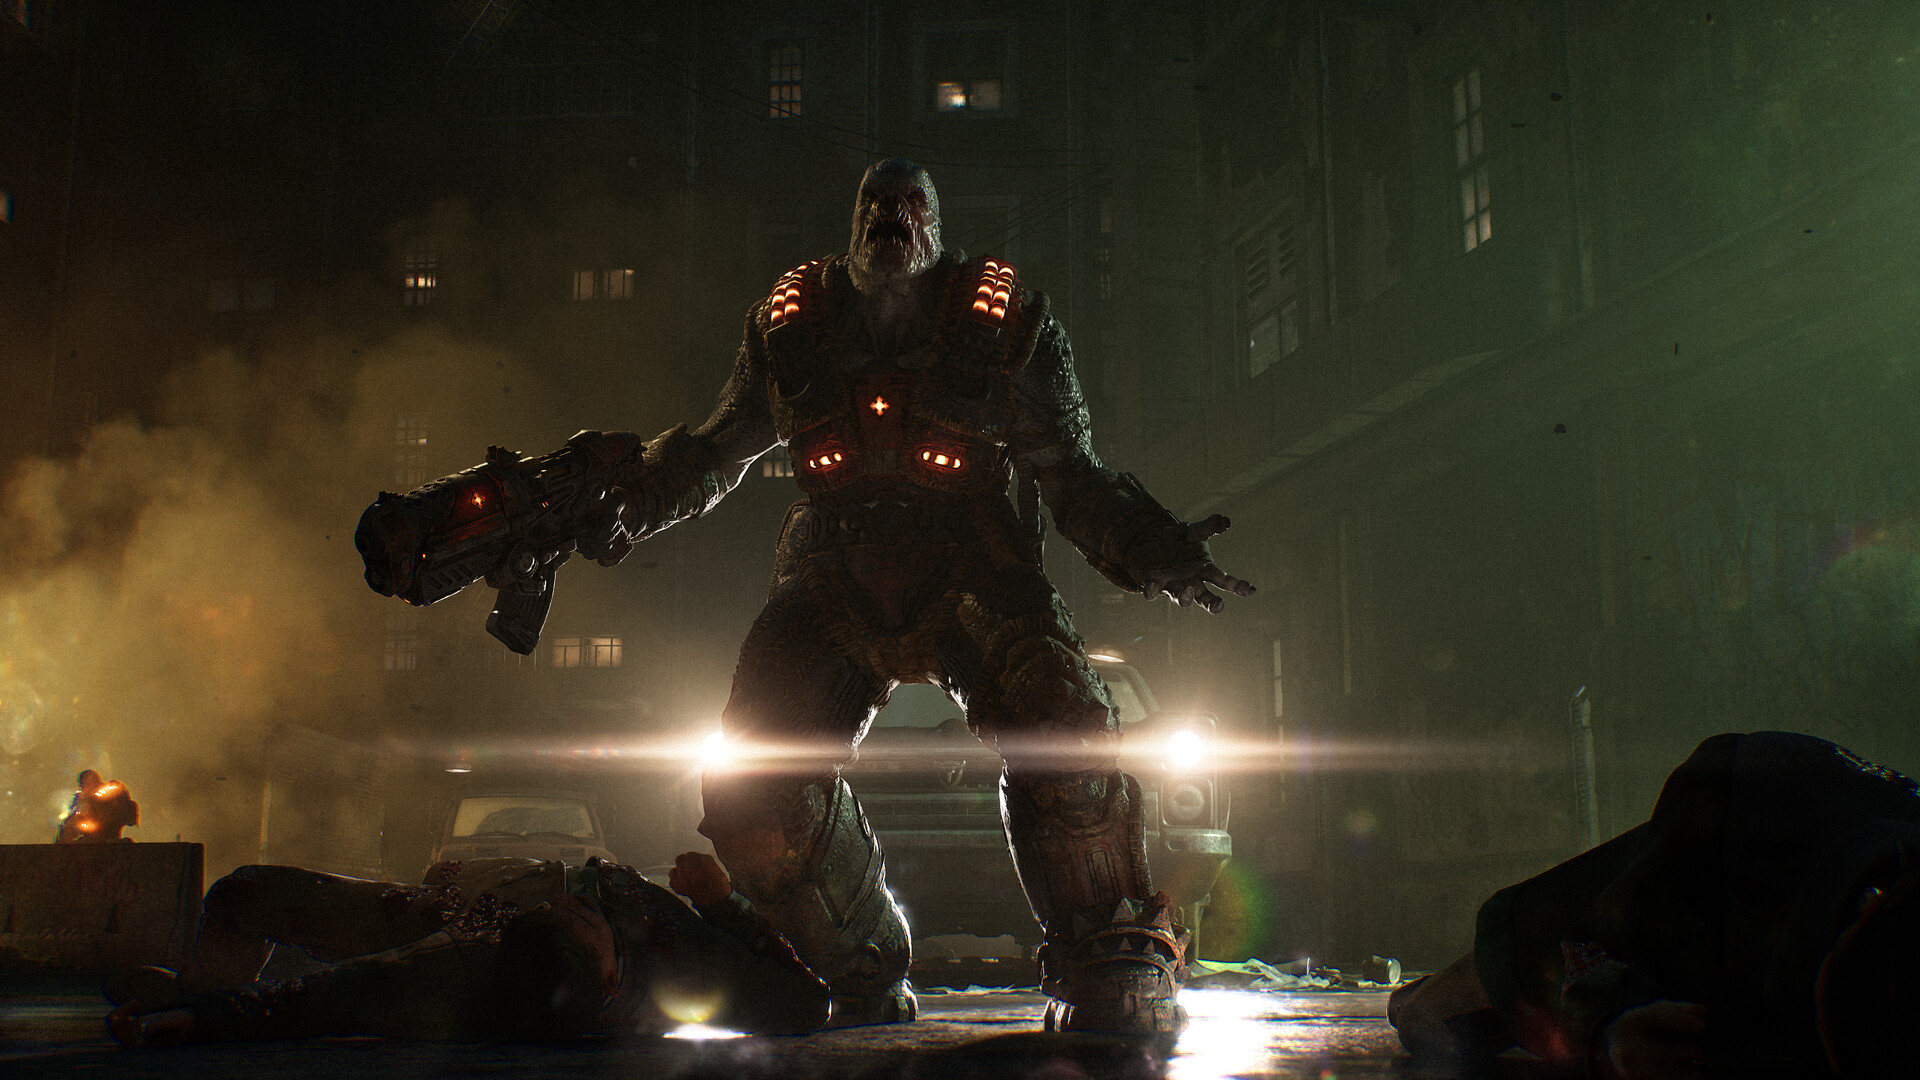
This chapter only throws two enemy types at you, and both reward a different approach. Rushers close distance fast and grab rather than shoot, so point-blank aggression or a clean melee counter beats trying to backpedal and aim. Drones hold their ground at range instead, picking you off from across a street or a plaza, which means the corridor tactics that work on Rushers get you killed against them — you want cover and an angle, not a direct push. The chapter is built around forcing you to switch between the two mindsets more than once, which is the real skill test here rather than any single fight being individually hard.
Step 2: Clear the Armory and the Firing Range
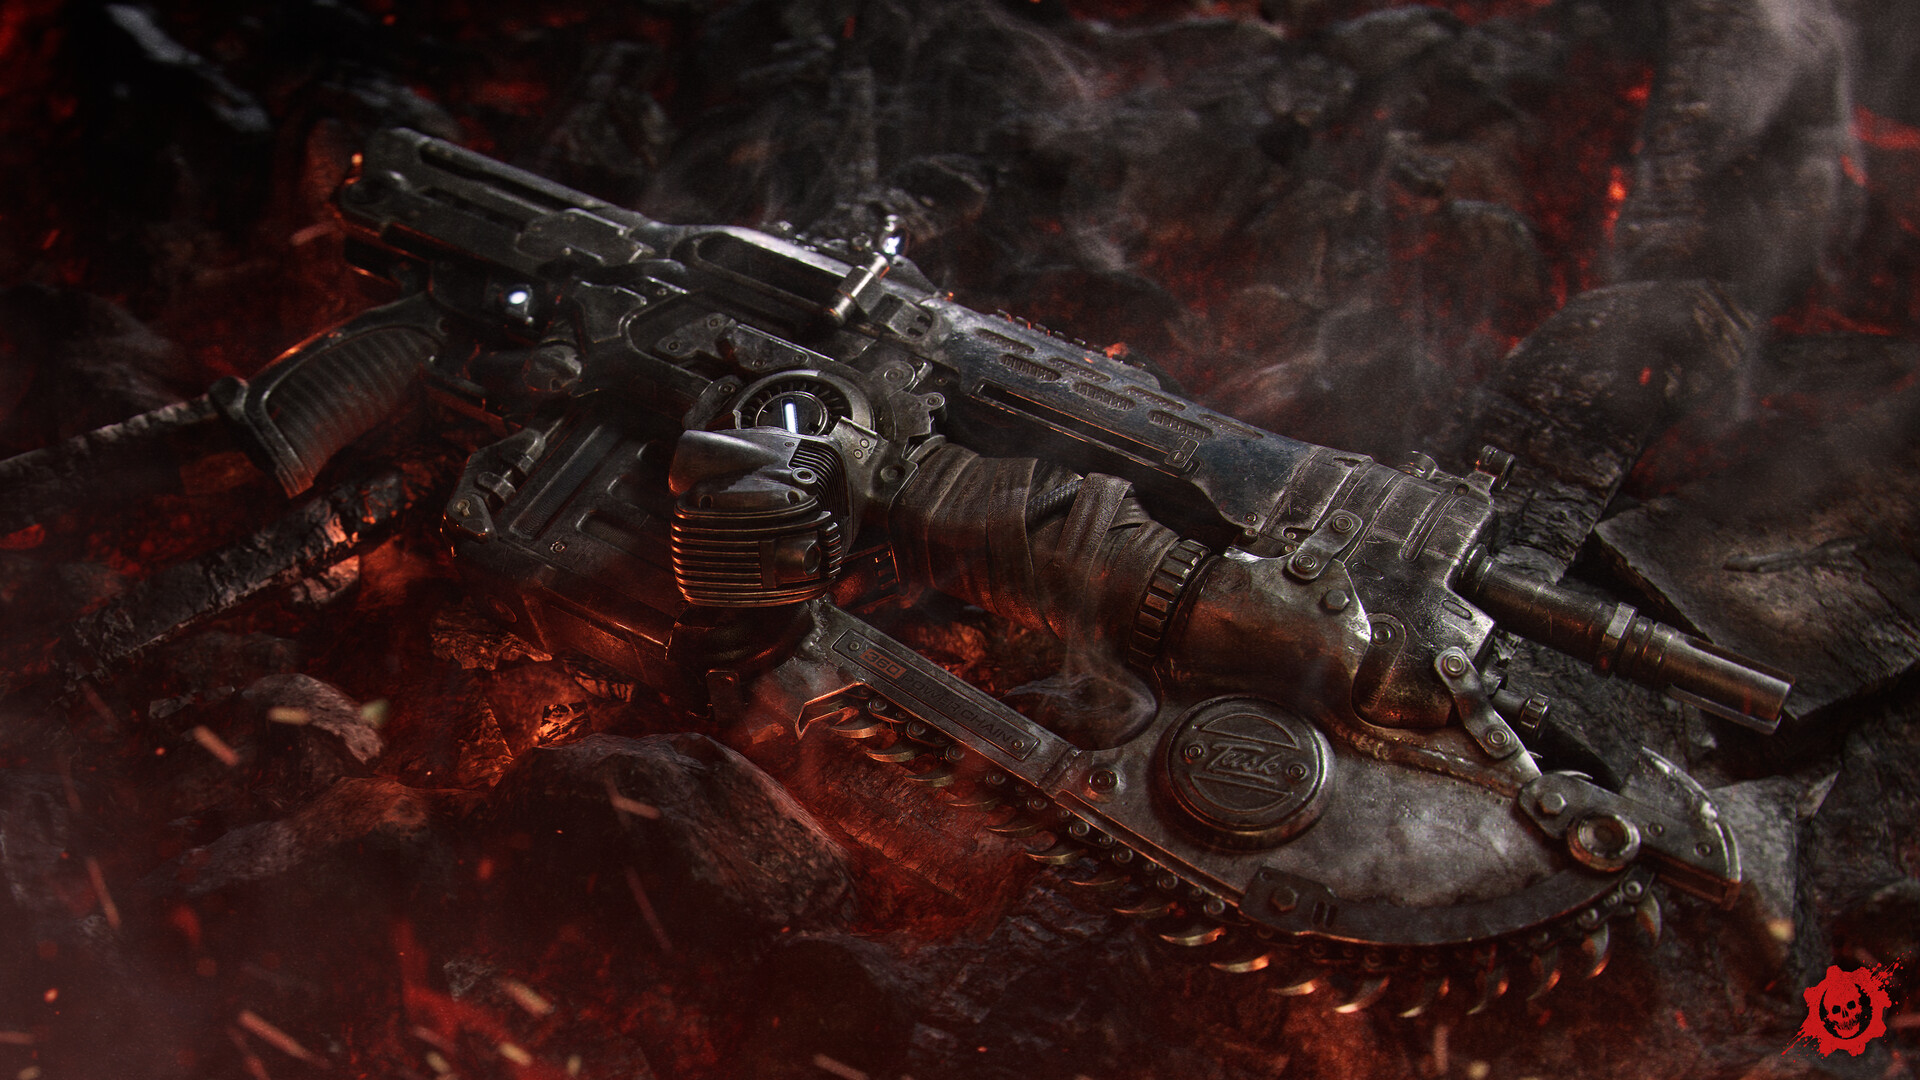
Through the metal door at the end of the corridor is the station armory. Pick up the Lancer Mk1 from the table along with its ammo — this is the chapter's headline upgrade, a bayonet-equipped prototype that predates the chainsaw-mounted Lancer the series is known for. It's a straight upgrade over the sidearm you've been carrying since Chapter 1, and you'll be using it through most of the rest of this chapter and into the next.
A nearby console activates the station's firing range. Hit it, and the floor opens to let Locust forces swarm the lane instead of paper targets. Hold your ground and use whatever cover the range offers; headshots with the Mk1 clear it fastest, and there's no reason to push forward into the open when the fight comes to you anyway. Before you leave this area, check the chief's office near Tactical Operations — there's a collectible badge on or near the slain chief's body that's easy to miss if you're moving fast toward the next objective.
- Lancer Mk1 — picked up on the armory table, your first weapon beyond the sidearm.
- KPD Police Bulletin — on the tables to the left as you first enter the station.
- Bloodied Police Chief's Badge — near the chief's body in the office/Tactical Operations area.
Step 3: Reach the Street and Free the Bus
Leaving the station puts you in the parking lot, where Locust forces are already attacking civilians near a stopped bus. Clear the immediate threats — expect more Rushers here, so keep your melee-escape reflexes ready — then open the bus to free the survivors inside. They're sent back into Police HQ for safety, and one of them reports a second group of civilians pinned down at the Recruitment Center a block away. It's a small moment, but it's also the chapter's thesis: every rescue just points you at the next one, and Kalona doesn't get any calmer the longer you stay out on the street.
The direct route is blocked, so look for the truck or car you can climb over and the fire-escape or ladder route above it instead of searching for a street-level path that doesn't exist. A Drone holds the alley beyond the blockage; it fires from range, so fight it from cover rather than rushing in — this is the first place the chapter really punishes you for treating every enemy like a Rusher. You'll find a Hammerburst rifle somewhere along this stretch, and it's the better pick against that kind of ranged pressure than the Lancer Mk1 alone, since its burst-fire pattern reaches across the alley's width more reliably than the Lancer's full-auto spread.
Step 4: Secure the Recruitment Center
The plaza in front of the Recruitment Center is defended by more Drones using the surrounding windows and rooftops as firing positions. Use the same vantage points yourself rather than crossing the open ground directly, and clear the plaza before pushing into the lobby. Inside, the civilians are waiting behind the reception counter — the Army Recruitment Pamphlet and a Try On Pilot Helmet collectible both sit near that same desk if you want the full set for this chapter.
Escort the survivors back out and toward Police HQ to close the chapter. No boss or mini-boss has turned up in this stretch in any walkthrough we checked, so if you're getting repeatedly swarmed, the fix is almost always better use of cover and vantage points rather than a fight you're supposed to out-DPS.
After the Rescue
Chapter 2 ends on the squad's arrival back at the station with the rescued civilians in tow. That cutscene rolls straight into Act 1, Chapter 3, "A Gear in Need," which opens with a distress call from a Pay-N-Save supermarket a few streets over. Keep the Hammerburst and Lancer Mk1 loadout from this chapter; nothing here gets taken away before the next one starts, so there's no reason to hoard ammo you picked up along the way.
If you're going for every collectible on this run, this chapter is worth a slower pass: all three of its pickups sit in rooms you'd otherwise clear through in seconds on the way to the next objective.
Quick checklist
- Break the corridor Rusher's grab with the on-screen prompt, don't try to shoot your way free.
- Grab the Lancer Mk1 and ammo in the armory before triggering the firing-range fight.
- Check the chief's office for the badge collectible before leaving the station.
- Climb over the blocked vehicle instead of looking for a ground route to the alley.
- Use rooftop and window cover in the Recruitment Center plaza against the Drones.
For the full run from the start of Emergence Day, see our Chapter 1 walkthrough. More on the game itself is on the official Gears of War site, the Xbox store page, and Steam, with background on the prequel's setting at Wikipedia.