Gears of War: E-Day Chapter 1 Walkthrough: Emergence from Kalona to Police HQ
Marcus and Dom fight from a Kalona bar to the Police HQ doors in Gears of War: E-Day's opening chapter. Here's every emergence hole, tunnel route, and collectible along the way.


Marcus and Dom fight through Downtown Kalona as the first Locust emergence holes open around them. Image: Xbox Game Studios.
Chapter 1 of Gears of War: E-Day's campaign, Emergence, opens the game's prequel story on Emergence Day itself, fourteen years before the first Gears of War. Marcus Fenix and Dom Santiago step out of a bar in Downtown Kalona with squadmates Lucas and Mags and walk straight into the first Locust attack the Coalition of Ordered Governments has ever faced. This walkthrough covers every step from that opening street to the doors of Police HQ, current as of the game's October 2026 launch build.
Before Chapter 1: Emergence begins
You start the chapter with Lucas and Mags alongside Marcus and Dom, but for most of it you're down to melee only. The first fight happens before you're handed a sidearm, so don't go hunting for a weapon wheel until a crashed police car gives you one partway through. Gears of War: E-Day has no chapter select on a given save, so anything you skip here is gone until a fresh playthrough — worth knowing before you rush past the Mini Mart chasing the gunfire.
The chapter also doubles as the game's tutorial for its rebuilt cover and melee systems, built fresh in Unreal Engine 5 rather than carried over from the original trilogy's engine. Every low wall and wrecked car on this street snaps you into cover automatically when you approach it at a jog, and the counter-melee prompt that appears over a staggered Wretch is worth learning here, on throwaway enemies, rather than later against something that actually threatens your health bar.
Running the chapter on a gaming rig instead of a console? There's a driver and storage checklist for E-Day worth running through first, since texture streaming hitches are the most common complaint in Kalona's opening blocks.
If you haven't settled on a difficulty yet, decide before this chapter rather than mid-fight — our beginner tips cover what each setting actually changes, since Insane turns the Police HQ ambush near the end of this chapter into a real wall rather than a scripted introduction.

Step 1: Clear Downtown Kalona's first emergence holes
Follow Dom toward the gunfire on the main road, past Jackson's Discount Furniture and the Mini Mart. The ground splits open here and the first Wretches claw their way out of the hole. You have no gun yet, so this fight is melee-only — circle them rather than trading hits head-on, since a Wretch that gets a claw swipe in first can chain into a second before you recover.
- Melee the Wretches as they emerge, then check the curb in front of the newsstand beside the Mini Mart for the Monster Jaw collectible.
- Turn right and keep moving toward Police HQ, meleeing any creatures still blocking your path.
- Reach the crashed police car. A short cutscene plays here and hands you a handgun — your first ranged option in the chapter.
- Clear the creatures from the next opening with the handgun rather than melee now that you have it; it's faster and keeps you out of claw range.
Step 2: Through the maintenance tunnels
The street ahead is blocked by collapsed rubble. Don't waste time looking for a way around it on the surface — the route is a door on the left that drops you into the maintenance tunnels running under the block. The tunnels are darker and tighter than anything above ground in this chapter, and the game uses the detour to slow the pace down between two outdoor firefights.
Descend into the tunnels and open the door on the left. Push through the debris pile blocking the corridor and work your way toward a ladder; climbing it puts you back on the street above. Near the end of this stretch, check the floor beside a corpse with a still-lit flashlight for the Bloody Transit Worker's Helmet, the chapter's second collectible — it's easy to walk past in the low light if you're not specifically looking down.
Step 3: Free the civilians and reach the alley
Back on the surface, clear the road up to the next emergence hole. Go through the opening on the right and you'll find civilians trapped under rubble; lift it to free them before moving on. This is also the point where the chapter starts hinting at the scale of what's coming — the panic on the radio chatter picks up noticeably once the civilians are clear.
Before you head for the alley, duck into the Cafe & Bakery to the left of the hole. It holds the chapter's third collectible, the front page of the Kalona Times, and it's easy to miss if you beeline straight for the exit the way the level geometry seems to invite. With all three collectibles in hand, enter the alley on the right, climb the ladder, and vault the walls to come out facing Police HQ.
Step 4: Fight to the Police HQ doors
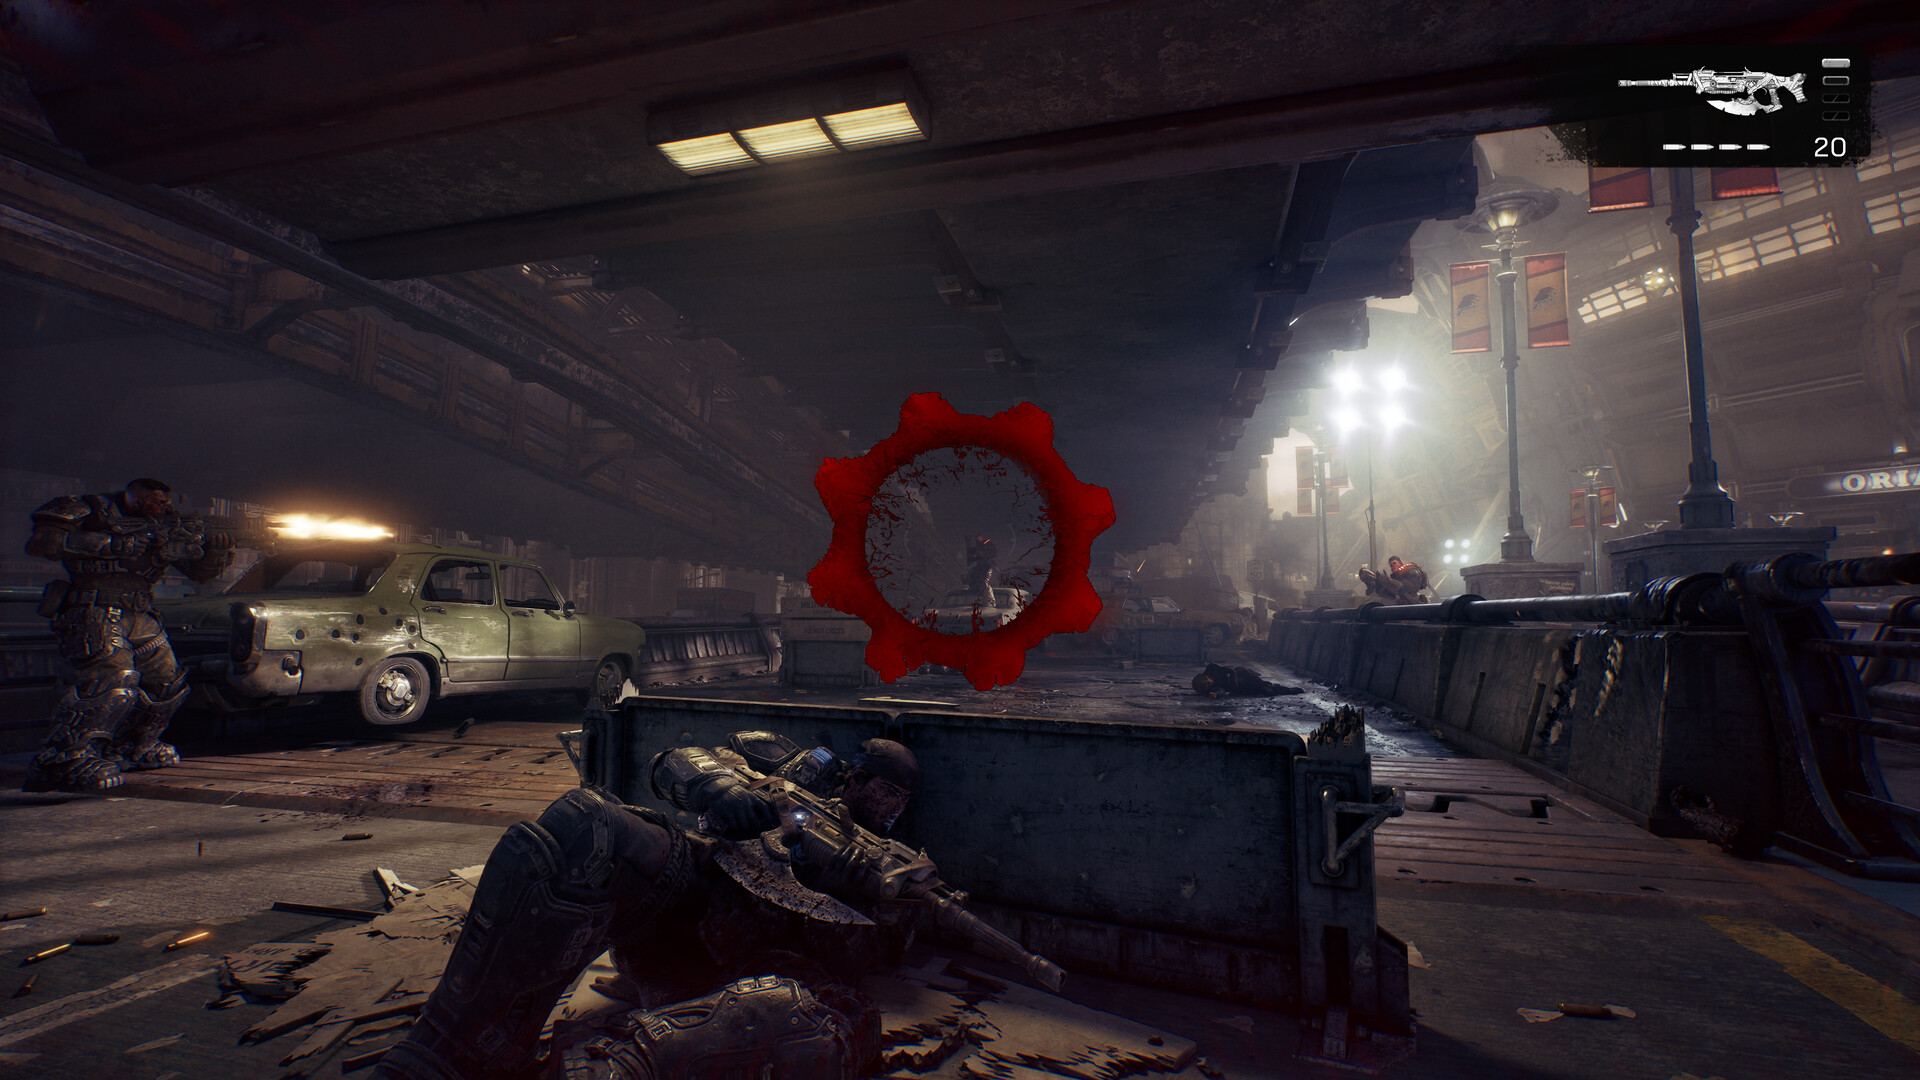
The approach to Police HQ is guarded by an ambush group of Locust dug in around the entrance, plus at least one creature that erupts straight out of the ground as you close the distance. Use cover the whole way in — wrecked cars and sandbagged checkpoints are scattered along the final stretch specifically for this fight — and clear the group methodically rather than sprinting for the door.
If the entrance ambush catches you out of cover
Getting caught in the open here is the most common way to lose health you didn't need to lose in Chapter 1. If a Wretch flanks you while you're focused on the group ahead, fall back to the nearest low wall rather than finishing the fight you're already in — the automatic cover system only helps once you're actually crouched behind something. Prioritize whichever enemy is closing distance fastest rather than whichever one you already have a bead on, and lean on melee counters against anything that gets within arm's reach instead of backpedaling, since backing up in the open is how most of this ambush's damage gets dealt.
Interacting with the Police HQ door once the ambush is clear ends Chapter 1 and drops you straight into Chapter 2, Survival of the Fittest, with no loading-screen recap of what you just carried in. If you're missing any of the three collectibles at this point, this is your last chance on this save — Gears of War: E-Day doesn't let you backtrack into a finished chapter.
Chapter 1 is also where the campaign sets expectations for the rest of Act 1. Chapter 2 picks up inside Police HQ itself, Chapter 3 pushes back out into Kalona with the first real weapon variety, and Act 1 closes with a Brumak fight outside City Hall that this opening street gives you no real warning for. None of that changes anything you do in Emergence, but it's worth knowing the quiet tutorial pacing here doesn't last — treat the counter-melee and cover drills in this chapter as the floor the rest of the campaign builds on, not the ceiling.
Quick checklist
- Melee the first wave of Wretches near Jackson's Discount Furniture and grab the Monster Jaw by the newsstand.
- Pick up the handgun at the crashed police car cutscene, then clear the next opening with it instead of melee.
- Detour left into the maintenance tunnels at the blocked street, and grab the Bloody Transit Worker's Helmet near the exit ladder.
- Free the trapped civilians, then check the Cafe & Bakery for the Kalona Times front page before the alley.
- Use cover and melee counters against the Police HQ entrance ambush, save your handgun ammo for it, then open the HQ door to end the chapter.
For everything else on the release, Gears of War's official site has the full campaign and Horde Siege details, the Xbox store listing and Steam page cover platform editions and specs, and Wikipedia's entry on the prequel rounds up the full cast and chapter list if you want the bigger picture before Chapter 2.