Gears of War: E-Day Chapter 11 Walkthrough: Enemy Lines and the Corpser Boss Fight
Bravo Squad drops into the Locust tunnels beneath Kalona in Gears of War: E-Day Chapter 11. Here is every collectible, the two easy-to-miss detours, and how to actually break the Corpser with the support pillars.


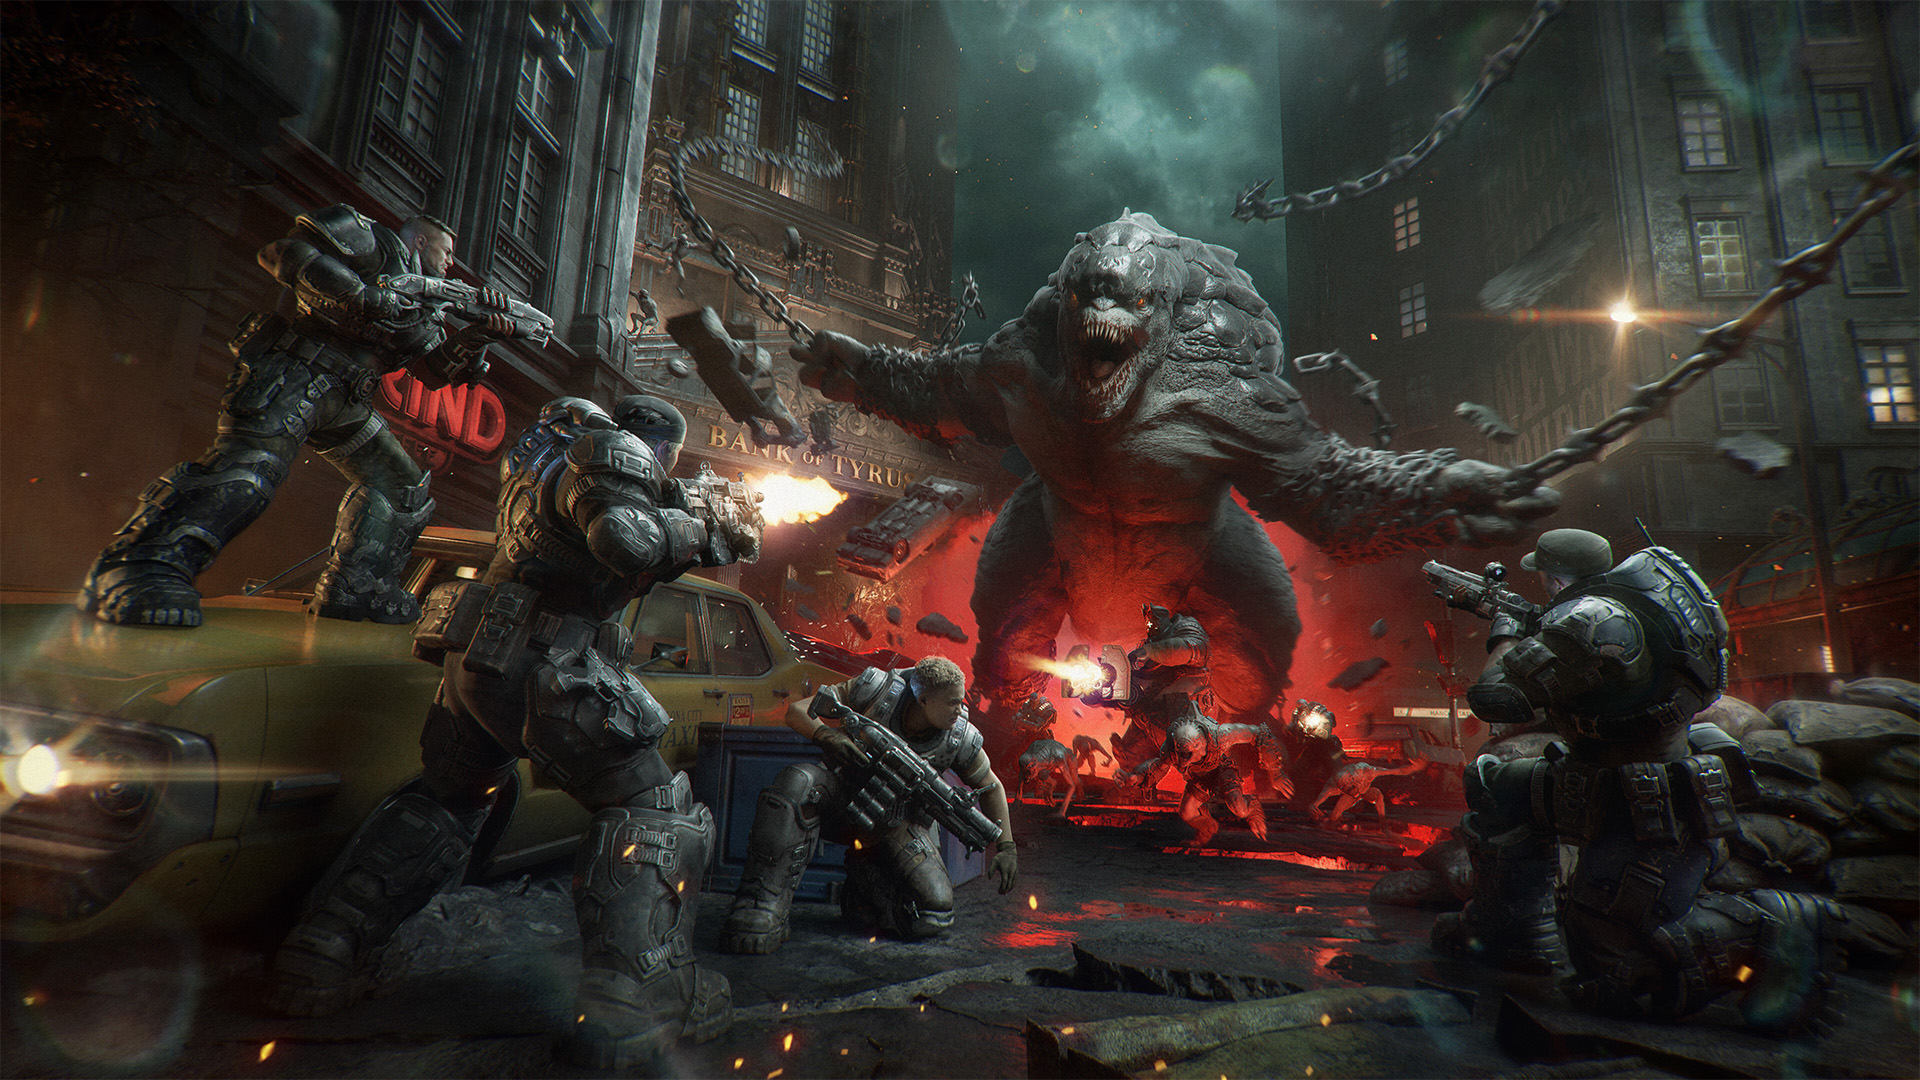
The ruined approach above Kalona's underground tunnels in Enemy Lines, Gears of War: E-Day Act 3, Chapter 2. Image: The Coalition.
Enemy Lines is Act 3, Chapter 2 of Gears of War: E-Day, and the eleventh chapter in the campaign overall. It picks up seconds after the extraction in Stranded fails: the Raven can't reach Bravo Squad in time, and the floor gives way, dropping Marcus Fenix and the squad into the Locust tunnel network running under Kalona. As of November 2026, this is the campaign's first fully underground chapter, and it closes with the first boss fight in the game that isn't a straight firefight. Here's every step, the two detours the objective marker never points at, and the pillar trick that actually kills the Corpser at the end.
Before You Drop Into the Tunnels
Chapter 10 ends with Bravo Squad stranded at Fairlight Outpost, and Enemy Lines picks up with no loadout screen, so whatever you're carrying when the floor gives way is what you start with. If you skipped the last Supply Cache back at Fairlight Outpost, this chapter punishes it: take the Prototype Lancer, the Gut-Puncher shotgun, and a couple of frag grenades whenever they're on offer, because you won't see a cache this good again until the far side of the tunnels. The Adrenaline Injector is also worth grabbing if it's sitting in a cache — its health refill and damage buff matter a lot more in the last room of this chapter than anywhere else in it.
Step 1-3: The Red Cavern, the Supply Room and the Subway Station
The chapter opens in a red-lit cavern. The main route curves down and to the right, but before you follow it, duck into the narrow passage on the right — it holds a Damaged Gnasher Shotgun, the chapter's first of six collectibles, with a Hard Case sitting right beside it (a Lancer MK1 mod and a Longshot mod). Keep moving and you'll drop into a Locust supply cavern stacked with weapon crates and ammo; search the left side of the pile for the Parchment and Powder Pouch, collectible two, and resupply here, because the subway station just past it is the first real fight of the chapter.
Locust fill the platform the second you drop in. Take the high ground on the station's upper level and work them at range rather than closing the distance — a Gnasher is the wrong tool here. Once the platform's clear, check the wrecked train's right side for a crate next to the old Kalona Auto Rentals ad; it holds the Parchment with Indecipherable Writing, collectible three. The same station hides two more Hard Cases worth the detour:
- An Armor Mod and Armor Mod Slot on the left side of the platform, near where you first took contact.
- A Gnasher Mod and Ripper LMG Mod behind a pile of wood, facing the station's own supply cache.
Step 4-6: Crashed Trains, Two Detours and the Sinkhole
Push into the tunnels past the station and a pack of Wretches swarms the crashed train cars from multiple angles at once — snub hipfire clears them faster than aiming down sights. Climb through the broken train sections once they're down, and look for two detours before you follow the main objective marker any further. The first sits on the opposite side of the main path: a door leading down to Private Beth Avila's body, with her COG Tags beside it as collectible four. The second runs the other way, into a dark stretch of tunnel the marker ignores completely; follow it to the wreckage lit by a red glow at the dead end for the Maintenance Worker's Bloodied Flashlight, collectible five. Both are easy to walk past, since nothing in the UI flags either one.
Back on the main path, the tunnel opens into a sinkhole packed with Locust. Control radios in here that no rescue is coming until Bravo reaches the surface, which is the chapter telling you there's no shortcut: clear the sinkhole from cover the same way you cleared the subway platform, then push on toward the storm sewers.
Step 7: The Corpser Fight in the Storm Sewers

The storm sewers hold a COG supply cache and the last collectible, the COG Tags of Private First Class Erick Davis, sitting right beside it. Grab them before you trigger the encounter, because the fight that follows doesn't let you wander back for anything you missed. The Corpser bursts up through the chamber floor the moment Bravo reaches the far wall, and shooting it the way you've shot everything else in this chapter barely scratches it.
The fight runs in two chambers. In the first, take cover behind the central pillar and only fire at the Corpser's red face when its front legs part or rise to strike — shots on the armored legs do nothing. Open with the Gut-Puncher at close range, then switch to full auto on the Prototype Lancer, and stay off the ground directly in front of it, where its legs stab and pound. When it draws back to charge the pillar you're using for cover, move — it slams into the pillar instead of you and burns off a chunk of its health, then burrows, which checkpoints the fight and changes the objective to finding the sewer exit.
The second chamber is the one that actually ends it:
- Grab the Heavy Boomshot off the perimeter wall as soon as the second chamber opens — it's the tool for this phase.
- Stand beside an intact support pillar and hit the Corpser's face with the Boomshot to bait its charge.
- Step clear the instant it commits. The pillar takes the hit and crashes down on it instead of you.
- Move to a fresh pillar and repeat, switching to Gut-Puncher shots to the face once the Boomshot runs dry.
- Kill Tickers at range the moment a red arrow flags one closing in — don't be mid-reposition when one reaches you.
There's no health bar in this phase, so you're watching for the ceiling, not a meter. Three pillar collapses bring it down on the Corpser and end the fight automatically.
If the Corpser Catches You
Standing against a pillar when the Corpser actually connects with it is the mistake that ends most attempts — the pillar comes down on whoever's standing next to it, not just the boss. There's no dodge animation that reliably clears the charge once you're in the open, so the fix is positioning, not reflexes: stay far enough back from your cover pillar that its collapse radius won't catch you, and never stand on the ground directly in front of the Corpser's head in either chamber. If a Ticker closes in while you're repositioning, back off before it detonates rather than trying to melee it clear — the blast radius is wider than it looks. Running dry on Boomshot or Gut-Puncher ammo mid-fight isn't fatal either; both get refilled along the second chamber's wall, so retreat and resupply rather than push through on an empty clip.
After Enemy Lines: Quick Checklist
Clearing the Corpser ends the chapter automatically and rolls straight into Act 3, Chapter 3: Last Foothold. Before you move on, open the War Journal and confirm Enemy Lines reads six of six collectibles — the two tunnel detours are what most players miss on a first pass.
- Damaged Gnasher Shotgun — narrow passage just past the opening cavern.
- Parchment and Powder Pouch — left side of the Locust supply cavern.
- Parchment with Indecipherable Writing — crate by the Kalona Auto Rentals ad in the subway station.
- COG Tags of Private Beth Avila — down the side-tunnel door, among the bodies.
- Maintenance Worker's Bloodied Flashlight — dead end of the unmarked, unlit tunnel.
- COG Tags of Private First Class Erick Davis — beside the storm sewer supply cache, before the Corpser fight.
For the bigger picture on Kalona and the rest of Act 3, the official Gears of War: E-Day game page and the Gears of War Wiki's Act 3 breakdown are worth bookmarking before Last Foothold. The Early Access rollout and the Metallica-scored launch trailer are covered on Xbox Wire, and Wikipedia's entry on the game has the full development and cast background if Beth Avila and Erick Davis have you wondering who else didn't make it out of Kalona. If you're catching up, our Chapter 10 walkthrough for Stranded at Fairlight Outpost covers exactly where Enemy Lines picks up.