Gears of War: E-Day Chapter 10 Walkthrough: Stranded at Fairlight Outpost
Bravo Squad reaches Fairlight Outpost, restores power to the helipad, and fights off two Grinders before the landing pad collapses and drops the squad straight into the Locust tunnels below.

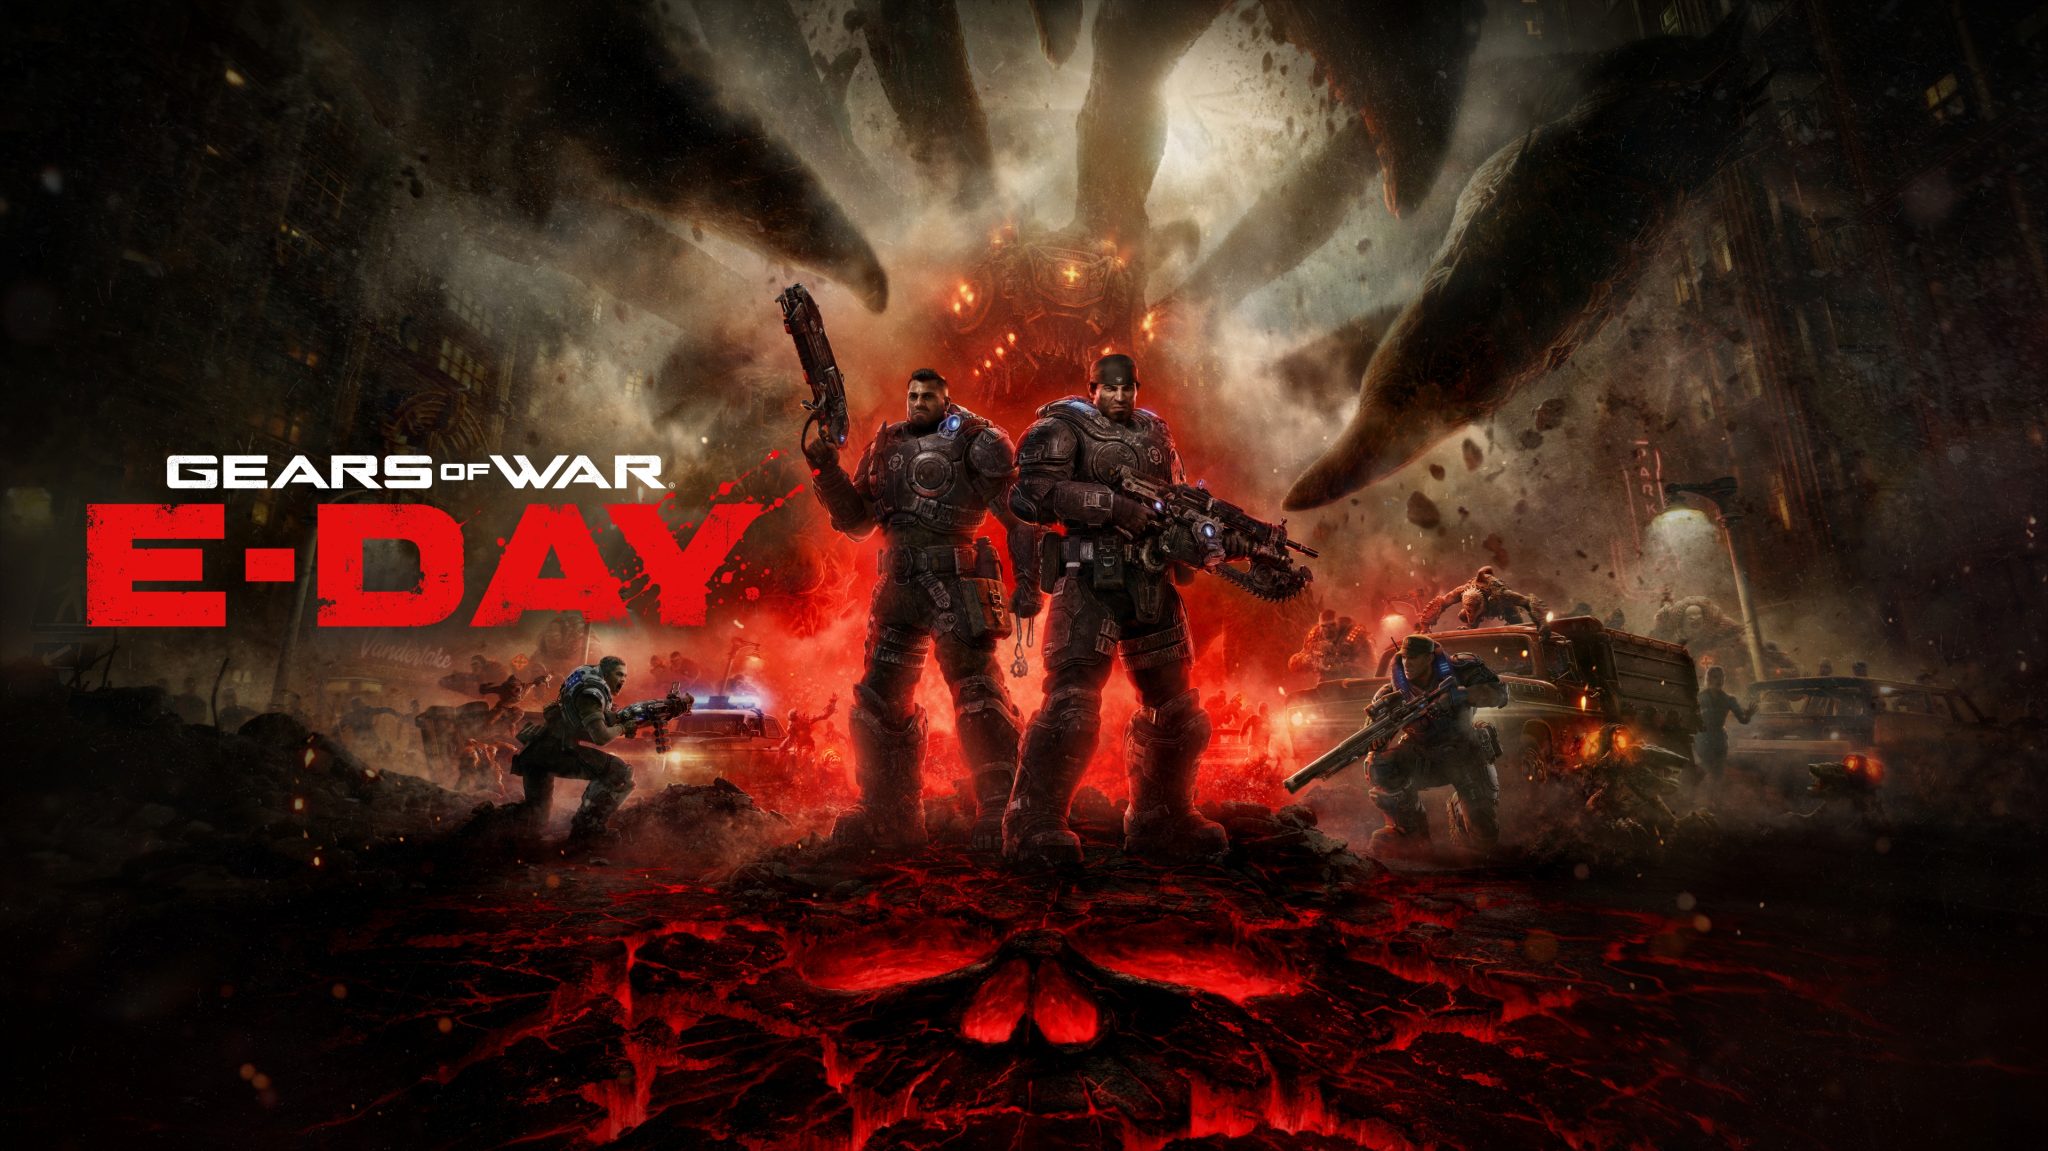
Bravo Squad faces the Locust Horde in Gears of War: E-Day. Image: The Coalition/Xbox Game Studios.
Chapter 10 of Gears of War: E-Day opens Act 3 and sends Bravo Squad east from the crash site toward Fairlight Outpost, chasing a working helipad and a clean extraction. As of October 2026, "Stranded" runs about 25 minutes, swaps the open-world traversal of the last few chapters for a tight line of cover-to-cover fights, and ends with the pad collapsing under the squad's feet. It's a shorter, more linear chapter than Chapter 9's Fort Vigil siege, but it front-loads two Grinder fights back to back, and neither one forgives rushing in without cover. Here is every beat of it, in order.
Before you leave the crash site
The chapter starts on foot by the downed King Raven. Follow the squad east along the muddy trail rather than exploring west; the whole route to Fairlight Outpost is linear, and backtracking only costs time against the sniper you'll meet shortly. Keep the Gnasher as your primary for the first stretch. The forest trail funnels into tight foliage where a shotgun clears Wretches faster than the Lancer does, and you can always swap back once the trail opens into the sniper clearing.
- Descend the dangling rope at the cliff overlook rather than looking for another path down; it's the only way forward.
- Check beside the tree to the right of the rope's foot, past the mauled camper, for a COG Army Knife if you're tracking collectibles.
- Fall back toward your squad when Wretches swarm the clearing instead of holding the center ground; AI teammates thin them out fast once you're not isolated.
- Climb the rope on the rock wall behind the clearing, follow the pines to the chain-link gate, and vault the sandbags on the ridge beyond before the field opens up.
None of this stretch is hard on its own, but ammo runs thinner here than it did in Act 2, since the trail offers almost nothing to scavenge before the clearing. Stick with the Gnasher for the Wretches and save Lancer rounds for the Drones waiting just past the gate rather than burning them on the easier targets.

Through the sniper clearing
Past the chain-link gate, a long open field is covered by Drones, a handful of Elite Drones, and a sniper working from a wooden guard tower. The sniper's laser is the only warning you get, so treat any red beam on your body as a reason to move, not to push forward. Advance cover to cover along the tyre-and-sandbag wall, the tall shipping container, and the metal trench barrier, grabbing the Lancer Mk1 sitting at the first position.
At the crashed King Raven partway across the field, open the Hard Case for a Huge Magazine and a Slick Breech, then pull the Longshot from the flatbed truck's cargo bed. Stay crouched behind the truck and use the Longshot to put the tower guard down from range; killing the sniper is what turns the laser off for good, and there's no reason to cross the field while it's still active. Frag Grenades handle the Drones clustered near the wreck, and the Elite Drones that follow go down fastest to close-range Gnasher fire once the field is clear.
Restoring power at Fairlight Outpost
Vault the tarp-covered crate at the perimeter fence to enter the outpost proper. Before heading for the sub-station, swing by the graffiti-marked container nearby for a Hard Case with a Composite Chassis and Mobile Stabilizer, and grab the Gut-Puncher Grenade Rounds on a crate beside the first Supply Cache under the hangar's covered section. Equip the Gut-Puncher as your secondary weapon here. Anyone who's spent time comparing load-out options across the campaign on a technical rundown of frame rates and visual settings on PC and handhelds will already know the Gut-Puncher reads clearly even with effects turned down, which matters because you'll be leaning on it hard for the rest of this chapter.
Enter the sub-station through its double doors. A Hard Case on the ground floor's rear corner holds an Extended Magazine and the Smooth Operator armor mod, and a second Supply Cache sits by the front window. Climb the inside stairs to the Station Controls room and flip the green-lit switch on the blood-spattered console. That's what lights the helipad and triggers the next phase.

Holding the hangar against two Grinders
Leaving through the front doors drops the hangar's blast doors open, and this is the chapter's real fight. Grab the two Machine Gun Sentries near the entrance and set one facing the yard gate before the first wave arrives.
- Take cover behind the concrete block or the parked truck as Drones and Elite Drones push through the fog; restock from the ammo boxes between pushes rather than waiting until you're empty.
- When the first Grinder breaks through the gate with its Troika spinning, get behind the rusted pickup on the lane's left side and lob Gut-Puncher rounds between its bursts. Don't trade shots in the open.
- A second Grinder follows through the same gate. Repeat the same cover-and-grenade pattern rather than trying something faster.
- Once both Grinders are down, pick up the first one's Troika. At 96 rounds, it's a heavy weapon that doesn't take a normal inventory slot and is worth carrying into the next section.
If the Emergence Holes won't stop spawning
Past the hangar gate, a metal mesh platform opens onto an Emergence Hole full of Wretches, and a second hole opens in a fenced corner once you push past the parked vehicles. Set the Troika down before fighting Wretches at close range; melee and your secondary clear them faster than a heavy weapon you can't aim quickly. If both holes are spawning enemies faster than you can clear them, that's the game telling you to stop fighting and start running: the moment "Clear the landing zone" appears on screen, a single Frag Grenade thrown into each open hole shuts the spawns off completely, which is far more efficient than trying to out-shoot them.
With the holes closed, mop up any remaining Drones from the concrete block, the large COG truck, and the low cover near the pad, using the Lancer at range and the Gut-Puncher on anything still in cover. Step onto the round pad marked with amber lights to trigger "Reach the helipad." On higher difficulties the Drones here push harder than the Grinders did, so keep an eye on your squad's downed indicators rather than assuming the worst is already behind you.
Quick checklist
- Clear the forest trail and sniper clearing before worrying about the outpost itself; the sniper tower has to come down first.
- Pick up the Gut-Puncher Grenade Rounds under the hangar early — it's the secondary weapon the rest of the chapter is built around.
- Flip the Station Controls switch inside the sub-station to light the helipad before heading back outside.
- Use cover and grenades against both Grinders rather than standing toe-to-toe with their Troikas.
- Grenade both Emergence Holes the instant "Clear the landing zone" appears instead of trying to outlast the spawns.
There's no boss fight here — the two Grinders are the chapter's hardest moment — but extraction still goes wrong regardless of how clean the fight was. As the Raven is called in, the helipad gives way and drops Bravo Squad into a cave below, cutting off radio contact and sending the squad east through the Locust tunnels toward the stadium. It's a hard cut from open-air combat to tunnel crawling, and it's deliberate: Fairlight Outpost was never going to be the extraction point, and the chapter spends its whole runtime setting up a fall rather than a rescue. That's where Act 3 Chapter 2, "Enemy Lines," and its own boss fight pick up. For how Bravo got to this point, the previous chapter's Fort Vigil defense and Brumak fight is worth a refresher, and the full list of load-out options sits in the chainsaw executions and weapon mods guide.
For more on the game itself, see the official Gears of War site, the Xbox store page, Xbox Wire's launch coverage, its Wikipedia entry, and its ESRB rating page.