Escape Academy 2: Back 2 School: How to Ring the Bell in the Clock Tower
The Clock Tower room stacks a star-coded padlock, gear trains, moon-phase ciphers and a final musical dial into one 25-minute climb. Here is every step to ring the bell.


The Back 2 School campus and its lighthouse-style clock tower, home to the Headmaster's toughest puzzle room yet. Image: iam8bit.
Back 2 School's clock tower room is the toughest climb on campus so far. Officially titled "That Rings a Bell," it starts the moment you clear the Headmaster's Tower lock and steps into a 25-minute timer across four stacked floors: a star-coded padlock, a gear train tied to a directional dial, a set of clock faces that spell out a cipher, and a final musical lock that drops the bell itself. Here is every step in order, as of November 2026.
Before You Start Climbing
The room opens on a locked door with a ring of colored stars hanging overhead and a rope coiled nearby. Nothing else in the tower unlocks until this first padlock opens, so start there and work upward floor by floor. The timer only runs while you are inside the room, so a failed attempt just resets the puzzle, not your whole session.

The Star Padlock and the Camel Rope
Each hanging star is a different color, and each color maps to a digit: blue is 4, purple is 7, red is 6, yellow is 5, and green is 8. Read them in the order they hang and dial 47658 into the padlock to free the rope.
Take the yellow rope and thread it through the column of symbols mounted on the wall, matching the order shown on the nearby card. Step back and look through the telescope: the shape the rope traces lines up with one of eight animal silhouettes carved into the room, and it is the camel. Enter CAMEL into the switch lock beside the ladder to release it, then climb up to the second floor.
Gears, the Directional Dial, and the Clock Cipher
The second floor hides three gears in plain sight: a small one tucked under the New Moon symbol on the wall, a large one sitting beside a chest stamped with five clock faces, and a medium one behind the elevator door. Socket all three into the empty wall mount and rotate them until their arrows line up in a straight row.
- With the gears aligned, the large gear's own lock opens a directional dial.
- Turn it through Right, Down, Up, Left, Right, Down to pop the chest with the five clock faces.
- Pull the Cipher Table from the statue's outstretched hand before you leave the floor.
Match the Cipher Table against the five clocks on the chest: 9:30 reads L, 12:45 reads U, 6:45 reads N, 3:00 reads A, and 9:15 reads R. Entered in clock order, that spells LUNAR, which pops the chest open and hands you the Moonlight item.
Moon Phases and the Elevator Lock
Look around the third floor for seven carved moon icons running from New Moon through to a Full Moon. Each phase corresponds to a letter, and read start to finish they spell ECLIPSE. Dial that word into the elevator's lock to call the car up and reach the tower's upper half.
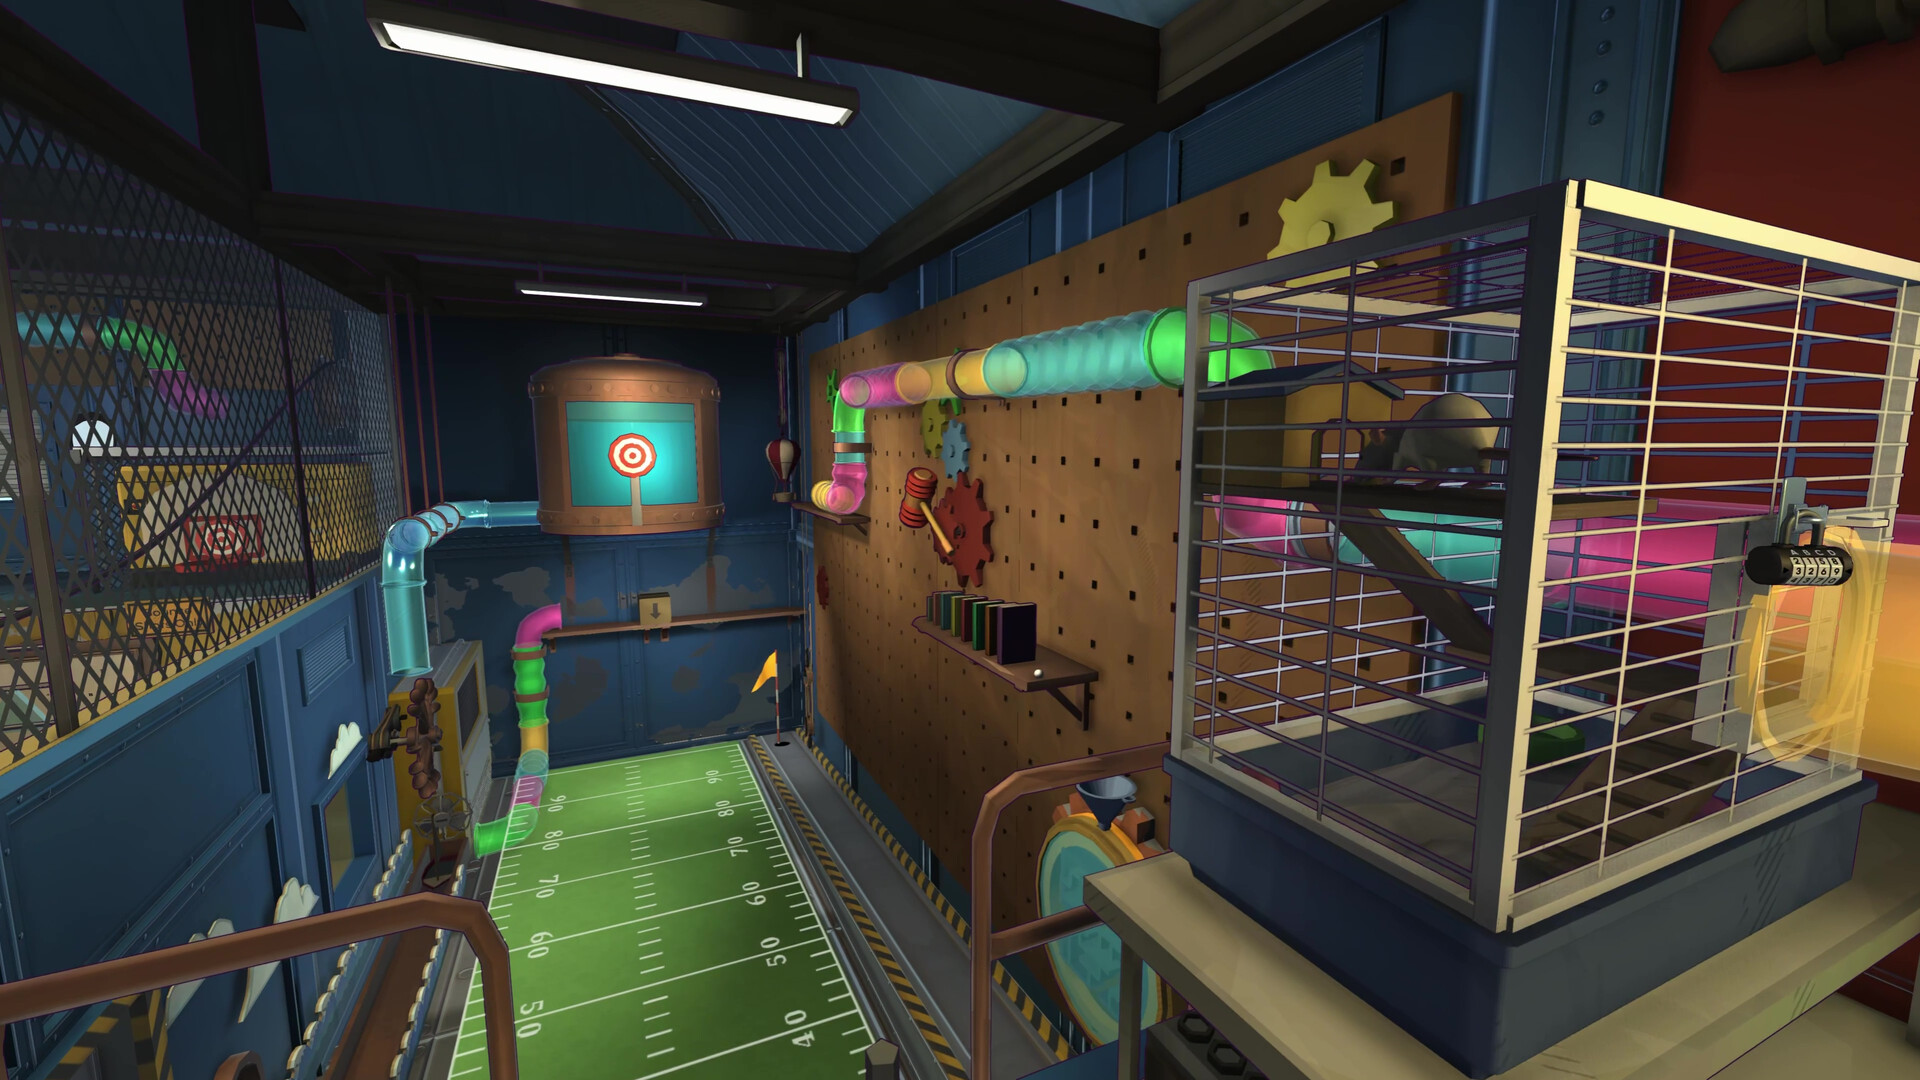
Asteroids, the Seasons Box, and the Final Bell
Before riding up, use the telescope again: this time it shows five overlapping shapes drifting past. Stack the matching pieces in the diorama below from bottom to top in this order: square, hexagon, circle, triangle, pentagon. That opens a drawer holding a pair of Shears.
Ride the elevator up, cut the taut rope you find there with the Shears, then head back down to the clock ladder. A four-sided box there shows a different time of day and season on each face; four nearby clocks tell you which face is which. Place the engraved sun piece on the matching ring for every side: second-innermost ring for sunset, second-outermost ring for afternoon, innermost ring for noon, and second-innermost ring again for sunrise. Getting all four correct frees the Lens inside.
Carry the Lens up to the Roman-numeral clock face at the very top and fit it into place. A card nearby reads "Ring the Bells 9795639." Turn the clock hand to each of those seven numbers in sequence, and the dial calls out the letters A, C, A, E, D, G, A as it goes. That short melody is what actually releases the mechanism holding the bell. Once it finishes, ring the bell to close out the room and open the path deeper into the tower.
Quick Checklist
- Star padlock: 47658
- Rope and telescope: CAMEL
- Gears aligned, then Right, Down, Up, Left, Right, Down
- Clock cipher from the Cipher Table: LUNAR
- Moon phases on the elevator: ECLIPSE
- Asteroid diorama: square, hexagon, circle, triangle, pentagon
- Seasons box rings: sunset, afternoon, noon, sunrise (inner to outer as described above)
- Final dial: 9795639, then ring the bell
Back 2 School is out now on Steam, and it launched day one into Xbox Game Pass, so console players hitting this room are working from the same floor layout as everyone else. The clock tower follows directly from the Headmaster's Tower lock covered here last week, and it is the clearest sign yet that developer Coin Crew Games is leaning harder into multi-floor rooms for the sequel than it did in the original Escape Academy. Publisher iam8bit has more puzzle rooms planned for the campus in the months ahead, and this one is worth clearing first if a later room asks for the Lens or the Shears again.