Gears of War: E-Day Chapter 6 Walkthrough: Hold the Line at Octus Way and Kalona Hotel
Bravo Squad clears Octus Way Station and Allfathers Plaza, then holds Kalona Hotel long enough for Reyes to restore a long-range relay. Every objective, the corrosive threat, and what to skip.

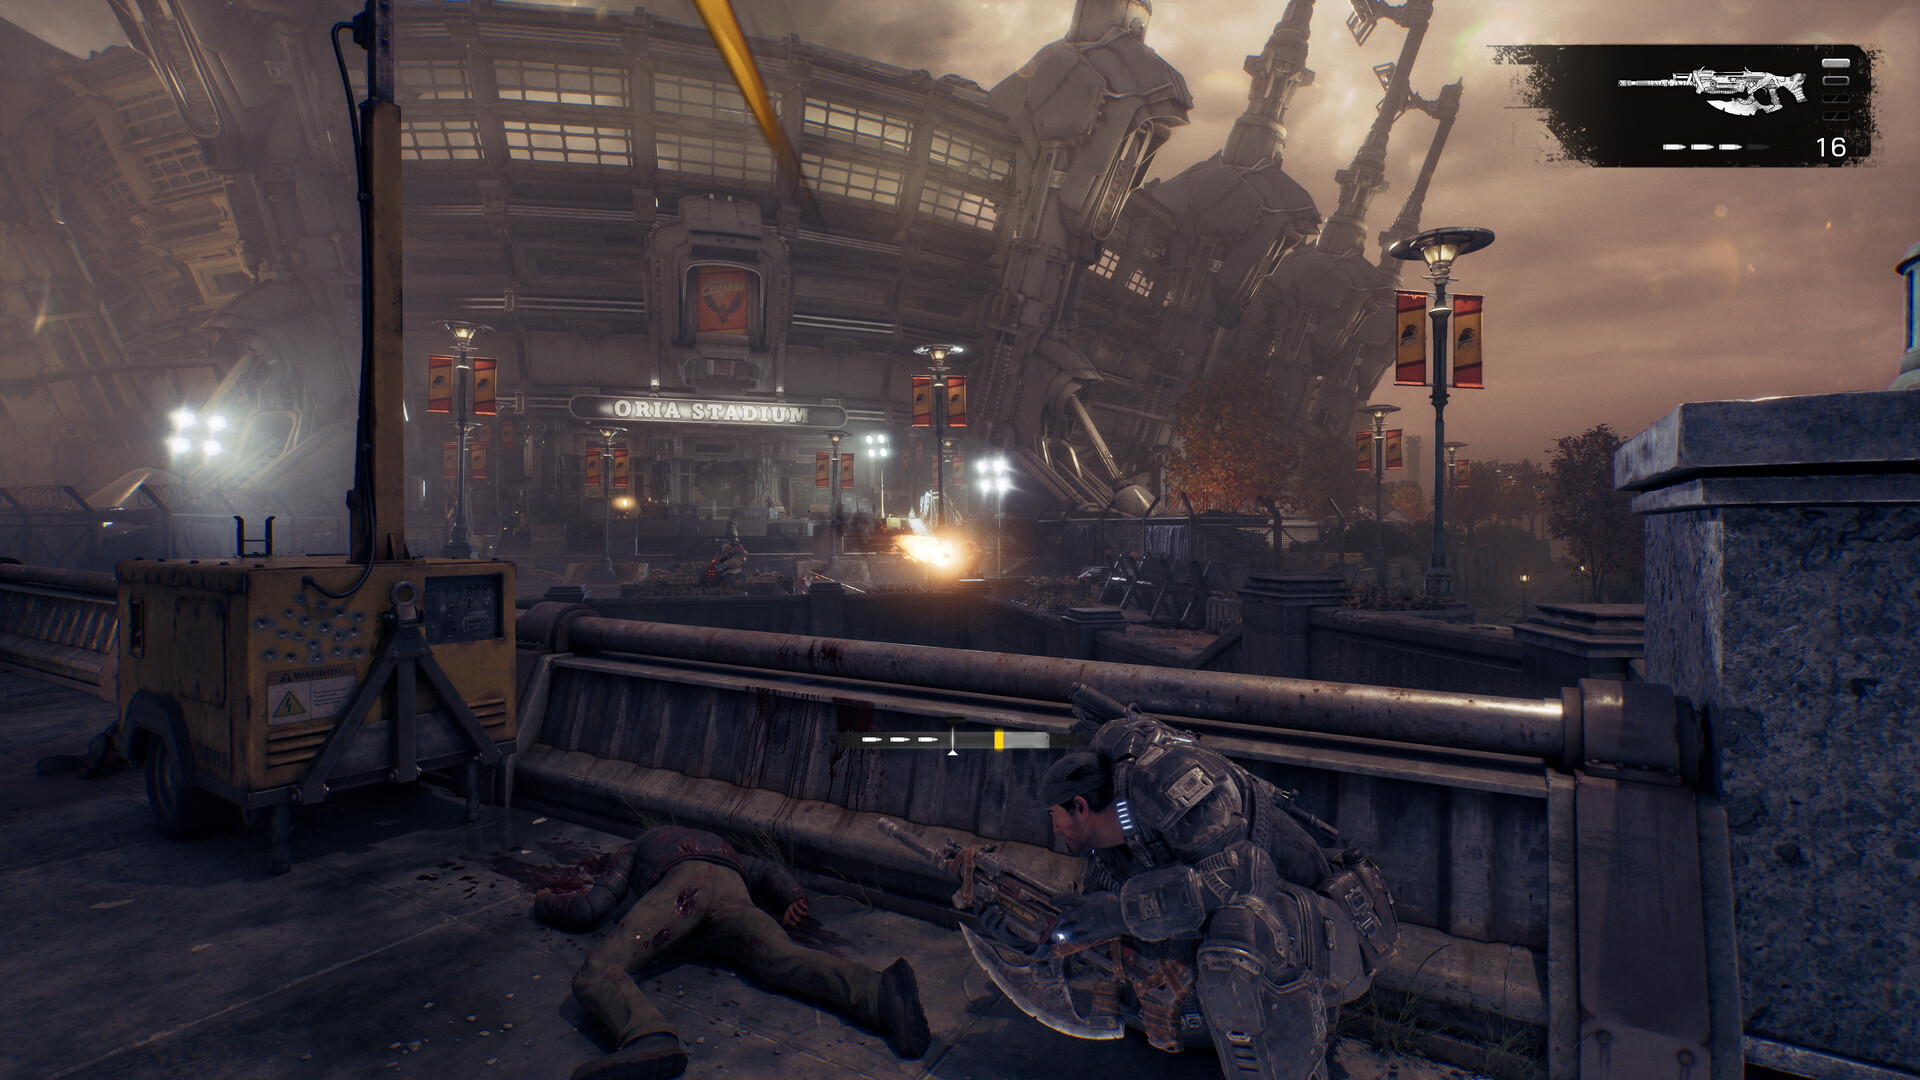
Bravo Squad stages near the Oria Stadium forward operating base before pushing into downtown Kalona. Image: Xbox Game Studios.
Chapter 6 of Gears of War: E-Day drops Bravo Squad back into downtown Kalona for Hold the Line, the first wide-open district mission of Act 2. As of October 2026, this is the longest chapter in the act: three distinct pushes that take Marcus, Dom, Mags and Reyes from a quiet forward operating base at Oria Stadium through a Locust-held transit station, a destroyed muster point, and finally a last stand to get a radio relay back online. There's no boss here, but the chapter leans hard on crowd control and one enemy you do not want to stand in front of.
It's also the first chapter where Reyes' background actually pays off on the battlefield rather than just getting referenced in squad banter. He spent the first four chapters as the newest and most cautious member of Bravo, a communications cadet thrown into frontline combat he never trained for, and Hold the Line is built around exactly the skill he does have: getting a relay working under fire. Mags, the former Gear who's spent the campaign so far looking out for him, gets the louder moments, but it's Reyes who actually finishes the job at Kalona Hotel.
Before you leave the Oria Stadium FOB
The chapter opens with a breather at the fortified position outside Oria Stadium. Two stops are worth making before you move on, since the next three objectives pull Bravo away from any friendly base for a long stretch.
- Visit the quartermaster for a weapon modification. The one on offer here adds a quick-start lever, bumps fire rate and extends the magazine, which matters once Octus Way Station turns into a corridor fight.
- Top off at the deployable supply cache next to the FOB. Ammo and grenades don't carry much of a premium in this chapter until the final hold, so spend what you've been hoarding.
Once you push back into downtown Kalona, keep an ear on comms. Clearing a street doesn't mean Bravo gets recalled to base — the next order usually comes in while you're still standing in the wreckage. This chapter especially punishes dawdling at the FOB, since Captain Gray's orders start stacking up almost immediately once you're back out on the street: Octus Way Station, then Allfathers Plaza, then Kalona Hotel, each one dispatched before the last has fully wrapped up.
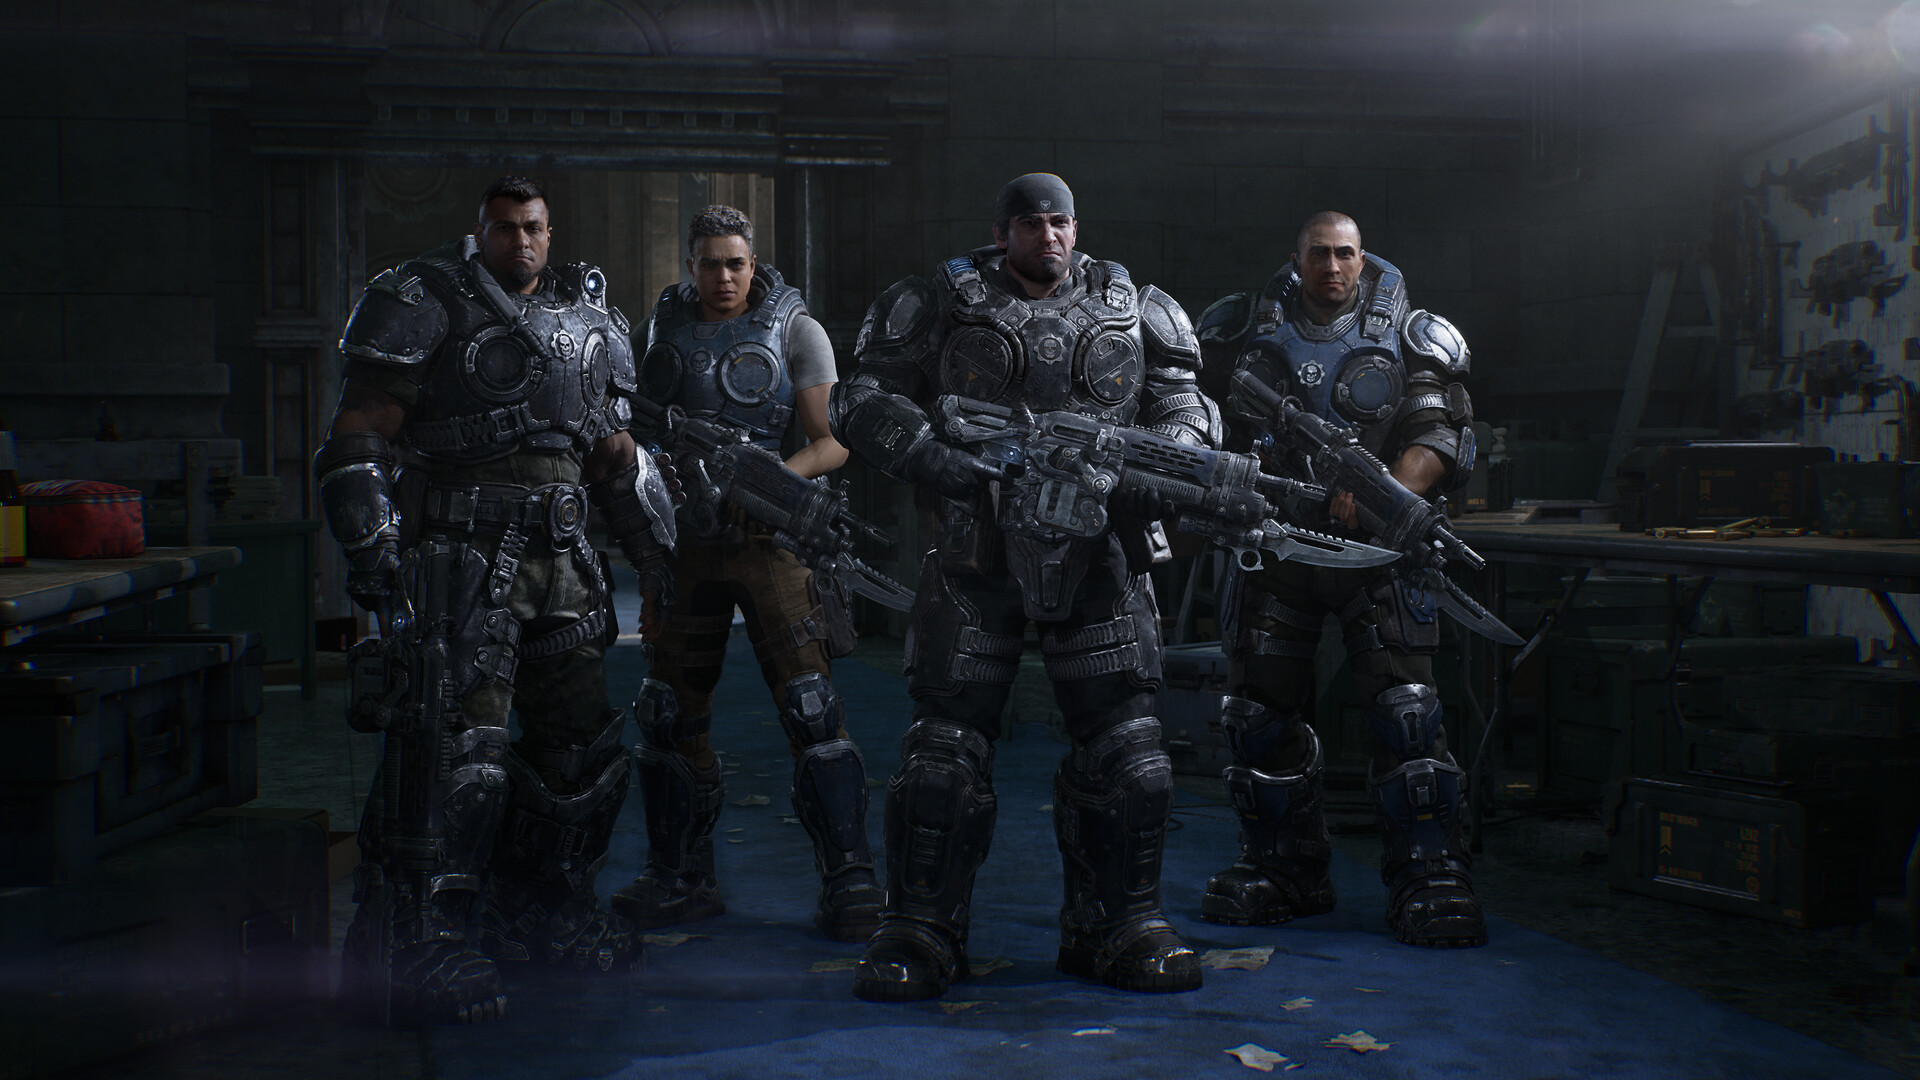
Step 1-3: Octus Way Station and the push with Charlie Squad
Charlie Squad has the upper level of Octus Way Station and is losing ground. Work the stairs and the mezzanine first; Locust forces are using the overlook to pin Charlie down, and clearing it from above stops reinforcements from flanking you on the station floor. Once the top is quiet, drop down and push through the station proper alongside Charlie until the platform is clear. A supply cache spawns at the far end of the station after the fight, so swing past it before moving on — you won't see another for a while.
Fighting alongside Charlie Squad here is different from the earlier chapters' isolated firefights. Charlie will call out targets and push cover with you rather than hanging back, so use them to split enemy attention: let Charlie hold one side of the station while you flank from the mezzanine stairs you just cleared. It's a faster clear than trying to solo the platform, and it matters because this is the last extended breather before the chapter's pace picks up.
From here the mission sends Bravo east through the warehouse district toward Allfathers Plaza, where the assigned COG squad has stopped responding. Command's tone shifts noticeably at this point — less "clear the area," more "find out what happened" — and that's usually the game's way of telling you the next stop won't be a clean fight.
Step 4-6: Allfathers Plaza, the corrosive threat, and the relay at Kalona Hotel
Allfathers Plaza is a gut punch rather than a fight at first: the muster point is destroyed and the COG position there is gone. The real danger is an enemy patrolling the wreckage that deals corrosive damage in a wide radius around the bodies. Don't trade shots with it at close range — back off, use the plaza's cover to circle wide, and chip it down from a distance instead of standing in its splash.
With the plaza secured, Bravo is ordered to Kalona Hotel, where a communications team is under attack and trying to get a long-range relay working. Clear the hotel floor by floor; a corporal survived the initial assault and is the one who actually knows how to finish the relay job. Finding him isn't the end of it, though — you then have to hold the position while the relay connects, which is the chapter's real set piece. Expect wave pressure from multiple directions rather than a single scripted rush, so pick a chokepoint early and don't get walked out of it.
This is also where Reyes' background pays off directly: once the corporal is found, it's Reyes who takes over the actual relay work while the rest of Bravo buys him time. Mechanically that means the objective timer doesn't move until you've held the position, so don't treat a quiet lull as the all-clear — Locust forces keep probing the hotel's approaches right up until the relay connects and command confirms the link.
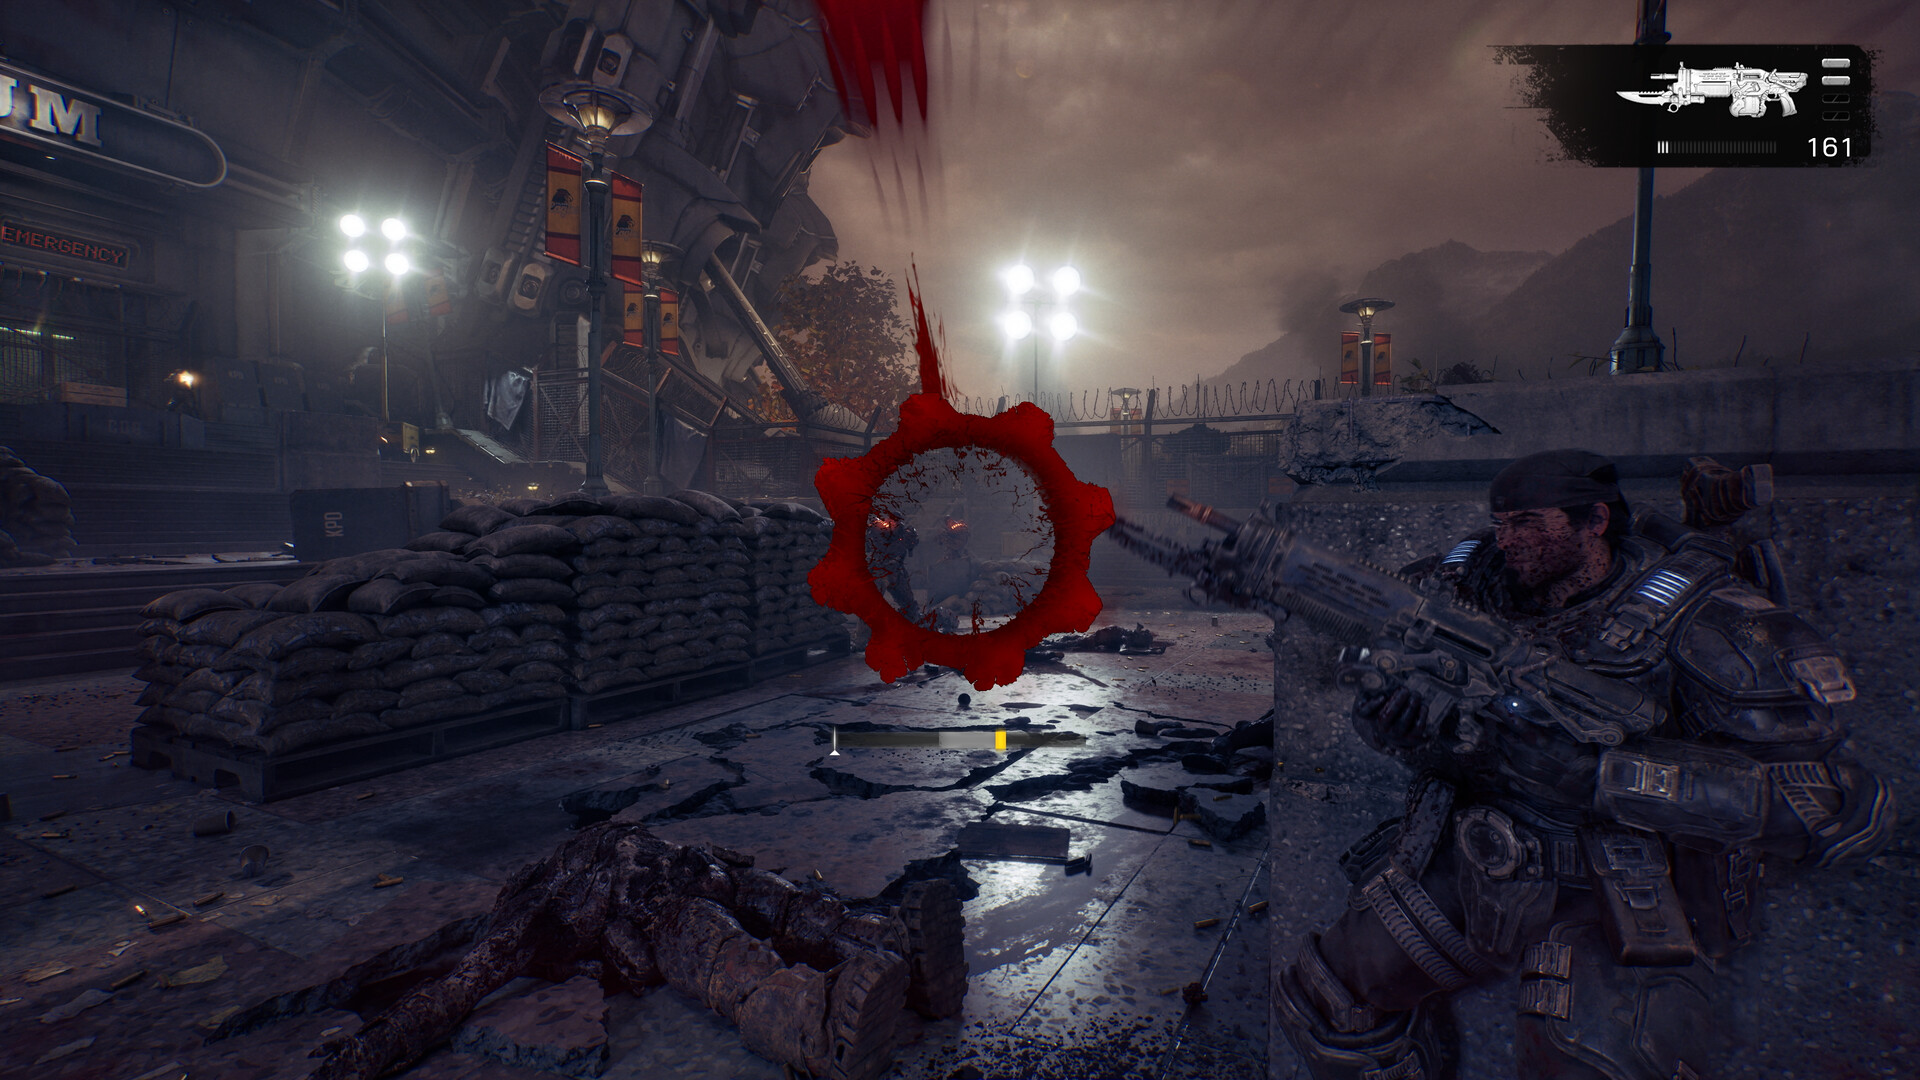
After the relay connects
Once the long-range relay is up, the chapter's final stretch opens at a landing-zone gate and runs to the Chapter 7 card on the broken street outside. It's shorter than the first two pushes, but there is one optional civilian rescue sitting right on the main path — worth the detour since it costs you almost no backtracking. Completionists should also budget time here: Hold the Line carries 27 collectibles across its three sections, more than the chapters on either side of it, and the last one is tucked inside Kalona Hotel itself rather than out on the street.
If you're playing co-op, this is a good stretch to split up briefly: one player can sweep the hotel's upper floors for the last collectible while the others hold the landing-zone approach, since the optional rescue and the final street fight don't overlap much in space. Solo players should just budget the extra two or three minutes rather than skipping the hotel floor entirely — missing that last item here means a return trip later, since Hold the Line doesn't come back around in the campaign.
If the corrosive enemy catches you
The plaza enemy's damage zone is larger than it looks on screen, and it lingers for a second after the creature moves. If you get tagged, disengage immediately rather than trying to finish the fight through the damage-over-time tick — Bravo's squad can't revive you fast enough in the open plaza layout. Falling back to the muster point's low walls resets the engagement on your terms.
Quick checklist
- Hit the quartermaster and the supply cache at the Oria Stadium FOB before moving out.
- Clear the Octus Way Station mezzanine first, then push the station floor with Charlie Squad.
- Restock at the post-fight supply cache before heading toward Allfathers Plaza.
- Keep distance from the corrosive-damage enemy at the plaza; don't fight it in melee range.
- Find the surviving corporal inside Kalona Hotel and hold the stairwell while the relay connects.
- Take the optional rescue on the way to the landing-zone gate if you want the extra beat before Chapter 7.
For the chapter right before this one, see our Chapter 5 walkthrough of the Legacy Bridge crossing. For broader context on the campaign and its cast, Wikipedia's entry on E-Day covers the prequel setting, and the game's own official site has the full campaign overview. E-Day is rated on the ESRB ratings page, and it's available on the Xbox store page and on Steam for PC.