Gears of War: E-Day Chapter 5 Walkthrough: Bravo Squad and the Legacy Bridge Crossing
Bravo Squad's first mission sends Marcus and Dom across Legacy Bridge to free a pinned Charlie Squad, lower the central span through two control rooms, and clear the crossing before reporting in at Oria Stadium.


Bravo Squad fights through Locust-held cover to retake Legacy Bridge in Gears of War: E-Day. Image: Xbox Game Studios.
Gears of War: E-Day's fifth chapter, Bravo Squad, opens the moment Act One ends. Marcus and Dom have spent the first four chapters pulling Mags, a former Gear, and Reyes, a young communications cadet with no frontline combat experience, out of the wreckage of Kalona. Command finally folds the four of them into one unit under Captain Grey, and Bravo Squad's first assignment is simple to describe and ugly to run: push across Legacy Bridge, pull a pinned-down Charlie Squad out of a losing fight, and get the central span moving again so Gear convoys can reach the rest of the city. This walkthrough covers the full crossing as of October 2026, from the opening push off the stadium position to the report-in that closes the chapter.
Before you cross onto Legacy Bridge
Bravo Squad starts this chapter with all four Gears in the field for the first time, and Reyes still fights noticeably more cautiously than Mags in the squad banter, which is a reasonable preview of how exposed he is if you push him out ahead of cover. Spend a minute swapping loadouts before you move off the stadium position. The bridge fight is close-range and chaotic with Locust pouring in from both sides, so a Gnasher shotgun on at least one teammate clears rooms faster than a second Lancer ever will, especially once the fight compresses around a control room doorway. Save grenades for the control rooms rather than the open approach; you will want the extra burst damage when the fight briefly bottlenecks around a console and three or four Drones are funneling through the same gap. There is no ammo crate immediately on the bridge deck, so top off at the stadium FOB first, because the next real resupply point is well past the midpoint, close to the east control room.
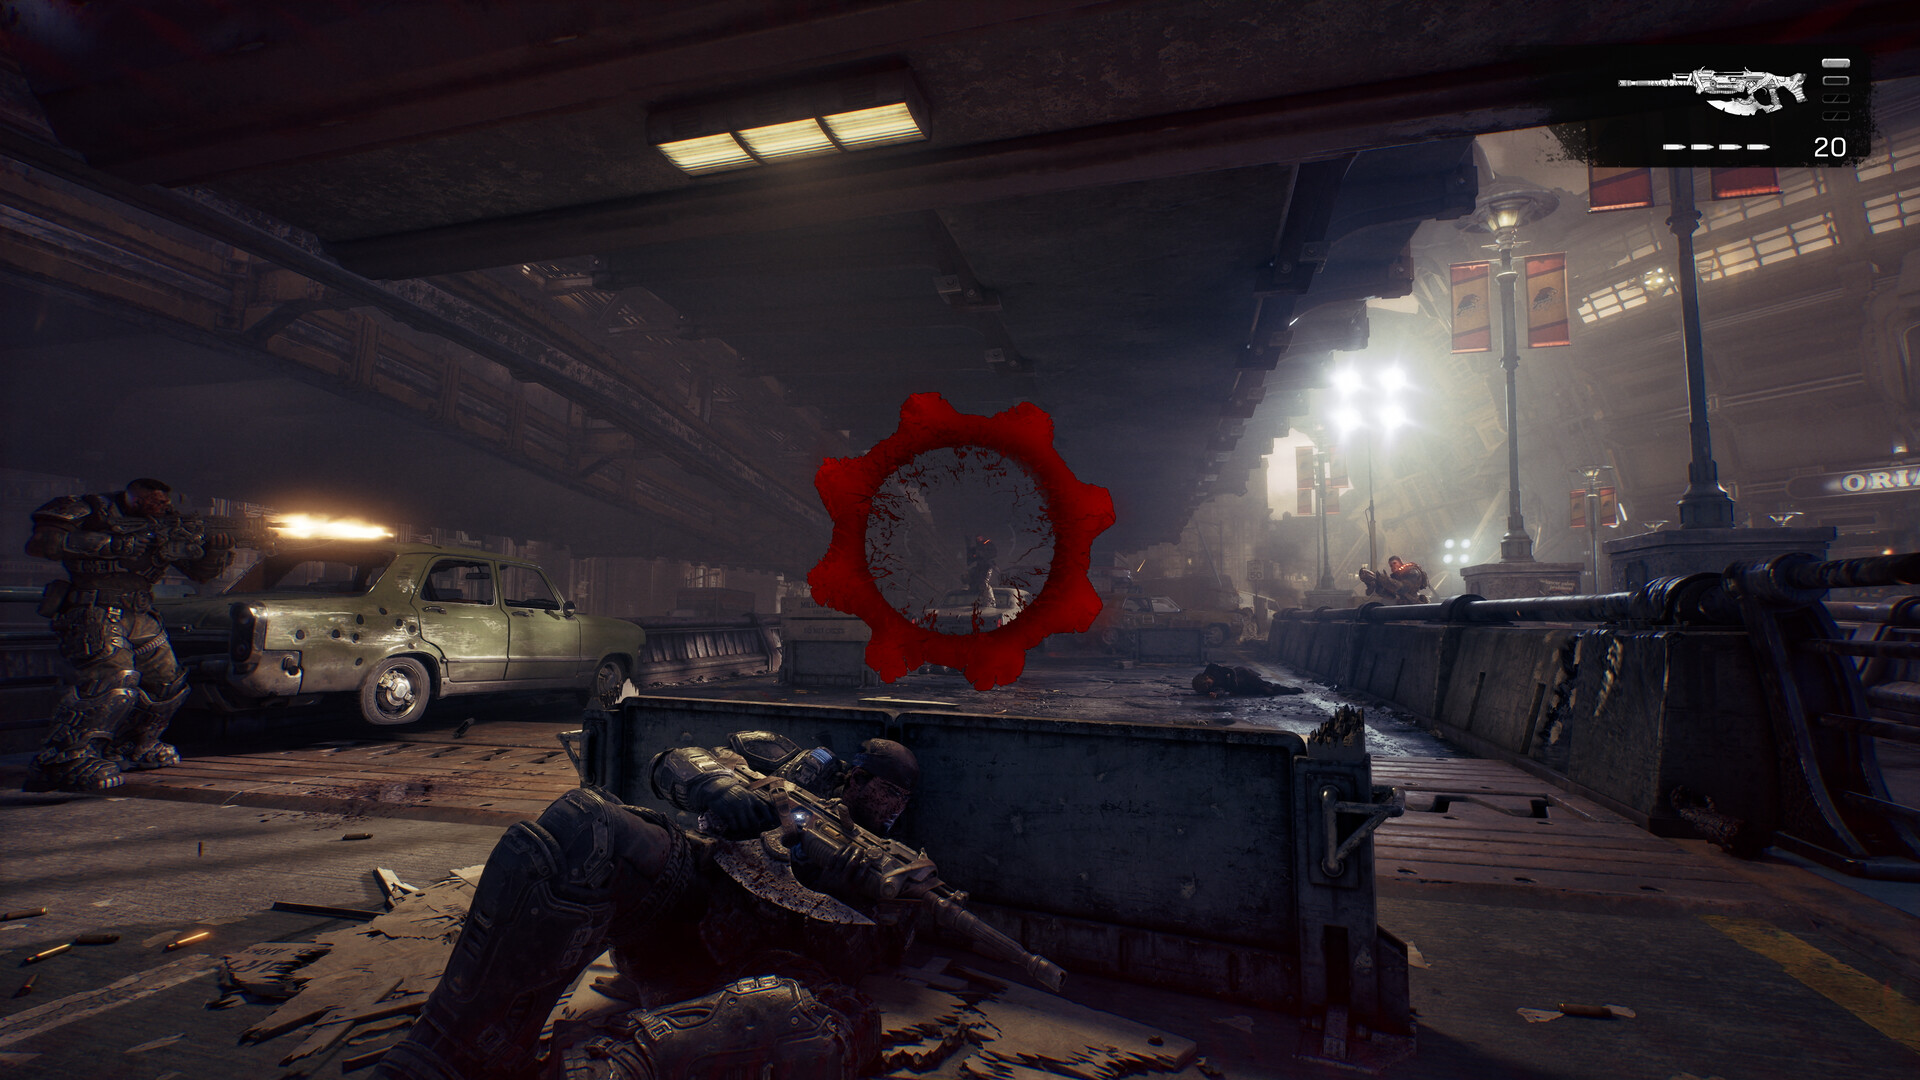
Step 1-3: clearing the approach and reaching Charlie Squad
The chapter opens with Bravo moving off the stadium position toward the near end of Legacy Bridge, where an earlier push has already stalled. Charlie Squad is holding the approach but getting ground down by Locust pressing from cover on both flanks, and command's urgency here is less about the bridge itself than about how long Charlie can keep holding without reinforcement.
- Push out from the stadium position and link up with Charlie Squad at the bridge approach, clearing the Locust pressing their line from the near-side cover. Stick to the low concrete barriers rather than the open plaza in the middle; Charlie's survivors are already using them and the crossfire funnels through the gap between them.
- Deal with the elevated shooters first. They have clean sightlines on the open approach and will chip your squad down from range if you ignore them to chase ground troops, and they reposition after a couple of misses, so don't assume a sniper you broke line of sight on is still where you last saw it.
- Once the approach is clear, follow Charlie's advance onto the bridge deck itself and head for the first control room. Charlie Squad pushes with you here rather than staying behind, so use their push as cover while you reposition toward the console.
Step 4-6: the west and east control rooms
Lowering the central span takes two separate consoles, and the first one does not finish the job. In the west control room, the console drops the span partway before the mechanism jams and the objective updates; there is no reason to stay at a dead console, so leave immediately rather than retrying it. Expect a short wave of Locust to funnel through the control room door right as the console jams, so clear the doorway before you go looking for the next objective marker rather than turning your back on it.
Charlie Squad gets pinned again on the lower level while you reposition, which is your cue to climb toward the elevated crossing point above the bridge and use the high ground to clear what is pinning them. The elevated position also gives you a much better look at the burning truck and the control tower ahead, so take a second up there to spot the snipers before you commit to moving again. From there, follow Bravo's route down to the lower deck, which leads straight into the east control room. Using the second console here is what actually gets the central span moving, but the fight is not over once it is lowered: Locust still hold part of the crossing, and you need to clear it before command will call the bridge secure.
Snipers, the burning truck and collectibles
The approach to the control tower is the chapter's most dangerous stretch of open ground. Snipers posted around the tower give a visible red flash a beat before they fire, so treat that flash as your cue to break line of sight and shift cover rather than standing still to trade shots. The rest of the bridge is mostly Drones with a few throwing grenades from the far cover line, so prioritize the sniper and let your squad soak the smaller threats while you reposition. Past the control rooms, a burning truck blocks part of the lower crossing and a pair of Boomers use its wreckage as cover; flank around the flames instead of pushing straight through the smoke, since it cuts your own visibility more than theirs and gives the Boomers a free shot while you're blind.
Five collectibles are scattered along the crossing, mostly tucked into the stadium position and the lower deck beside the east control room:
- A COG dossier in the stadium position, near where Bravo Squad first forms up.
- A weapon cache along the near-side approach, close to Charlie Squad's held position.
- A collectible near the west control room, inside the console room itself.
- Two more along the lower deck route between the west and east control rooms.

Reporting to the Quartermaster at Oria Stadium
Clearing the crossing does not immediately end the chapter. Command wants visual confirmation the bridge is actually secure before they route traffic across it, so hold position until that call comes through; expect a brief lull rather than another full wave, since this is the chapter winding down rather than escalating. Once the call comes, follow Bravo's route off the bridge toward Oria Stadium and report to the Quartermaster there to close out Bravo Squad and roll into Chapter 6, Hold the Line. If you missed any of the collectibles above, this is also your last clean chance to backtrack before the chapter transitions.
Quick checklist
- Resupply at the stadium FOB before moving out; there's no crate on the bridge itself.
- Clear elevated snipers around the control tower first, watching for the red muzzle flash tell.
- Use the west control room, then leave once it jams rather than retrying the console.
- Climb to the elevated crossing point to clear Charlie Squad's second pin, then follow Bravo down to the lower deck.
- Use the east control room to finish lowering the central span, then clear the remaining Locust on the crossing.
- Flank the burning truck's Boomers instead of pushing through the smoke.
- Hold until command confirms the bridge is secure, then report to the Quartermaster at Oria Stadium to close the chapter.
For background on E-Day's story and the Coalition and People Can Fly's production of it, see the game's entry on Wikipedia. E-Day is rated M for Mature by the ESRB, and is available now on Xbox and Steam. If you missed the fight through the Emergence Holes and Mayor Shaw's escort at City Hall, our Chapter 4 walkthrough covers that stretch in full.