Silent Hill: Townfall Part 2 Walkthrough: Zoe's Rounds and the Journey to Medical
Zoe searches her neighborhood for supplies while Simon fights through fog and radio static to reach the medical centre, in this full walkthrough for Silent Hill: Townfall Part 2.

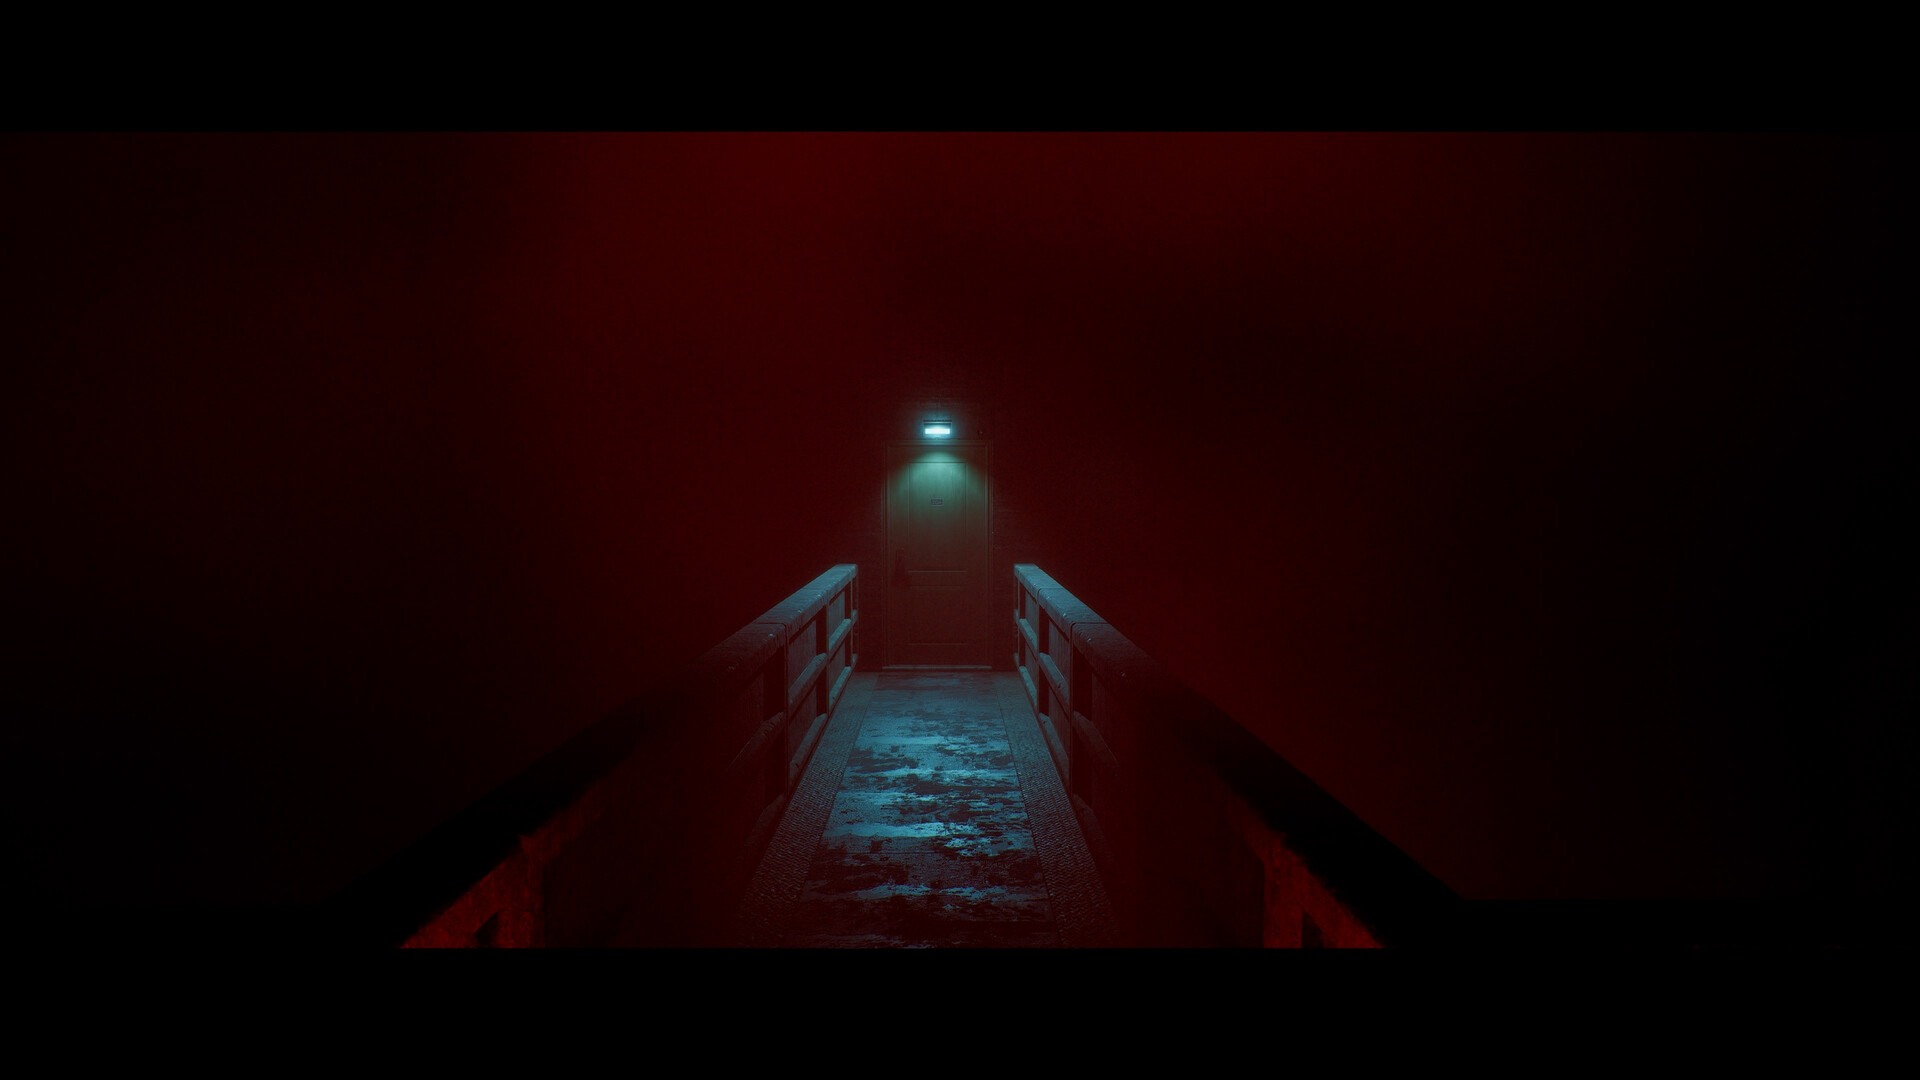
St. Amelia's fog swallows the walkways between safe rooms in Silent Hill: Townfall. Image: Konami.
Silent Hill: Townfall's second act splits the player between two survivors, and it is where the game stops being a straight corridor crawl and starts asking you to think about resources, noise and who is even safe to trust. This walkthrough covers both halves of Part 2 as they stand on Steam and PS5 as of September 2026: Chapter 5, "Zoe's Rounds," and Chapter 6, "Journey to Medical." It picks up right where our Part 1 walkthrough left off, at the clinic door in St. Amelia.
Before You Start Part 2
Part 2 hands control to Zoe first, then swaps to Simon Ordell partway through, so treat it as one long stretch rather than two separate missions. Every telephone you pass is a save point and nothing else, so use them liberally before pushing into a new street. If you have not settled on a difficulty yet, our beginner tips guide covers what each setting actually changes. Bring whatever Gauze and alcohol you saved from Part 1: Zoe's opening area is stingy with healing items on purpose, and the game's own M for Mature rating is largely earned by how close these early encounters get. Full details on editions and platforms are on Townfall's official site.
Konami marked the game's launch with a small piece of series trivia worth knowing before you dig into St. Amelia's back streets.
SILENT HILL: Townfall is out today. To celebrate the launch, kera (@kera_2), concept artist for SILENT HILL f, created a special illustration bringing together SILENT HILL: Townfall, SILENT HILL 2, and SILENT HILL f. #SILENTHILL #Townfall
— Silent Hill Official (@SilentHill) Silent Hill Official on X
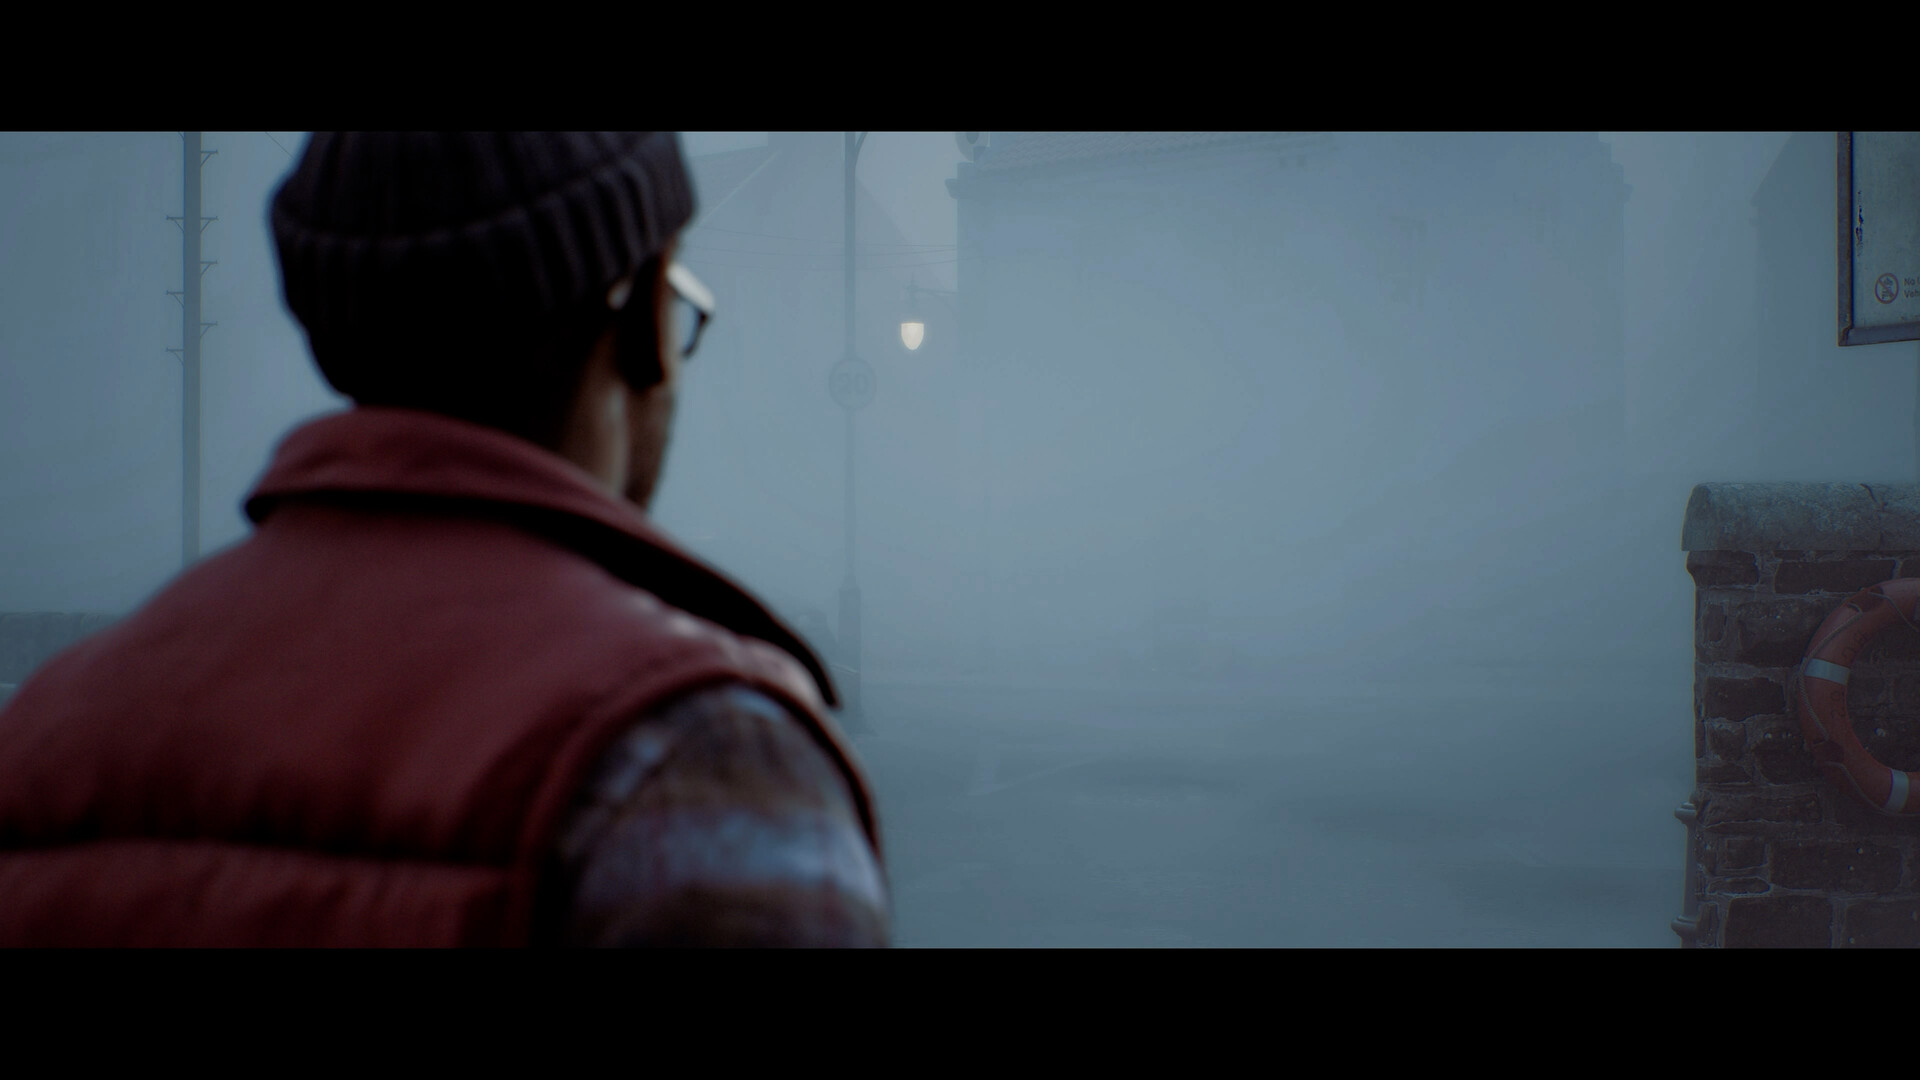
Chapter 5: Zoe's Rounds
Zoe starts at her own house. Check the washroom for a medical box with Gauze, then use the telephone downstairs to save before heading out toward the town square and the park.
- At Jane's community garden shed, enter the code 1993 on the lock. Inside are alcohol, an obituary for Jane Chalmers, and the community garden key. Combine the alcohol with Gauze for a stronger heal item.
- Use the garden key on the door left of the shed to reach the community garden itself, where pager messages start filling in the backstory as you move through.
- Head to the second house on Church Avenue, Mr. Stewart's place. The front door triggers a cutscene; loop around the block to the back alley, open the white gate, and slip in through the sliding door.
- Inside, check the bedroom and use the telephone to save, then listen to the answering machine and read the diary that gives Zoe's full name away: Nurse Ellis, aka Zoe Ellis.
- Grab Gauze and alcohol from the kitchen's medical box, then interact with the left-hand door. This triggers a chase: a monster spawns in the bedroom behind you.
Get the house key from the washroom, take the first aid kit in the corner, and run for the back door and the white gate. From here it is a straight evasion sequence through the alleys: pick up every glass bottle you pass and throw them to redirect the monster's attention rather than wasting ammo on it.
Find the telephone booth near the parked cars to save, then head to the Medical Center to read the Medical Security Note. Return to the booth and dial 496 0556 to reach Dr. Glenn. When the menu prompts you, press 3, then 2, then 2, then 1. A short cutscene follows. Approach the Medical Centre itself by throwing a bottle near the ambulance with its siren still going; the monsters patrolling the lot chase the noise instead of you, and you can slip through the gap.
Inside, work the perimeter: collect Gauze from the table and the tent on the left, read the note left in the tent, and stay low as you pass through the white gate. Use the shutter on the left side, grab another Gauze and alcohol from the medical box, and save at the telephone in the side room. The machinery in that room opens the gates ahead. Pick up the brick outside to distract a patrolling monster, then push through to the main entrance. Zoe meets Simon here, and the chapter hands off to him for Chapter 6.
Chapter 6: Journey to Medical
Simon starts back at the clinic. Head toward the town square and open the box you find there for a cutscene and a weapon with very limited ammunition. Keep the plank as your default option; firing a gun draws every monster in earshot, while a melee hit from behind stays quiet.
Follow the path right out of the square, loop left through the open gate, and grab the bottle along the way. Past the staircase, expect a monster on the path down; deal with it or slip by, then collect the strange postcard near the bottom of the stairs and save at the telephone booth there.
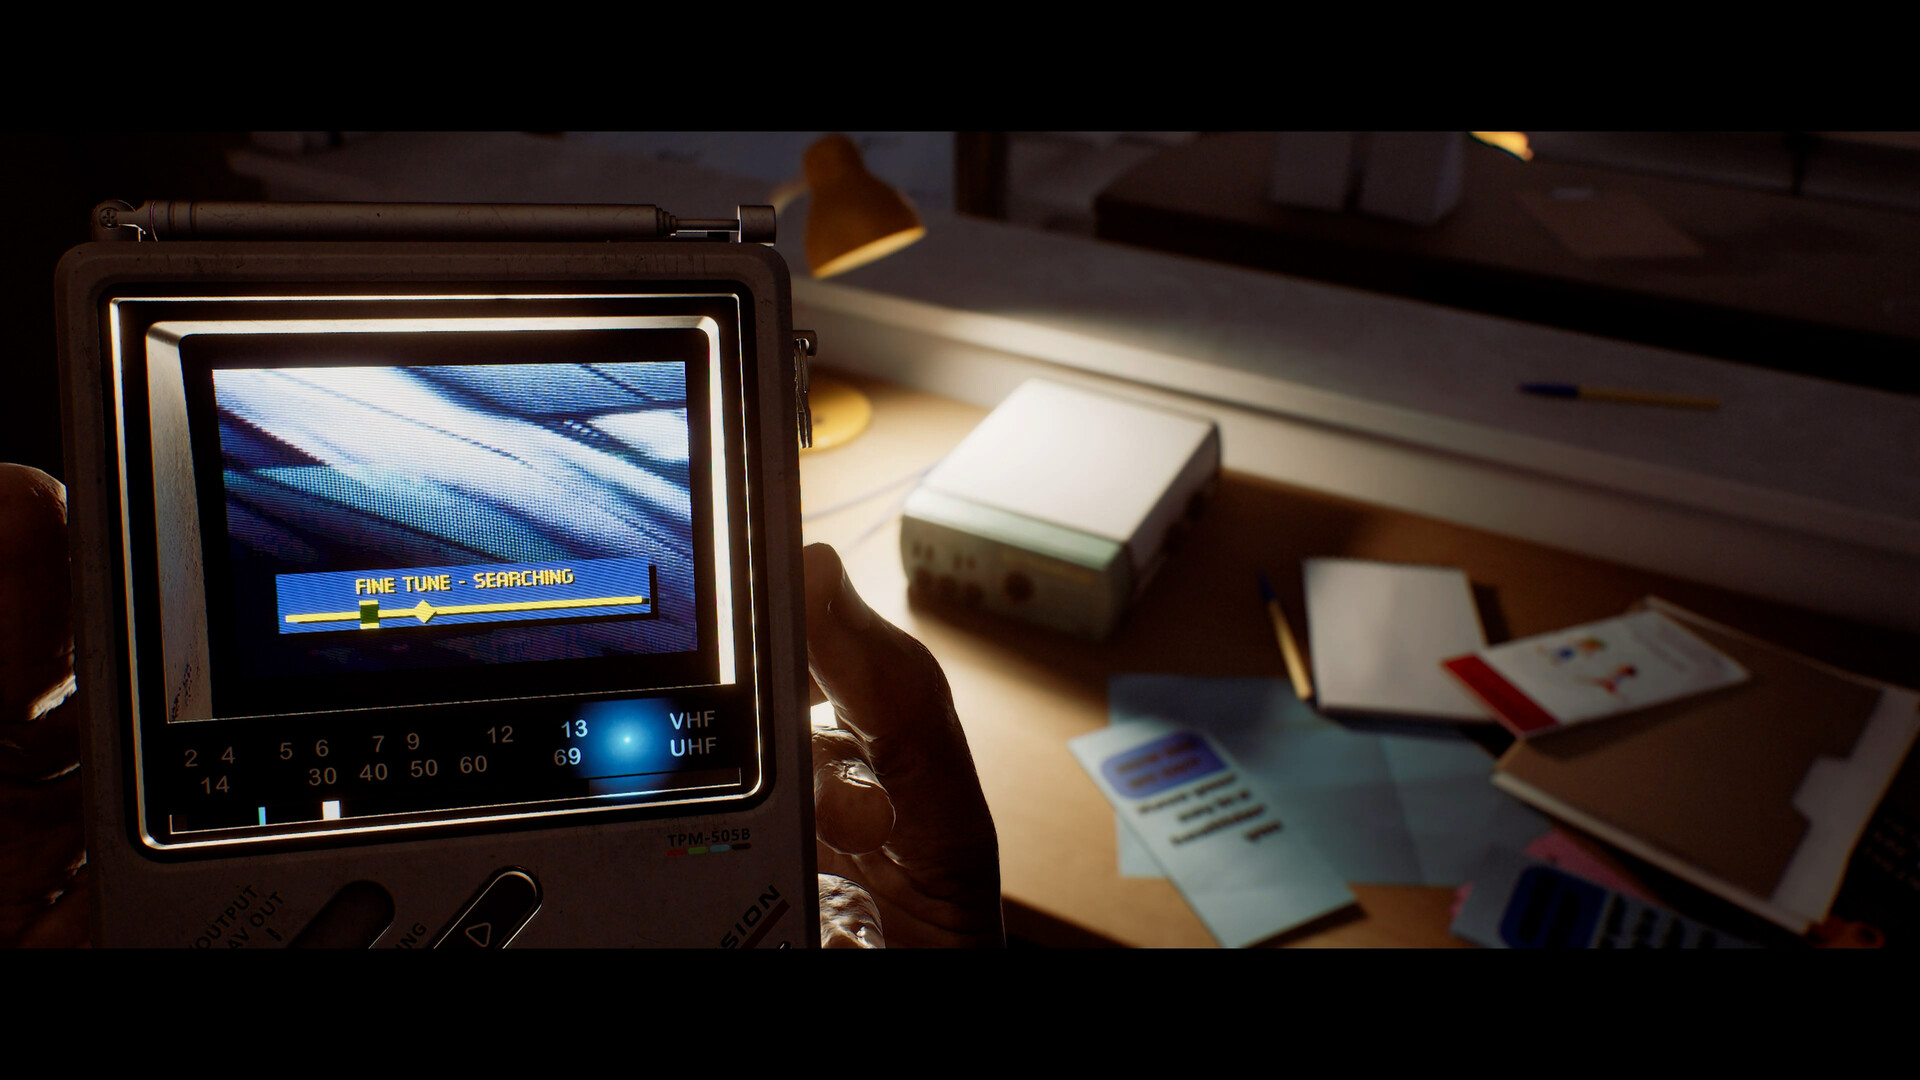
The next stretch is built around distraction puzzles rather than direct fights. Open the gate near the stairs, climb up to the shed, and grab the IV fluid and Gauze inside. Close the door and watch the monster outside through the shed's CRTV set before you leave. Break the planks on the right-hand side for ammunition, then keep moving: open a gate with a scalpel, check a shed for alcohol, and turn on a radio to pull a monster's attention into that shed while you slip past. Two more sheds nearby hold an empty IV bag, a plank and more Gauze if you take the time to search them. If the RGB fine-tuning on these radio and CRTV puzzles trips you up, our CRTV signal guide walks through the tuning pattern in detail.
The apartment building past the sheds is the densest part of Chapter 6. Go up through the first apartment, tune the RGB machine you find on a table, grab an alcohol bottle from the side room, and use a scalpel on the locked gate to reach the living room. A monster waits there; a plank hit from behind drops it in one. Turn on the printer in the kitchen, then head back up for a box holding pistol rounds. The next door up puts a monster right in front of you, so have the plank or a shot ready. From the living room window, climb down the ladder to the lower apartments.
Work your way down floor by floor: one apartment has a first aid kit in a kitchen drawer, another hides a lockbox key on a monster you have to fight for. Use that key on the box near the stairwell for pistol rounds and alcohol, then return to the apartment with the broken floor, drop through it, and be ready to block or swap in a fresh plank the instant the next monster closes in.
If a Monster Catches You
Most Part 2 encounters are built to be avoided, not won. If you get cornered, blocking with the plank buys you a window to either counter or disengage, and a thrown bottle or brick is almost always a better answer than a bullet, since gunfire pulls in anything else nearby. If you are chasing the "Save It For The Patients" trophy, remember it tracks both of Zoe's chapters as one continuous run, so a single Gauze or first aid kit used anywhere in Rounds or The Patient ends the attempt.
Quick Checklist for Part 2
- Save at every telephone before advancing, especially before the Mr. Stewart's House chase and the apartment building.
- Garden shed code: 1993. Dr. Glenn's number: 496 0556, then press 3, 2, 2, 1.
- Throw bottles near the ambulance to slip into the Medical Centre lot unnoticed.
- Use the CRTV and radios to bait monsters away from sheds and gates rather than fighting through them.
- Search every apartment floor before dropping through the broken one; several items are easy to miss once you commit.
Chapter 6 ends the moment Simon reaches the Medical Centre's main entrance, closing out Part 2. The developers at Screen Burn Interactive built St. Amelia to punish players who rush it, so if a section feels unfair on a first pass, it is worth backtracking a room or two for the supplies you skipped rather than pushing on empty.