Silent Hill: Townfall Part 1 Arrival Walkthrough: Escape, Codes and the Clinic
A complete walkthrough of Silent Hill: Townfall's opening two hours, with every code, item location and the clinic's final scale puzzle.

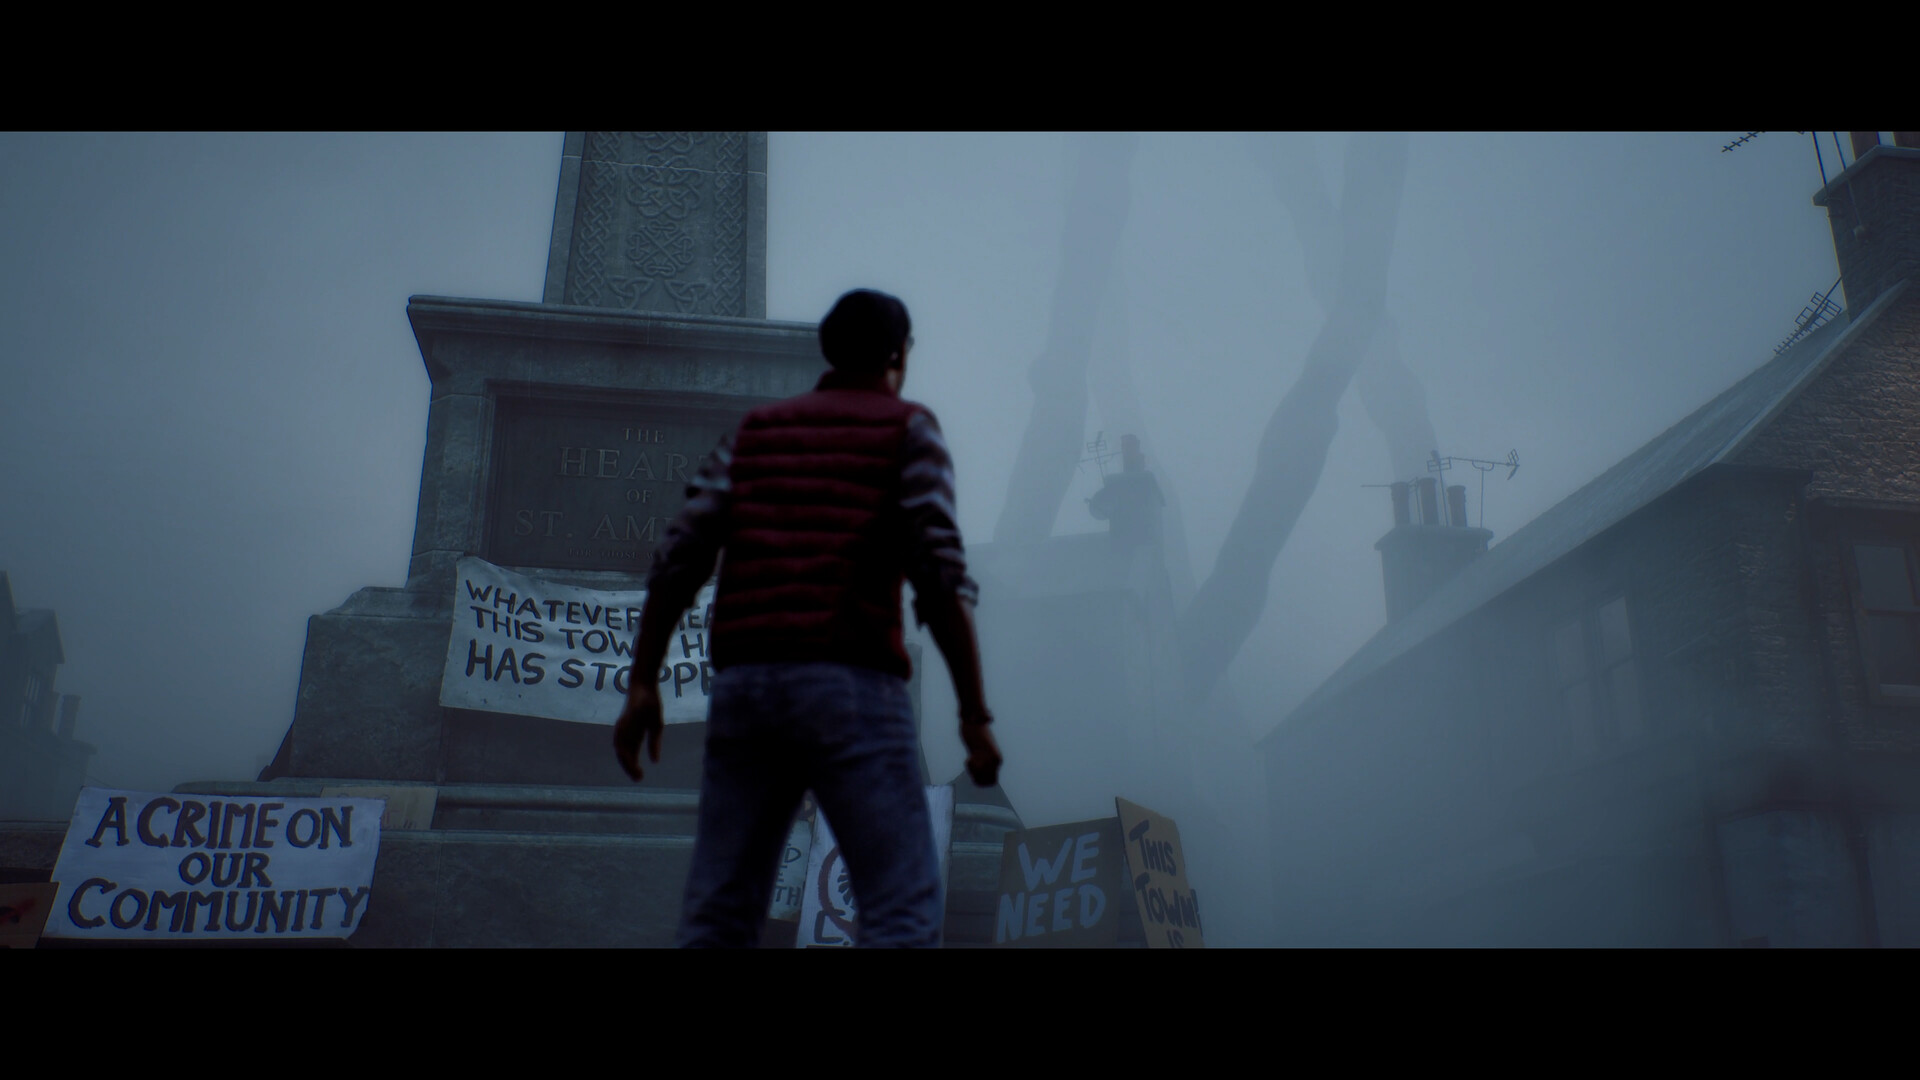
St. Amelia's town square, where Part 1: Arrival begins. Image: Konami Digital Entertainment.
Silent Hill: Townfall is out now on PS5, Steam and the Epic Games Store, and its opening stretch, Part 1: Arrival, runs about two hours and sets every system in the game. This walkthrough covers all four chapters of Arrival as of launch week, September 2026: getting off the marina, finding the CRTV, restoring power to House 2A and clearing the Shorefront Family Clinic to reach Zoe. Codes and item locations below are current for the shipped release.
Before You Set Foot in St. Amelia
You play Simon Ordell, an outsider who washes up on the icy marina of St. Amelia, a fog-locked island town off the coast of Scotland, searching for his missing daughter Zoe. Townfall is the first fully first-person entry in the series, and Screen Burn Interactive built Arrival specifically to teach two habits: read everything, and treat the fog as an active threat, not scenery. Every note, poster and computer screen you pass in these first two hours holds a code or a hint you will need a few rooms later, so slow down before you dial a phone or unlock a lock box.
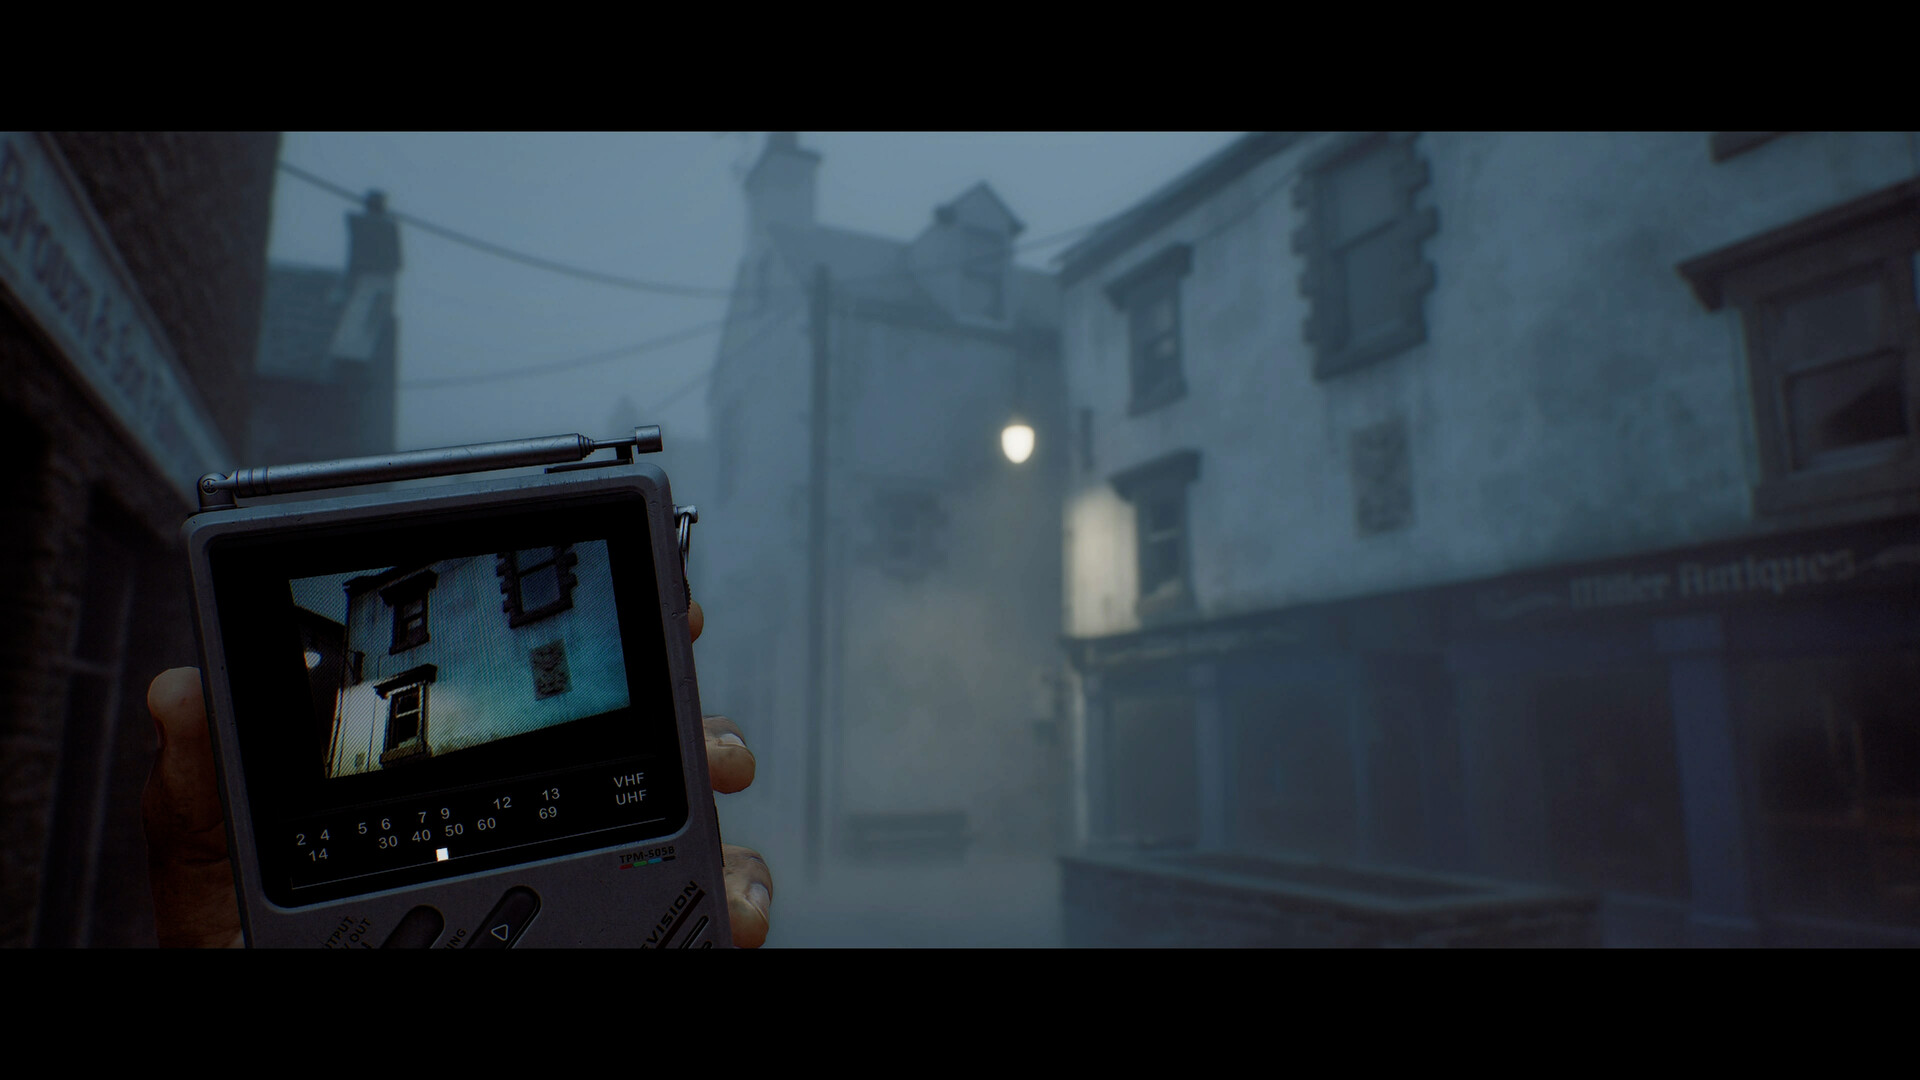
The CRTV, a handheld analog television you pick up early in Chapter 2, is the single most useful tool in Arrival. Tuning it to different frequencies with the D-pad reveals hidden ink, static-drawn symbols and the silhouettes of nearby creatures through walls. Get comfortable fiddling with its dial the moment you have it, because two of the puzzles below depend on it. Combat in Townfall is deliberately clumsy on the default difficulty, so treat encounters as something to avoid rather than win outright, and keep a scalpel or improvised weapon on hand only as a last resort rather than your first move.
Chapter 1: Cold Open
The chapter opens in near total darkness. Head upstairs, then down two separate flights of stairs, and climb the ladder at the bottom. Follow the fog toward the single red light ahead of you. A cutscene plays once you reach it, and Simon receives the area map for St. Amelia.
- From your starting position in town square, look for the telephone booth on the west side, near the flags.
- Interact with the phone to answer an incoming call.
- When prompted, choose "Save Yourself."
- Dial 100 on the keypad and press OK to trigger the chapter-ending cutscene.
These phone booths double as the game's save points for the rest of Arrival, and you will use the same 100 code at several of them, so remember the number rather than the specific booth.
Chapter 2: Escape — the CRTV and Room 204
You wake in a dark room. Exit it and continue forward, turn left, open the vent on that wall and crawl through. Ahead is a ladder; climb it and interact with the door to Room 204 to trigger a cutscene where Simon picks up the CRTV.
Inside Room 204 is a washroom with a locked door beside the bed, secured by a three-part rotating dial for a date, a month and a year. Set it to 18 / January / 1996 to open it. The clue for that date is split between the CRTV static and the room service card sitting on the nightstand, so if you skipped reading the card, tune the CRTV in the washroom first. Beyond the door is the Room 204 key. Pick it up, leave the room, call the elevator down to the lobby and exit through the main door to close out the chapter.
Chapter 3: A Connection — House 2A and the Electricard
From town square, head right toward the row of flags, cut into the alley beside them and climb the stairs to reach House 2A. Search the kitchen drawer for a flashlight, then head upstairs and check a bedroom drawer for a pair of AA batteries. Combine the batteries with the flashlight the moment you pick them up so you are not fumbling with the inventory screen later, and grab the Human Organ Transplant card from the bathroom while you are up there.
House 2A has no power yet, and fixing that means a trip to the corner store for an Electricard:
- Leave House 2A and head toward the nearby store.
- A creature patrols this stretch; crouch and hold near cover until it moves off before crossing open ground.
- Inside the store, take the Electricard from the cash counter.
- Return to House 2A and insert the Electricard into the meter by the entrance.
- Cycle the display until it reads "Card Credit," then flip the red switch to restore power.
With power on, the computer in House 2A becomes usable. Its email inbox holds the unlock code 956 133 for the organ box in the same room. Open it to retrieve Zoe's Lanyard, which becomes your access card for the rest of Arrival.
Chapter 4: Searching for Zoe — the Shorefront Family Clinic
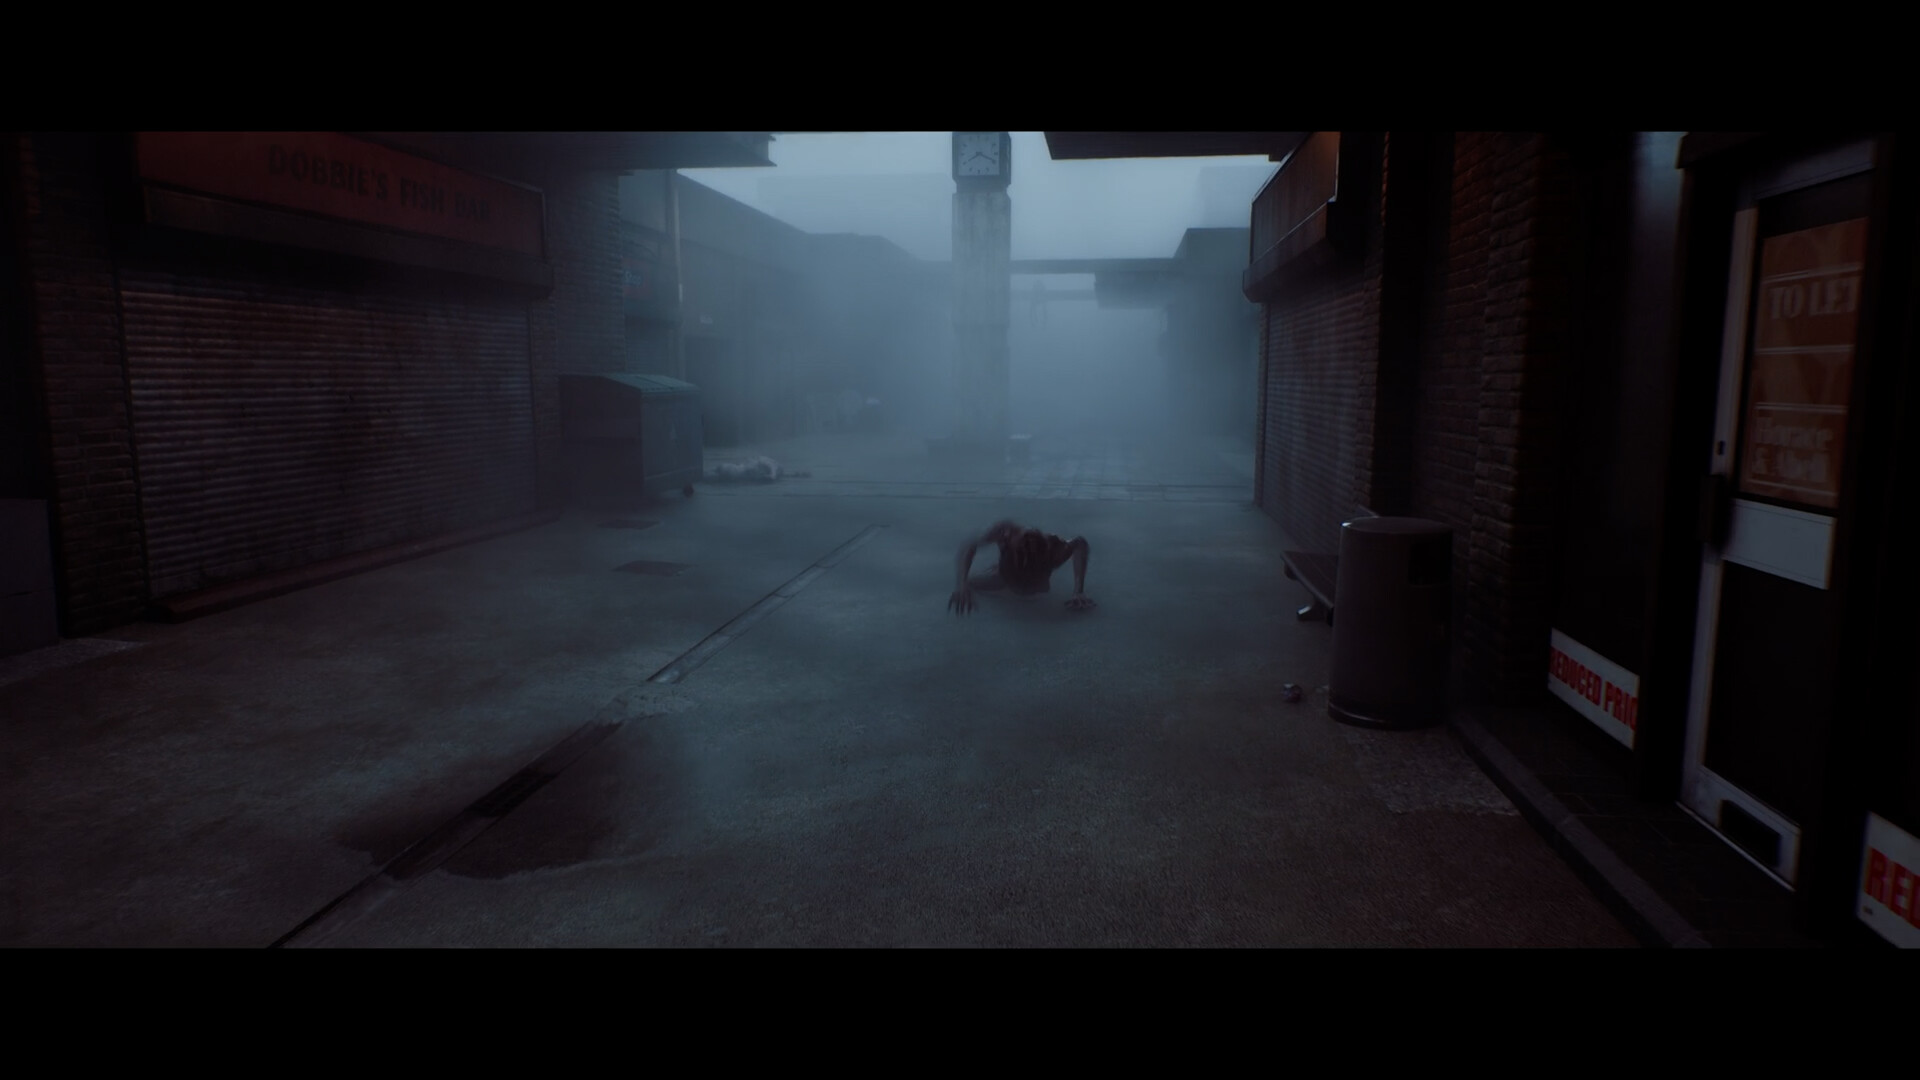
Save at the nearest phone booth (dial 100, as before), then make your way to the Shorefront Family Clinic. Use Zoe's Lanyard at the gate to get in. A creature patrols the courtyard; duck behind the dumpster and wait for it to pass before slipping inside and locking the door behind you.
Work through the clinic in this order:
- Search Dr. Stevenson's office for gauze and a handwritten note.
- Collect an Empty IV Bag, more gauze, IV Fluid and a scalpel from the surrounding rooms.
- At the computer in the left-hand room, the code 2896 unlocks the reception door.
- Save again at the reception telephone before moving on.
The pharmacy is next door. Use the scalpel to force the gate and head up to the second level, where a locked CRTV broadcast cabinet needs fine-tuning; hold the D-pad and adjust slowly until the picture stabilizes and the static clears into a readable image. Two lockers are here: the standard one holds a First Aid Kit, and the rusty one opens with code 6539, taken from numbers posted around the pharmacy floor and confirmed by the CRTV broadcast once it locks onto the right channel. It contains the Prescription Dosage Error Note, a key item for the final puzzle, so don't leave the pharmacy without it.
Detour to Building 16 in St. Amelia Park for one more supply run. The ground-floor apartment washroom has a First Aid Kit, and upstairs you will find a note reading "21 Farrow St. – Back Door Key." Follow that lead to Jess's house nearby for a Lock Box Key, then bring it back to Building 16 to open the lock box for additional IV supplies.
Back at the clinic's box room, the last puzzle of Arrival is a set of weight scales with three trays. Place the items exactly as follows: the Broken Stethoscope on the left, the Prescription Dosage Error Note in the middle, and Zoe's Lanyard on the right. Setting all three correctly triggers the closing cutscene and ends Chapter 4, along with Part 1: Arrival.
Quick Checklist for Part 1: Arrival
If you get stuck, run through this list before backtracking through the whole chapter:
- Chapter 1 phone code: dial 100, select "Save Yourself."
- Room 204 washroom dial: 18 / January / 1996.
- House 2A meter: cycle to "Card Credit," flip the red switch.
- House 2A computer unlock: 956 133.
- Clinic reception computer: 2896.
- Pharmacy rusty locker: 6539.
- Final scale order: Stethoscope left, Dosage note middle, Lanyard right.
For everything else you need to know before starting the campaign, see our breakdown of Townfall's editions and early access times and our guide to its difficulty settings and early mistakes to avoid. Full patch and platform details live on the official Silent Hill: Townfall site and the Steam store page. Background on the series and this entry's Scottish setting is on Wikipedia, and content details behind its Mature rating are listed in the ESRB rating summary.