Silent Hill: Townfall Part 7 Walkthrough: The Auxiliary Lines and The Weight Boss Fight
Simon crosses the SWDP auxiliary lines, closes the clamp panel, and faces The Weight in the final fight of Silent Hill: Townfall. Every step and a boss strategy current as of October 2026.

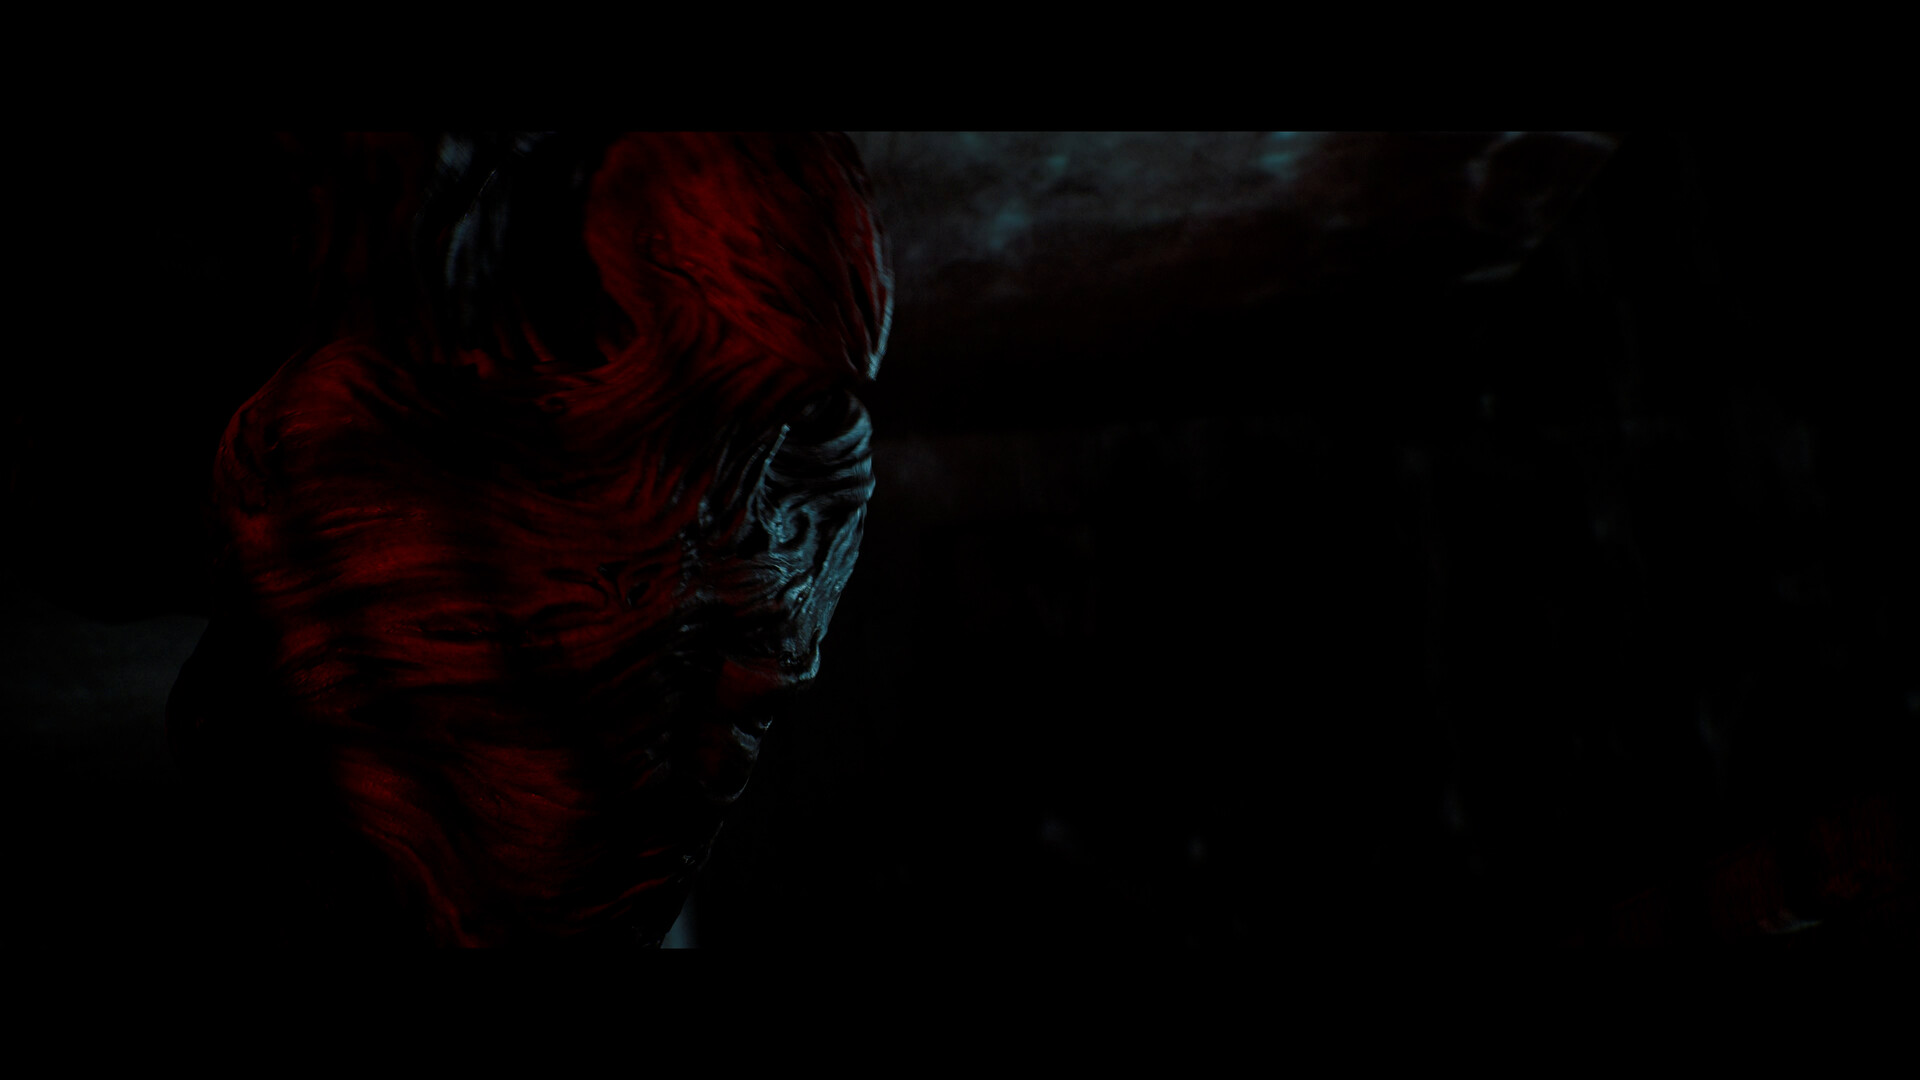
The Weight is the only time Simon actually fights back, and the final encounter plays by different rules than the stalking sections before it. Image: Konami Digital Entertainment.
Part 7 of our Silent Hill: Townfall walkthrough picks up right where the CEG Tower flare stack left off. This covers the SWDP auxiliary lines, the Valve F unlock, the clamp release panel, and the final confrontation with The Weight, current as of October 2026. Simon spends this stretch back inside the SWDP facility, the same oil rig control complex tied to the fire that killed 95 workers and that he spent years covering up. Walking these corridors again, with the Otherworld layer peeled back over familiar machinery, is the game's way of forcing Simon through the thing he has been avoiding since the opening beach scene. The game does not let you revisit earlier areas, so grab every readable document in these rooms before moving on.
Before the SWDP auxiliary lines
You arrive at the SWDP facility with whatever ammo and healing items survived the flare stack ignition. Hold onto any shotgun shells and flare gun rounds you find in these rooms rather than spending them on regular enemies — the final fight is close and it rewards anyone who walked in prepared. Check every locker and printer tray in the entry corridor; this section hides two optional documents that fill in backstory on the 95 workers lost in the original fire, and they are missable once you move past the control room.
Wiring the auxiliary lines
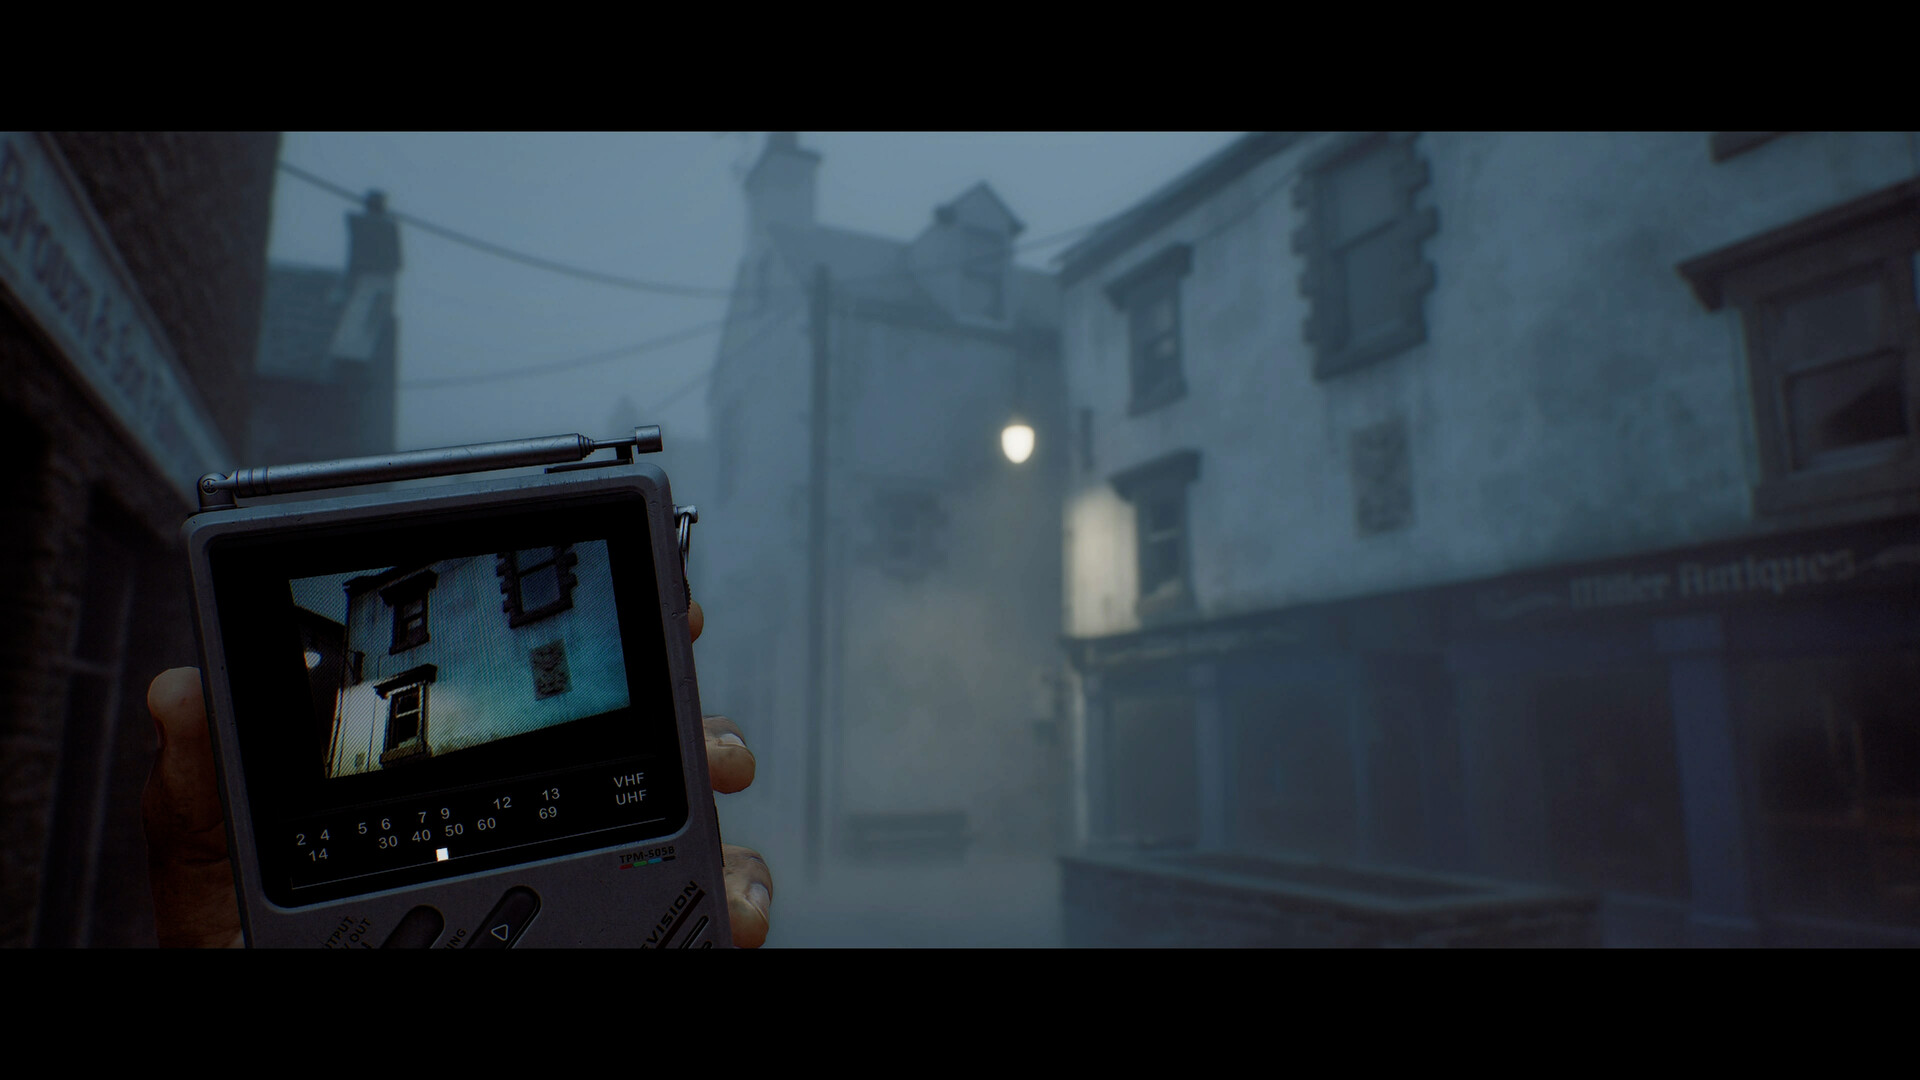
The printer panel just past the entrance needs power before it will print anything useful. Flip both switches on the unit to turn it on, then watch for the printout that names the auxiliary line clue. A nearby locker holds the AUX Key; the numbers stamped on the locker face are what you need, and like most combination prompts in this chapter they can shift slightly between save files, so read the digits off the locker itself rather than trusting a number pulled from someone else's run.
Feed the AUX Disk into the computer once you have it. The screen shows a diagram labeled "Auxiliary Lines," with each line running to a wall switch somewhere in the room. Line 1 and Line 2 both start on the wall facing away from the computer; match every switch to the direction shown on the diagram and its indicator light turns green when it is correct. Get a switch wrong and nothing explodes, the light just stays red, so there is no penalty for working through this one by trial and error if the diagram is hard to read in the fog filter the game applies to every screen in this facility. Work through all of them in order:
- Match Line 1's switch to the direction shown first on the printout.
- Match Line 2 the same way, starting from the wall opposite the computer.
- Continue down the line until every indicator on the panel reads green.
- Return to the computer and confirm the auxiliary lines are active before heading for Valve F.
Valve F and the clamp release procedure
Valve F sits behind a locked door reachable from the console room. Use the CCTV terminal to find the unlock command for that door — the exact code printed on your console can vary, so cross-check it against the terminal readout rather than memorizing a fixed number. Once the door opens, you have to turn Valve F by hand inside the Valve Room; it will not operate itself the way the earlier valves in the flare stack chapter did.
With the valve open, head back upstairs to the control room and pull the Clamp Release Procedure sheet from the printer beside the Remote Systems console. This document is the actual answer key for the next puzzle, so keep it open if the game lets you, or note every field it lists before you approach the panel.
The clamp panel puzzle
The clamp panel is the most involved checkpoint in this stretch, and getting even one field wrong keeps the Release button from flashing. Work through the settings in this order:
- Set BALANCE to Intermediate on both the left and right tension units.
- Turn both NOTIFY switches on.
- Set RUN OFF to Disengaged.
- Enter D71 on the Clamp Connection pad.
- Turn on REPORT switches 1, 3, and 6 only — leave the rest off.
- Set PRESSURE CONTROL to SET and INTUBATE FLOW to NONE.
- Set BATTERY ONE to B and BATTERY TWO to C.
When every field matches, the green RELEASE button starts flashing. Press it, then go downstairs to the container that just opened and turn the large red crank to finish the sequence. That crank is the step people miss — the panel looks finished the moment Release flashes, but the clamps are not actually off until the crank turns.
The Weight: how the final fight works
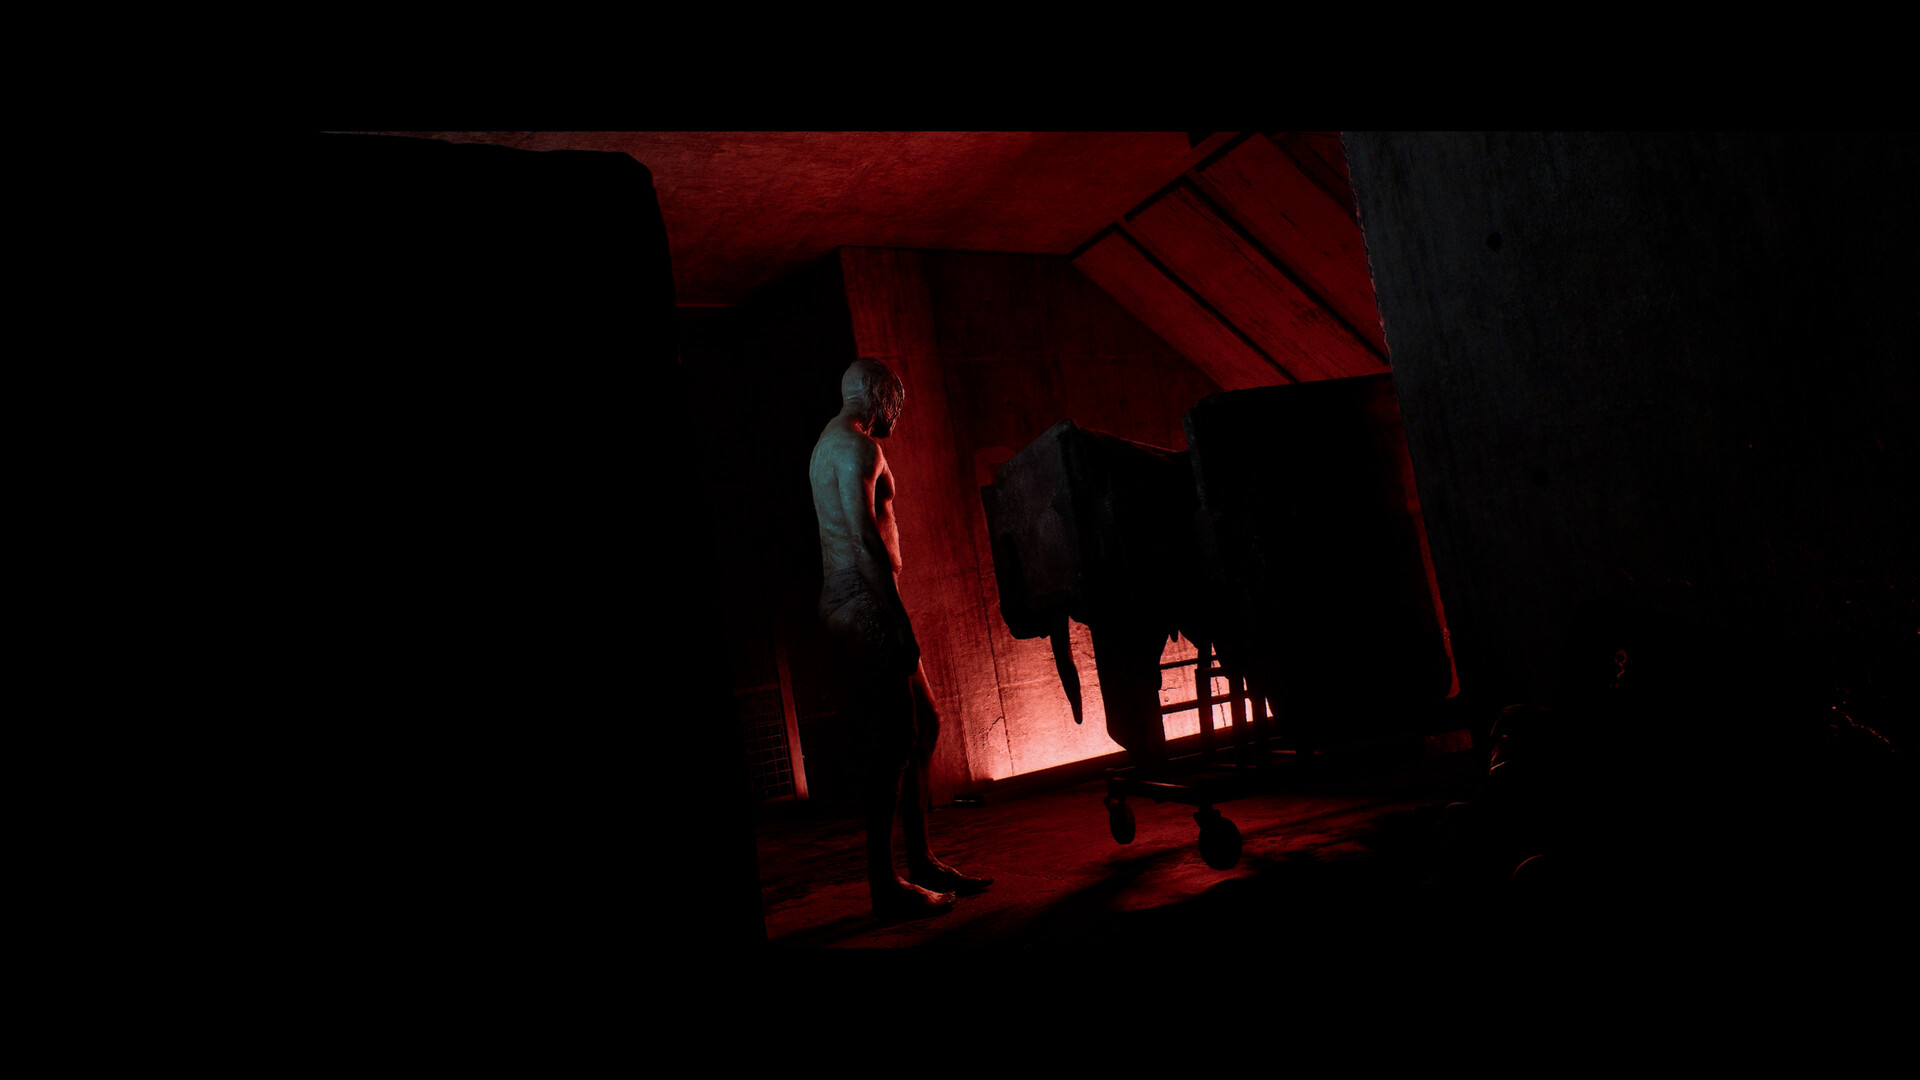
Everything before this point in Silent Hill: Townfall trains you to avoid The Weight, not fight it. The stalking sections scattered through earlier chapters are built around distraction — throwing a bottle or a brick to pull it one way while you go the other. The final encounter drops that rule. This is the one time the game actually wants you to stand your ground, and it plays by different mechanics than every previous encounter with the creature.
Use impact weapons and anything explosive to stagger it rather than trying to outrun it in the open. Pick up weapons and supplies off the bodies scattered through the arena as you go, because you will run through your starting stock fast. Expect smaller enemies to join partway through, so clear them quickly rather than letting them box you in while The Weight recovers from a stagger. The fight escalates into a string of quick-time prompts near the end — missing one is usually an instant failure, so stay on the trigger the moment a prompt appears rather than reacting a beat late. The arena itself works in your favor if you remember it: the gurneys and shelving from earlier in the chapter are still scattered around the room, and ducking behind them buys a second or two to reload or swap to the flare gun rounds you saved.
Screen Burn Interactive has acknowledged that The Weight is the single most-reported frustration in the game and says a balance pass is coming:
We have released a patch on PC (Steam + Epic - v1.3.1) that significantly improves stuttering caused by PSO Compilation issues. More improvements coming soon.
— Screen Burn (@_ScreenBurn) Screen Burn on X
Also, we've heard you on struggles with The Weight - gameplay balancing on it's way asap.
That patch had not landed on the final fight's difficulty as of this writing, only the PC stuttering fix, so treat the strategy above as current for v1.3.1 and check the Steam news page before you start the chapter in case a rebalance shipped since.
Quick checklist
- Save every shotgun shell and flare round for the SWDP chapter and the fight at the end of it.
- Power the printer panel, collect the AUX Key, and match every auxiliary line switch to the AUX Disk diagram.
- Unlock and turn Valve F by hand, then grab the Clamp Release Procedure document.
- Set the clamp panel in order: Balance Intermediate, both Notify on, Run Off Disengaged, D71, Report 1/3/6, Pressure Control Set, Intubate Flow None, Battery One B, Battery Two C.
- Press the flashing Release button, then turn the red crank downstairs to finish the clamp sequence.
- Against The Weight, stagger with impact and explosive weapons, scavenge as you go, and nail every quick-time prompt the instant it appears.
This is the end of Simon's thread through the SWDP facility. For the steps leading up to it, see our Part 6 walkthrough of the CEG Tower flare stack. For everything else on the release, Konami's official Silent Hill: Townfall site and the PlayStation store page have platform and edition details, the Steam page covers the PC version, and Wikipedia's entry has the full cast and chapter breakdown if you want the bigger picture before Zoe's and Richard's threads.