Silent Hill: Townfall Part 6 Walkthrough: Simon and the CEG Tower Flare Stack
Step-by-step for Chapter 14's flare stack puzzle as Simon Ordell: the controller key location, the alarm and clamp codes, and the correct valve order on all four floors.

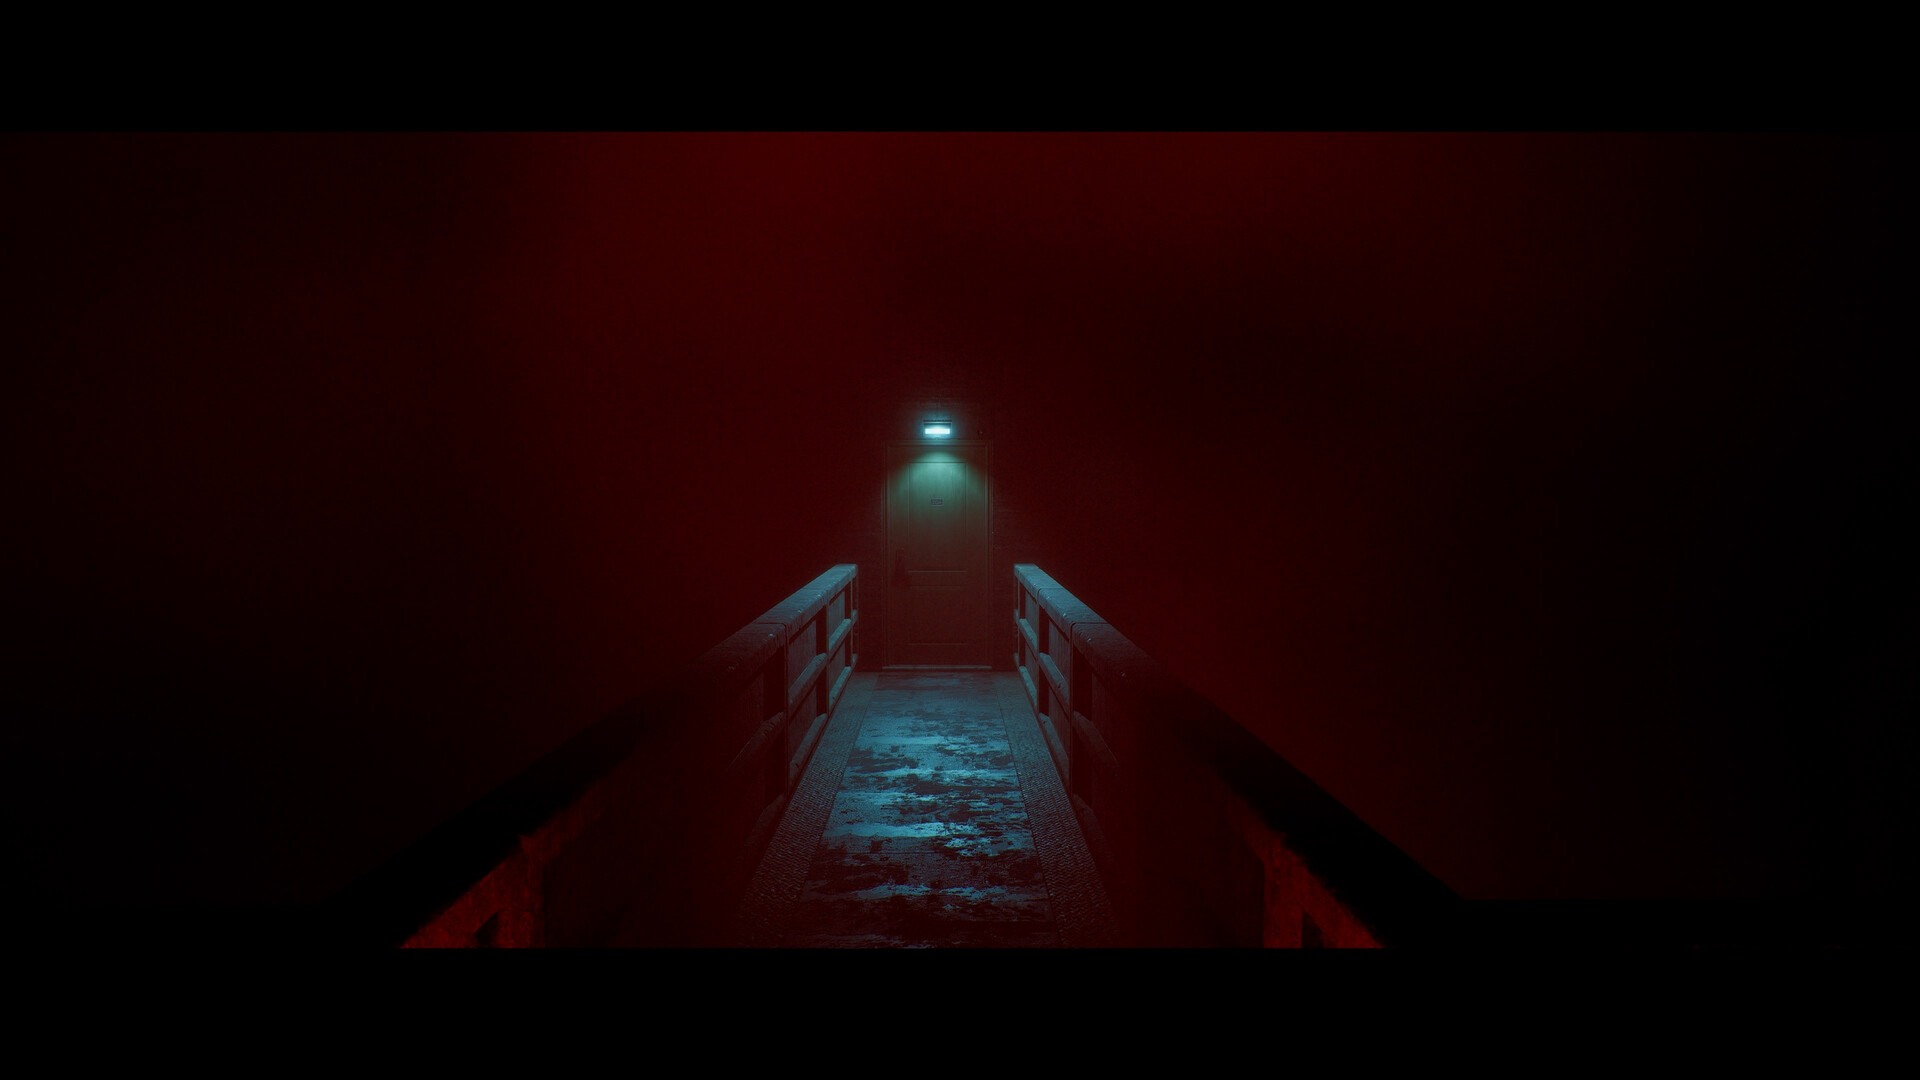
The route forward glows at the end of a fogbound walkway inside CEG HQ. Image: Konami Digital Entertainment.
Part 6 picks up where Richard's run through CEG HQ left off. You're back in the same tower, as Simon Ordell this time, and the only way out runs straight up a disused flare stack behind the building. This walkthrough covers Chapter 14, "Fix This," as of October 2026: how to find the controller key, tune the CRTV to CEG's old broadcast, and solve the four-floor valve puzzle that lets you ignite the stack and open the route forward. It's the first proper puzzle of Part 6, and it sets the pattern for the rest of the chapter: a code from a document, a second code from a console, and a physical task you have to walk the level to finish.
Before the flare stack
Chapter 14 opens in a back office of CEG HQ, a different wing from the one Richard searched in Part 5. There's no chapter select and no free roam once this section closes behind you, so treat everything here as missable. Before you touch the stack itself, pick up everything in this starting room: the Ordell File on the desk in front of you, the CEG Tower email on the computer just outside the office, and a Clue labelled Reference Sheet on the desk in the main room. The Reference Sheet is the one that matters most. It carries the alarm code you'll need in a minute, and the game does not repeat it anywhere else, so read it before you move on rather than skimming past it the way you might with a flavor document.
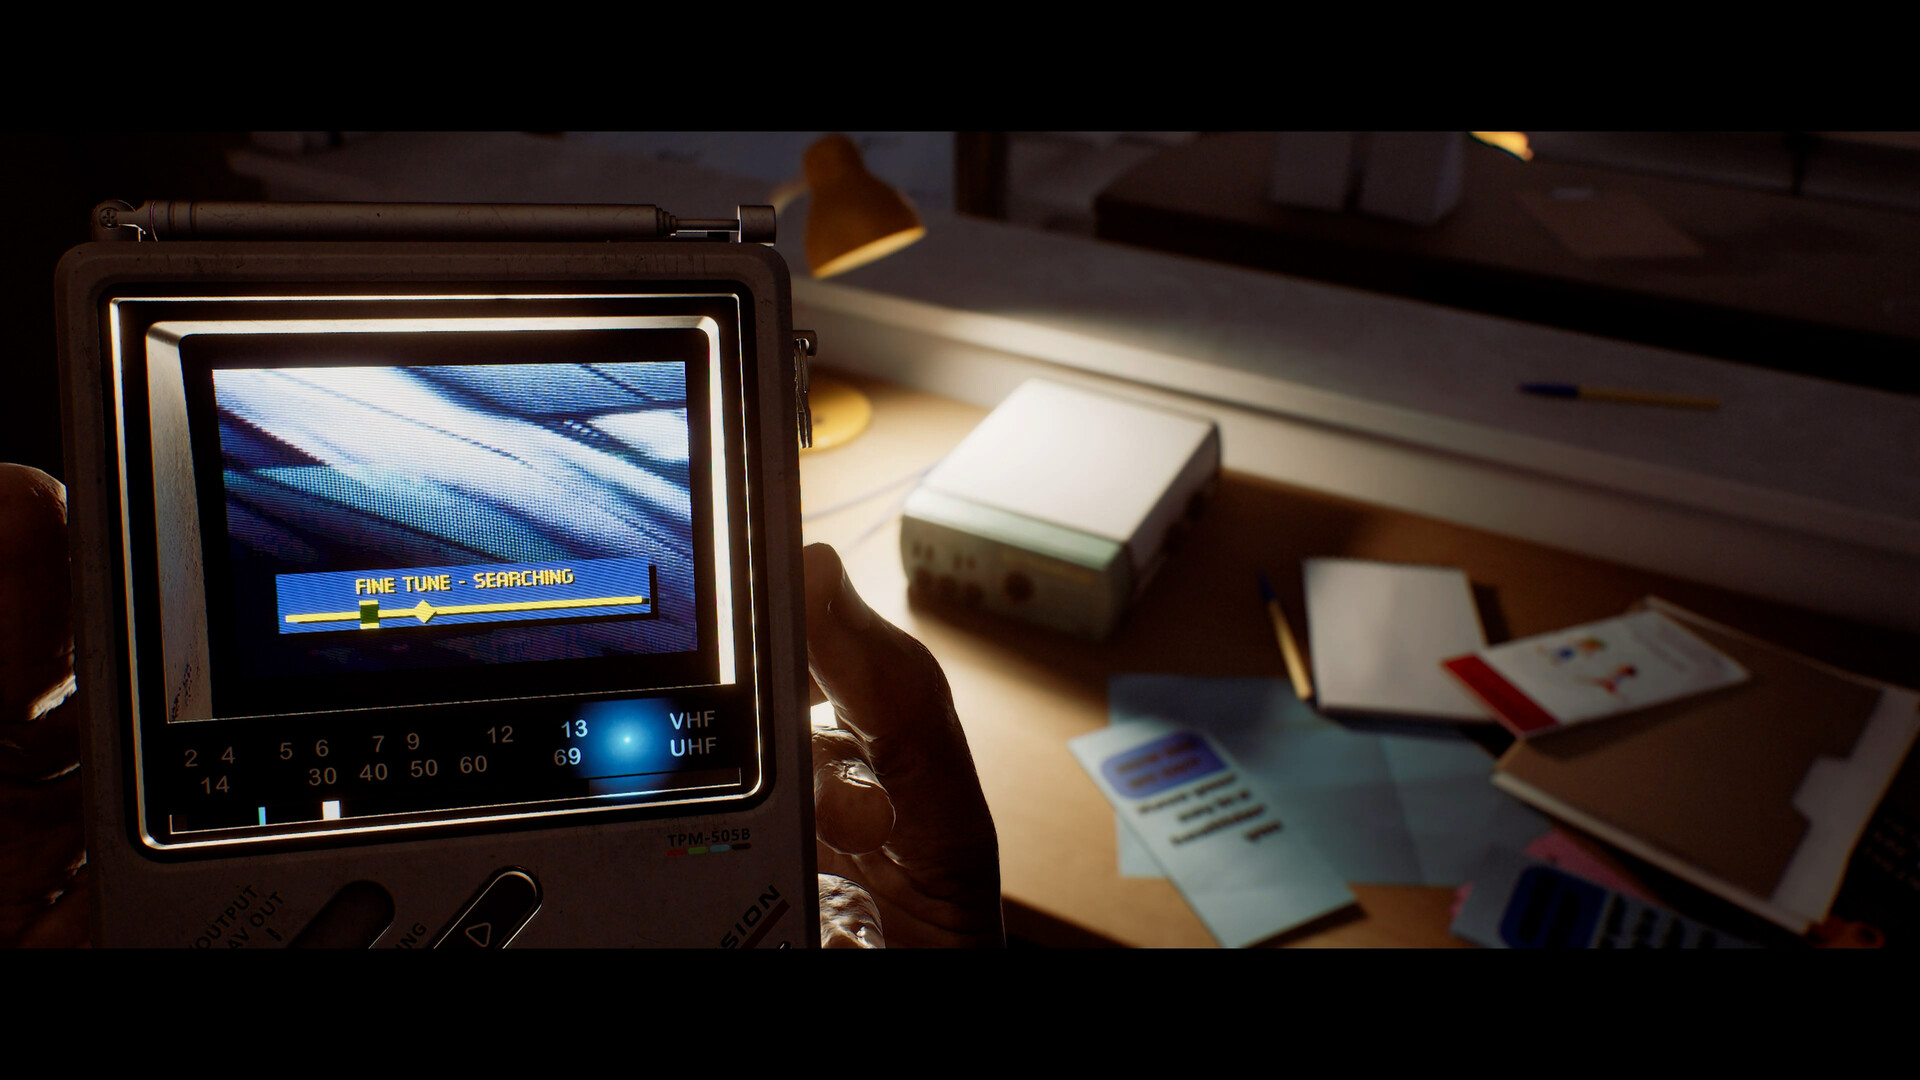
There's a radio on the same desk tuned to static. Interact with it and work CRTV Channel 42: hold the right stick to stop the picture from tilting, then nudge the colors into place with the d-pad until the image locks. It's optional for the puzzle ahead, but it plays a short broadcast that fills in what happened to the CEG night crew on the evening of the disaster, and it's the kind of detail you'll want if you're going for every document on this run. The signal is faint and the tilt drifts quickly if you let go of the stick too early, so expect to retune it once or twice before it holds.
This whole opening stretch is quiet by Townfall's standards. No chase, no static-heavy visibility drops, just rooms to search. Use that calm to actually read what you pick up; several of the documents in this run of offices connect back to names you'll have seen on paperwork during Richard's chapters, and they make more sense read together than in isolation.
Take the elevator up to the second floor of the stack structure. The Controller Key you need sits in a box on the console, immediately to the left of a large red clamp wheel. You cannot open the alarm or clamp panels without it, so don't head back down until you've grabbed it. It's a small item and easy to walk past in the clutter on that console, so sweep the whole surface rather than just the obvious centerpiece.
Enter the alarm and clamp codes
With the Controller Key and the Reference Sheet in hand, go to the ground-level panel beside the stack entrance and insert the key. Enter A5D7 to kill the alarm. The stack's floodlights will drop out and the siren cuts off, which is your confirmation it took. If nothing changes after you confirm the code, back out and re-enter the panel; occasionally the first keypress after inserting the key doesn't register.
Walk to the second panel, on the right-hand side of the same platform. This one unlocks valve rotation across all four floors of the stack rather than silencing anything, and the code is E3E3. Select OK after entering it. If the console flashes red instead of green, you've mistyped a digit; the Reference Sheet text is easy to misread in the dark, so check it again rather than guessing at a nearby number. Both codes are tied specifically to this stack and won't carry over to any other console later in the chapter, so there's no need to write them down beyond this section.
Align all four floors
Once rotation is unlocked, ride the lift and work your way up station by station. Each floor has a misaligned pipe segment with a wheel beside it; turning the wheel rotates that whole section until the red pipe lines up with the one above it. Confirmed sequence, floor by floor:
- Floor 1: turn the wheel twice (either direction works, so long as the pipe connects)
- Floor 2: turn the wheel once
- Floor 3: turn the wheel twice
- Floor 4: turn the wheel twice
Ride the lift up one level between each station rather than trying to rotate from below; the game only registers the turn when you're standing directly at that floor's console. The wheels are stiff and the animation runs slower than it looks like it should, so don't mash the rotate input thinking it didn't connect. After the fourth wheel locks into place, walk the stack's perimeter once to confirm every segment actually connects end to end. It's possible to leave one floor a notch off and not notice until the ignition sequence fails, and there's no on-screen indicator telling you which floor is wrong, only that the overall sequence won't trigger.
The stack is one of the more striking set pieces in this run of chapters, four misaligned platforms stacked around a central pipe with the fog pressing in close at every level. If you hear anything moving on a floor you haven't cleared yet, finish the rotation you're on and get to the next platform rather than standing still to listen; the puzzle doesn't pause for you.
Ignite the stack
Head back down to the ground-floor console. Three commands run the ignition in order: press Gas Flow first, then Flow Test, and wait for all four floor indicators to read green before pressing Ignite. If Flow Test comes back with a red light on any floor, one of your valve turns didn't take, and you'll need to ride back up and re-check that station before trying ignition again.
Once the stack lights, Simon gets a CRTV signal and the glowing yellow door opposite the console opens for the first time. Crouch through it and follow the passage down a ladder; that's the route out of this section and into the next part of Chapter 14, which carries Simon on toward the SWDP underground facility covered later in Part 6.
If The Weight finds you
The CEG Tower and the facility beyond it are two of the places where Townfall's recurring stalker enemy, The Weight, patrols. It's slow but it's an instant kill if it corners you, and its hearing is tuned to even quiet movement in the tighter corridors around the stack's lower floors. If you hear its breathing pick up, stop moving and duck into the nearest cabinet or alcove rather than running for the exit; outrunning it in these cramped sections rarely works, and a panicked sprint tends to be exactly what draws its attention.
It's generally agreed to be the toughest stealth encounter in the back half of the game, frustrating enough that Screen Burn has said a patch addressing these sections is on the way. Until it lands, the safest approach is the boring one: treat every corridor near the stack as if The Weight could be in it, move slowly, and use hiding spots rather than trying to out-sprint it to the next console.
Quick checklist
- Collect the Ordell File, CEG Tower email, and Reference Sheet in the starting office before leaving
- Grab the Controller Key on the second floor, left of the red clamp wheel
- Enter A5D7 at the ground-level alarm panel
- Enter E3E3 at the right-side clamp panel
- Rotate floors 1 and 3 and 4 twice each, floor 2 once
- Press Gas Flow, then Flow Test, then Ignite once every floor reads green
For the chapter before this one, see our Part 5 walkthrough covering Richard's run through CEG HQ. Full platform, cast, and story details are on the official PlayStation game page and Annapurna Interactive's Townfall page, and the PC release is on the Steam store page. Background on the game's setting and cast is on Wikipedia, and the content rating is listed on the ESRB ratings page.