Silent Hill: Townfall Part 5 Walkthrough: Richard and the CEG Tower Slide Puzzle
Richard's chapter sends Simon through CEG Tower to restore power, assemble a boardroom projector and solve its slide order for the CEO Access Card to the tenth floor.

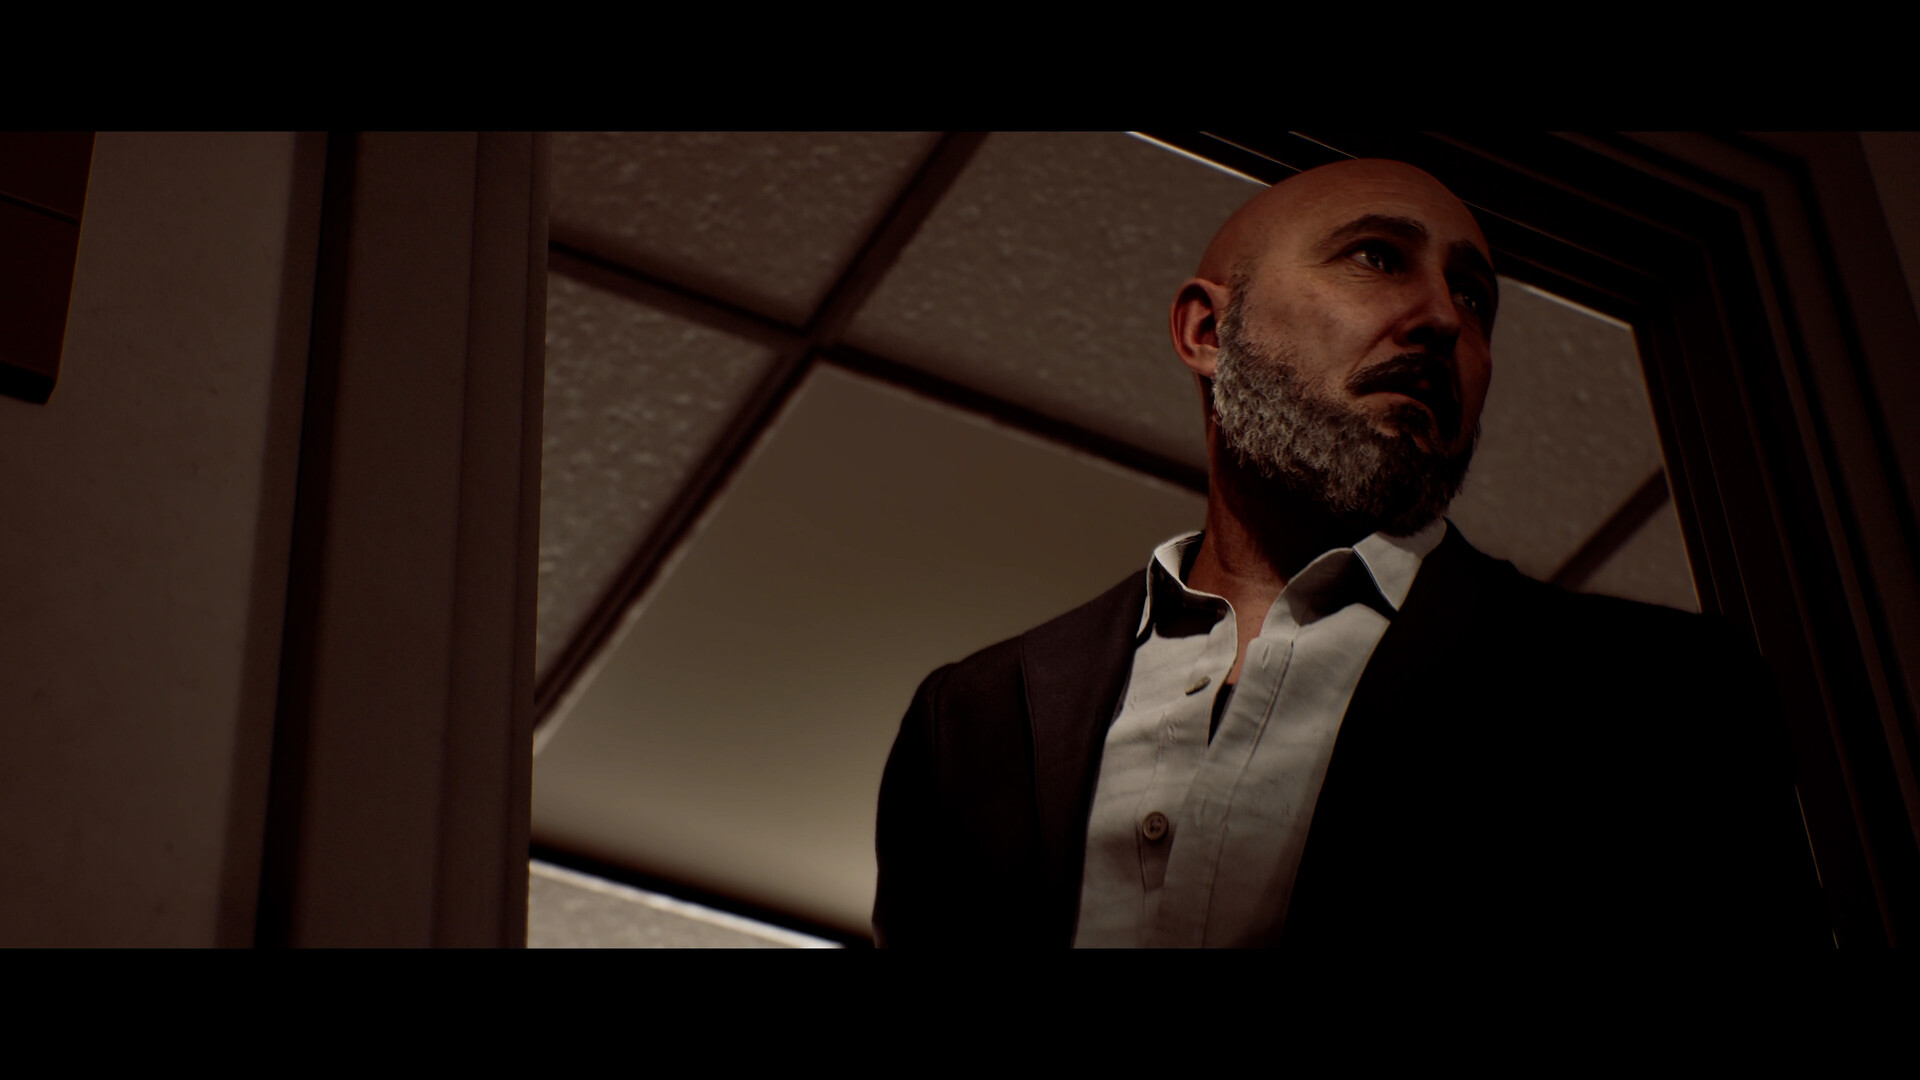
Richard, voiced by Terry O'Quinn, inside the CEG offices that anchor Part 5. Image: Konami.
Part 5 of Silent Hill: Townfall finally hands the story to Richard, the CEG executive who summoned Simon back to St. Amelia in the first place, and drops the chapter's action inside CEG Tower itself. After four parts spent reacting to whatever the town threw at him, this is the section where the player starts to understand who actually built the place Simon has been running through. This walkthrough covers Chapters 12 and 13 as of October 2026: restoring power to the CEG site, climbing to the fifth-floor Boardroom, assembling the projector hidden across three departments, and loading its slides in the right order to earn the CEO Access Card that opens the tenth floor. It picks up right where Part 4's escape from Clara Woods leaves off, so finish that section first if the CEG Security checkpoint hasn't shown up yet.
Getting Into CEG Tower
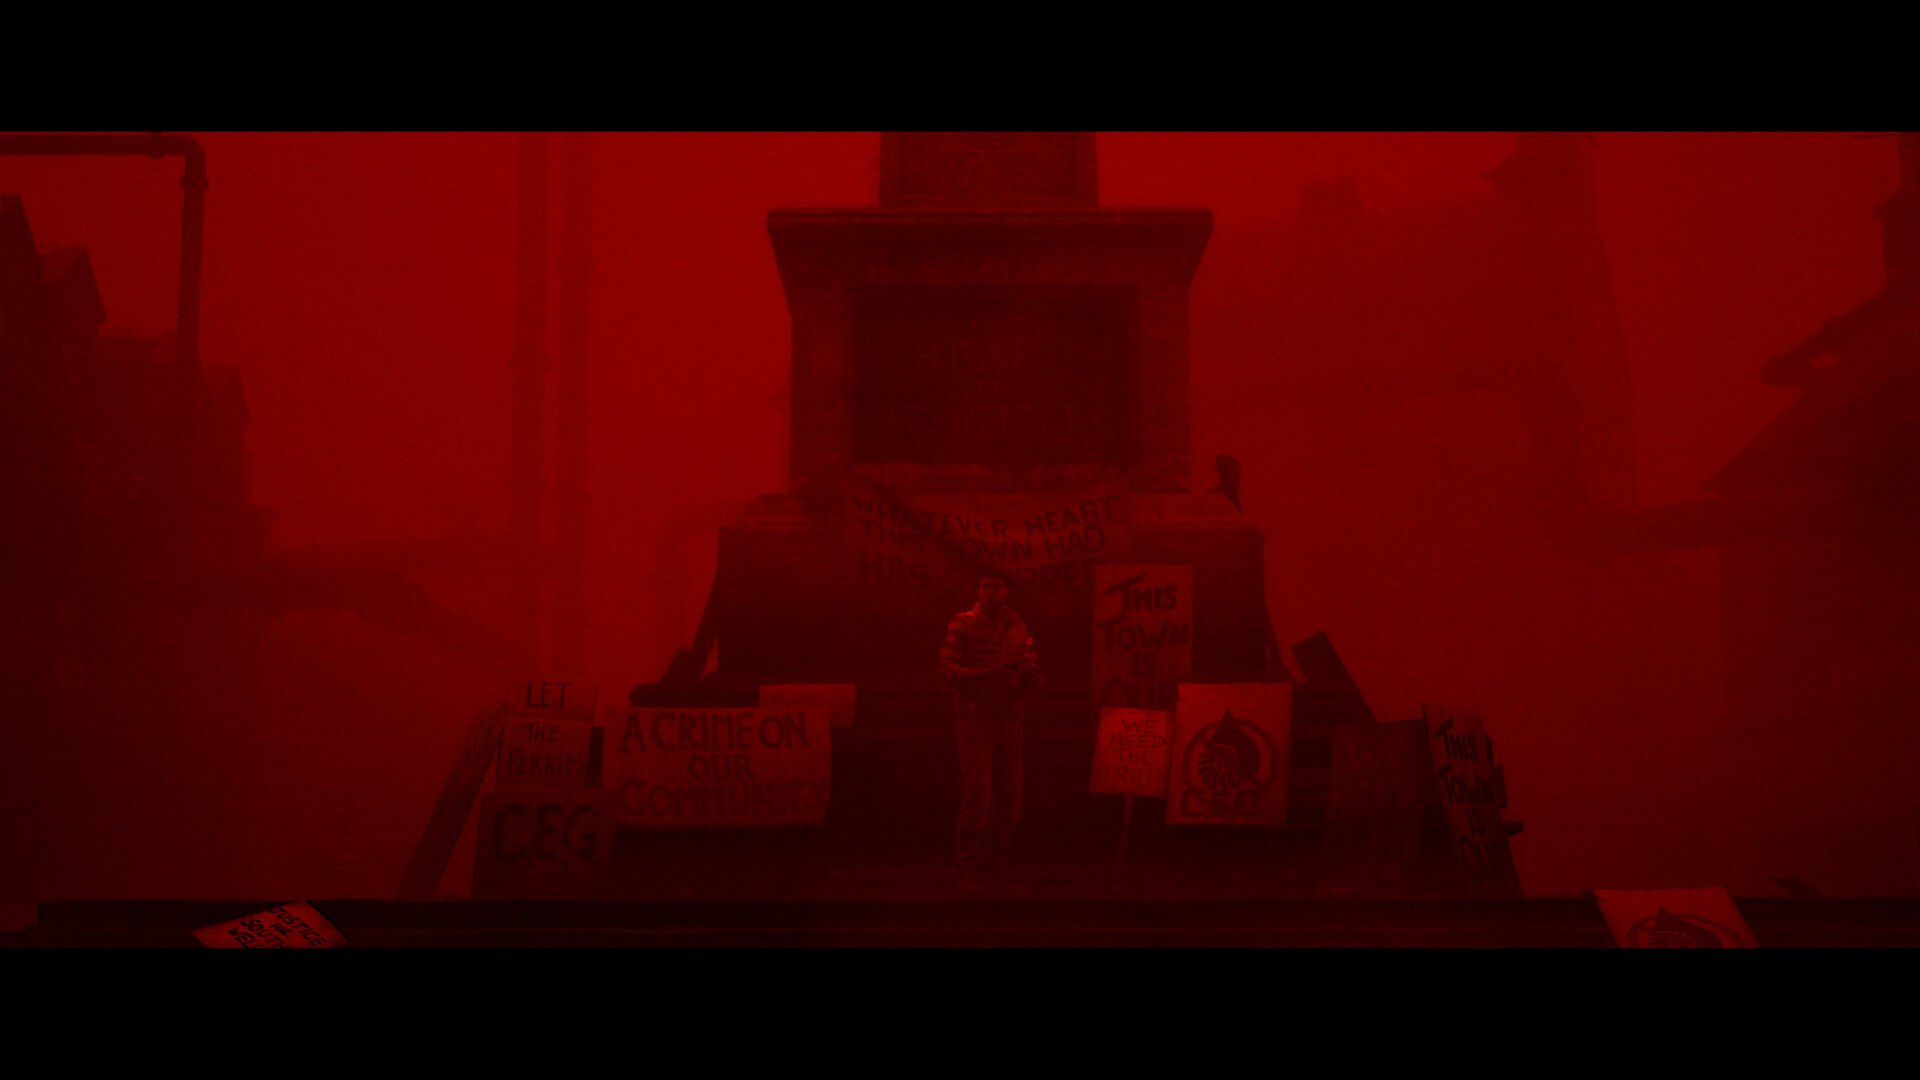
Richard's chapter opens outside CEG's security checkpoint, still attached to the tail end of Clara Woods. Head into the CEG Security room and enter 4895 on the keypad, then type Richard's employee ID, 00007820518, into the security computer. Confirm the prompt to turn on the card printer and take the printed access card from the tray once it finishes. Use that card at the nearby elevator to formally start Richard's chapter and load into the CEG Tower exterior, a fog-choked courtyard wedged between two low buildings and the tower proper.
Nothing about this opening room is timed, so it's worth reading every note on the security desk before moving on. The game doesn't flag which documents matter later, and CEG's internal paperwork is where most of the chapter's context about the company comes from rather than from dialogue. Townfall has stayed quiet about exactly what CEG does on the island through the first four parts, and Richard's own offices are where that finally starts to come into focus.
Powering the Generator and Reaching the Elevator
CEG Tower's construction elevator won't move until the site generator is live, and the courtyard itself is worth clearing out before committing to the climb. Before touching the generator, sweep both buildings for optional reading that fills in the company's backstory: the Construction Halted Notice sits in the first building's back corner, the CEG Kiosk Note is on a table in the second building's garage, and two computer emails, Facilities: Works Halted and DONTREAD.DOC, are on a desk in the first building's accessible office. None of them are required to progress, but between them they explain why the site went quiet long before Simon ever arrived.
The generator key itself is in a cabinet inside the Manager's Office, easy to miss if you're rushing toward the generator without checking side rooms first. At the generator panel, set the right lever diagonal and leave the left and middle levers vertical, in the off position, then slot the key into the right-hand panel and pull the red lever. That brings the construction elevator online. Ride it up into the tower to begin Chapter 13 proper.
- Construction Halted Notice — first building, back corner
- CEG Kiosk Note — second building's garage table
- Facilities: Works Halted / DONTREAD.DOC emails — first building's office computer
- Generator key — Manager's Office cabinet
Climbing to the Boardroom and Gathering the Projector Pieces
Stepping inside hands Simon a shotgun automatically, so there's no need to hunt for one on this floor. Work upward through the tower rather than trying to brute-force the fifth floor directly: the third floor's meeting room holds the CEG Tower Meeting Minutes document on the table, and it's a useful checkpoint for getting a feel for the building's layout before the real objective. That objective is the fifth-floor Boardroom, where an Access Card Level 3/4 is sitting out in plain view. Grab it before doubling back down, because that card is what unlocks the restricted Media and Finance departments you need next.
Two components complete the projector, and both are behind doors the Level 3/4 card opens. The Projector Bulb is in the Media Department Storeroom, inside a cabinet marked GENERAL STORAGE. The Projector Lens is in the Finance department, in the CFO's desk drawer. Neither room has a puzzle attached; it's purely a matter of using the new access card on the right doors and searching the marked containers. Carry both pieces back up to the Boardroom and place them in the projector, then hit the red switch to power it on.
The tower's interior floors are laid out as office space rather than the clinical corridors from the Clara Woods chapter, which makes line of sight the bigger threat than any single encounter. Cubicle rows and half-open doors give patrols somewhere to stand just out of view, so lean on doorways and corners to check a room before committing to crossing it. If a route back down to collect a missed document looks risky, it usually is; backtrack through the stairwell you already cleared rather than cutting through an unexplored floor a second time.
The Projector Slide Order
Six numbered slides are scattered around the Mezzanine level below the Boardroom, and the projector only advances the story once they're loaded in the sequence that matches the boardroom's original agenda rather than their printed numbers. Load them in this order:
- Slide D — Recent Headlines (newspaper clipping)
- Slide F — External Demonstrations (protest signs)
- Slide B — Company Hierarchy (star chart)
- Slide C — Financial Projections (profits chart)
- Slide E — Public Inquiry (courtroom sketch)
- Slide A — Counter Arguments (censored photograph)
With all six slides seated in D-F-B-C-E-A order, press the projector's red play button. The slideshow triggers a cutscene rather than more platforming or combat, so there's nothing to react to in the moment beyond letting it play out. It's also the clearest the chapter gets about what CEG was covering up on the island, so it's worth paying attention rather than skipping ahead.
After the Projection: Reaching the Tenth Floor
Finishing the slideshow automatically awards the CEO Access Card, no searching required. Take it to the elevator and ride up to the tenth floor, the highest point CEG Tower opens up in this chapter. An exterior computer up there holds the last readable document of Part 5, titled CEG Tower: He's Done, which closes out Richard's section and sets up wherever the story sends Simon next. Picking it up ends the playable portion of this chapter and hands control back for the transition into Part 6.
Quick Checklist for Part 5
- Enter 4895 and Richard's ID 00007820518 at CEG Security to print the access card
- Collect the generator key from the Manager's Office, then set the right lever diagonal and pull the red lever
- Ride the construction elevator up and collect the Level 3/4 Access Card from the fifth-floor Boardroom
- Grab the Projector Bulb (Media Storeroom) and Projector Lens (Finance CFO desk)
- Load the slides D-F-B-C-E-A on the Mezzanine and press play
- Use the CEO Access Card at the elevator to reach the tenth floor and read the final document
Townfall is rated M by the ESRB for blood, strong language and violence, and the Richard chapters lean harder into that than the earlier hospital sections did. The game is out now on PS5 and PC, co-published by Annapurna Interactive alongside Konami. Background on the cast and the game's six-chapter structure is on its Wikipedia page if you want a sense of what's coming after Richard hands the story back to Simon.