Silent Hill: Townfall Part 3 Walkthrough: The Patient and the Blood Transfusion Puzzle
Every code, item location and puzzle solution for Chapter 3 of Silent Hill: Townfall: X-rays, medication rates, the intubation kit and the Many Into One blood puzzle.

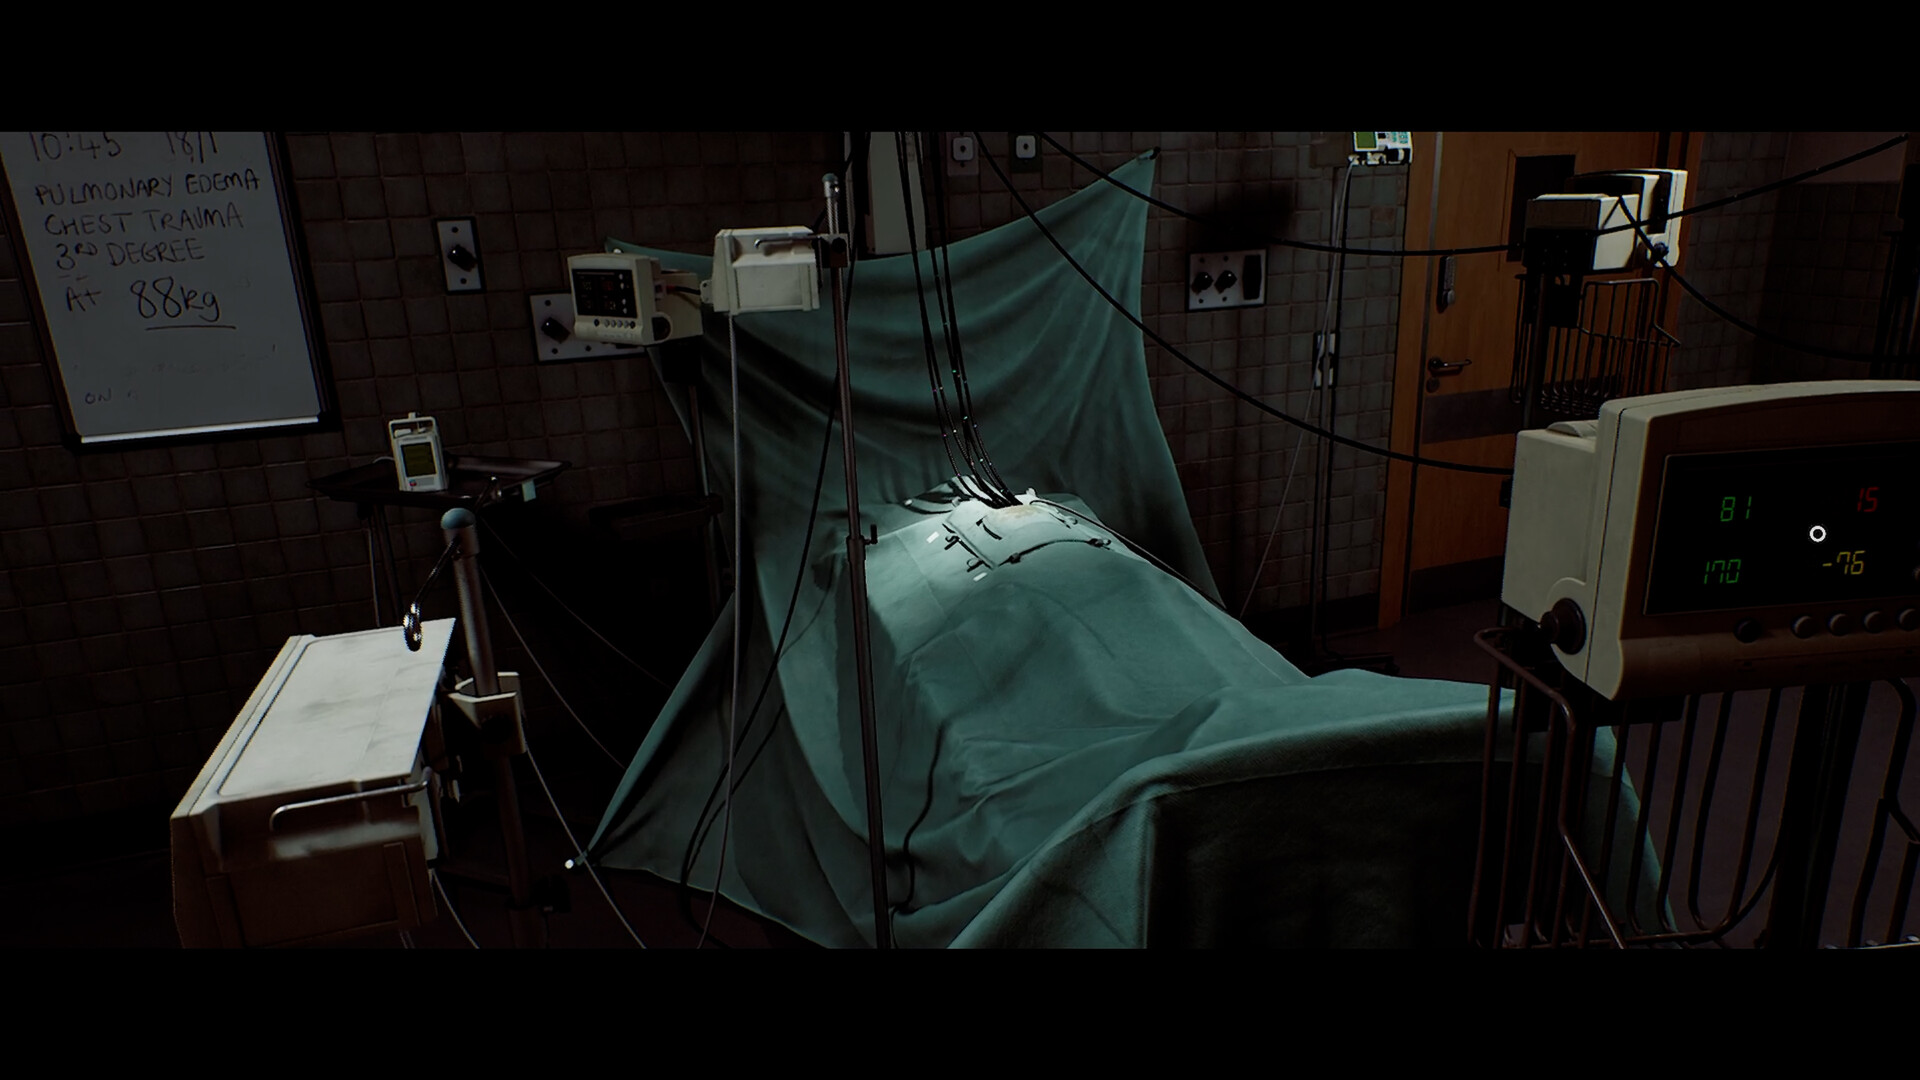
The operating room inside St. Amelia Medical Center, where Zoe reports vitals and administers medication under Dr. Glenn's instructions. Image: Konami.
Chapter 3 of Silent Hill: Townfall drops Zoe inside St. Amelia Medical Center, and it is the sharpest difficulty spike the game has thrown at players so far. The chapter splits into two sections, "The Patient" and "Many Into One," and both hinge on puzzles that punish guessing: wrong vitals readings, wrong X-ray settings and wrong infusion rates all cost time while the fog outside gets louder and the hospital's usual residents start circling the operating room. None of the individual puzzles are hard once you know the answer, but the game gives you almost no room to fail a step twice without losing progress on whichever pump or scan is mid-cycle. This walkthrough covers every code, item location and puzzle solution in order, as of the game's September 2026 launch build.
Before You Reach St. Amelia
Zoe enters the medical center from the street after dealing with Mr. Stewart at the end of Part 2. The main gate is locked and the surrounding block has at least two roaming creatures, so stick to the sidewalk and duck into doorways rather than crossing open ground; there is no combat advantage to fighting them here and ammunition is still scarce this early in the game. Once inside, Dr. Glenn contacts Zoe over an intercom near the reception desk and walks her toward the operating room. Save at the first checkpoint you find in the lobby; the puzzle chain ahead has no natural break for another twenty minutes, and the wards you will later comb for medication and blood bags are also where the chapter's creatures tend to wander, so treat every hallway as occupied until you have checked it.
The operating room itself sits behind the reception hall. Approach the patient on the table and Dr. Glenn will ask for three vital signs before he lets Zoe proceed with anything else. Take a moment here to read the whiteboard on the wall behind the bed; it lists the patient's known trauma, which is the same information the game expects you to use when you're choosing between similar-looking monitor readings a few steps later.
The Vitals Check and the X-Ray Room (Code 7103)
Several monitors are wheeled around the bed, each displaying a different number. Dr. Glenn wants the readings closest to a critical trauma patient, not the healthiest-looking ones:
- Blood pressure (green digits): pick the monitor reading 70 systolic over 40 diastolic.
- Pulse (yellow digits): pick the monitor reading 160.
- Blood oxygen (red digits): pick the monitor reading 80 percent or higher.
Report all three and Dr. Glenn sends Zoe to the X-ray room next door. The door code is 7103. Inside, you need two scans:
- Skull scan: center the alignment circle on the patient's face outline, then set Site to Skull, kV to 3, mA to 7 and Time to 1 before pressing the green Alignment X-ray button.
- Chest scan: align the circle where the monitor wires connect to the patient's chest, then set Site to Chest, kV to 7, mA to 3 and Time to 1.2.
Collect both films from the tray and carry them back to the lightboard in the operating room. Clip them into place and Dr. Glenn will read them over the intercom, then ask for medication. If a scan comes out blurry or misaligned, the game lets you retake it from the same machine without walking back to reception, so there is no reason to carry a bad film forward and hope Dr. Glenn doesn't notice.
Three Medications and the Infusion Pumps
Three drugs are scattered across two wards, and all three are needed before the infusion sequence will start:
- Tensobromide: a green box on the shelf inside the Pharmacy Store, Victoria Ward, ground floor.
- Dextracyclate: sitting on the infusion machine at Bay 6, Chapman Ward, first floor.
- Hydroxalene: locked in a metal cabinet in the Records Room, Chapman Ward, ground floor. The door code, 2605, is written on a note pinned to the bulletin board in the Chapman Ward first-floor office, directly across from Bay 6.
Chapman Ward is where most of the chapter's roaming creatures settle, so expect at least one encounter crossing between Bay 6 and the Records Room. Zoe can outrun them in the ward's narrow corridors if you keep moving toward the next objective rather than stopping to look behind you.
Load each drug into its own infusion pump next to the bed and set the delivery rate exactly as Dr. Glenn specifies: Tensobromide to 8, Dextracyclate to 15 and Hydroxalene to 7. Wait until all three pumps display "ready," then press Start on the bedside monitor. Getting even one rate wrong forces a restart of that pump's countdown, so double-check the numbers before confirming.
The Intubation Kit
With the infusion running, Dr. Glenn says the patient still needs to be intubated and that the kit is in hospital storage. Head to the reception desk and use the telephone to call extension 5353. This unlocks the elevator to the basement. Take it down, grab the intubation kit from the Storage Room, and return to the operating room.
The intubation minigame asks for a short directional sequence on the controller or keyboard: right, then lower left, then top. Get the order right and the cutscene resolves the surgery, closing out "The Patient" section of the chapter. Konami's own social channels have pointed newcomers toward this location specifically, which gives a sense of how central St. Amelia is to the chapter's marketing push.
New to SILENT HILL: Townfall? Learn more about the game and what awaits in St. Amelia at the link below. #SILENTHILL #Townfall
— Silent Hill (@SilentHill) Silent Hill on X
Many Into One: The Blood Transfusion Puzzle
The second half of the chapter sends Zoe out to collect five blood bags from patients scattered around the hospital's wards before routing them into a single transfusion for a man named Simon Ordell. The bags and their locations:
- Alan Duncan's bag, found near the door machine marked S.W.
- Sarah Watson's bag, in Ward S, room 05.
- Lesley Greer's bag, reached by the ladder in room 13.
- George McEwan's bag, accessible through the D06 vent route.
- Matthew Clark's bag, retrieved from the P03 elevator landing.
Collecting all five bags means clearing most of the hospital's remaining wards, and the creatures here hit harder than the ones in the opening corridors, so top off any healing items you've been saving before you start the loop. The D06 vent route in particular is a tight crawl with no room to turn around, so clear the area in front of the vent opening before you commit to it rather than after.
Bring all five bags to the transfusion station. The puzzle presents a set of rotating rings; rotate them so the compatible blood types, S.W., T.F. and H.M., connect in a direct line to Ordell at the center, then move the cursor onto Ordell and confirm. Mismatched types will flash red rather than lock into place, so if a connection won't seat, rotate one more ring rather than forcing it.
Completing the transfusion ends "Many Into One" and the chapter, dropping Zoe into the next area with St. Amelia's exterior gates finally open behind her. Chapter 4 picks up immediately from that gate, so there's no harm in exploring the wards you've already cleared for any collectibles you skipped before you move on.
Quick Checklist
- Vitals: 70/40 blood pressure, 160 pulse, 80%+ oxygen.
- X-ray room code: 7103. Skull 3/7/1, Chest 7/3/1.2.
- Records Room code: 2605 (note in the Chapman Ward 1F office).
- Infusion rates: Tensobromide 8, Dextracyclate 15, Hydroxalene 7.
- Storage elevator: call 5353 from reception.
- Intubation sequence: right, lower left, top.
- Transfusion: link S.W., T.F. and H.M. to Ordell.
For the beginner-level settings and difficulty options that make this chapter more manageable, see our Silent Hill: Townfall beginner tips, and for the chapter before this one, our Part 2 walkthrough covers the route into St. Amelia. Full patch and platform details live on the Steam store page, and the Wikipedia entry has the wider development history. The game carries an M rating from the ESRB for blood, strong language and violence, worth knowing before handing this chapter to anyone younger.