Fire Emblem: Fortune's Weave Chapter 1 Walkthrough: Clear Uproar in Ribeira
A full step-by-step walkthrough of Cai's opening chapter in Fire Emblem: Fortune's Weave, from exploring Ribeira to defeating the bandit leader Nero and unlocking the Underworld Burst Blaze Art.

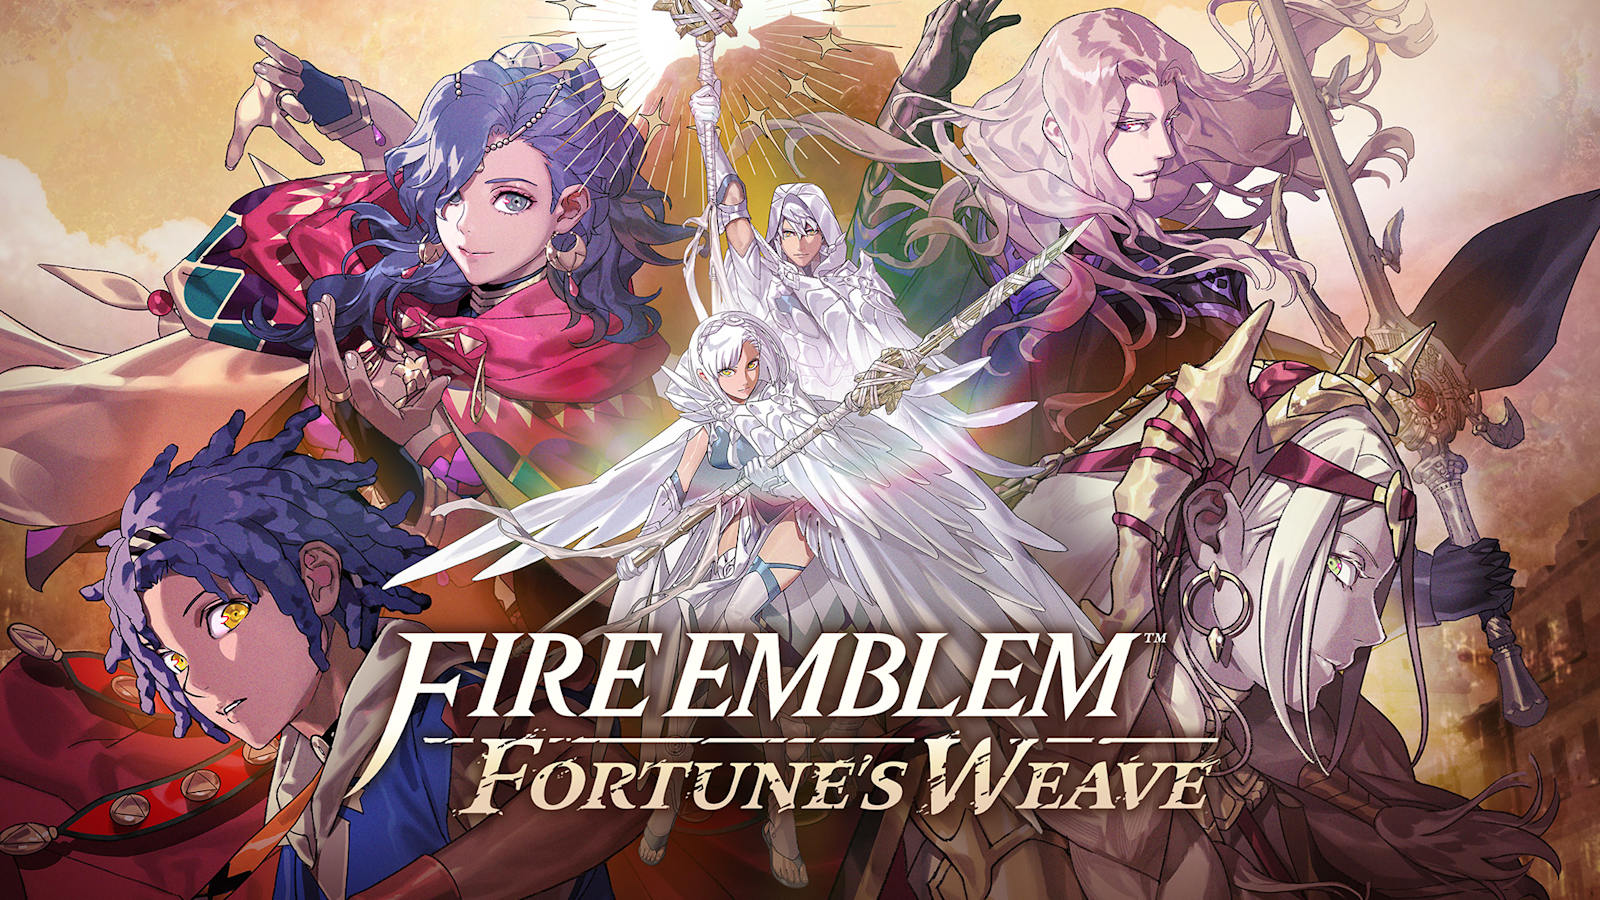
The five heroes of Fire Emblem: Fortune's Weave, whose separate paths open the game. Image: Nintendo.
Fire Emblem: Fortune's Weave launched exclusively on Nintendo Switch 2 on September 17, 2026, and Cai's Path opens the game with Chapter 1: Uproar in Ribeira, the tutorial battle that teaches supports, healing and the new Blaze Arts system. The eighteenth mainline entry splits its opening act across four separate protagonists — Cai, Dietrich, Theodora and Leda — each with a dedicated starting chapter, and Cai's is the one most new players land on first. As of September 2026 this is the first fight nearly everyone sees on the game's default route, so getting the objective order right matters more than raw stats this early. Here is every step from the opening exploration of Ribeira to the moment Nero goes down.
Before You Start Chapter 1: Uproar in Ribeira
The chapter opens with a run of story cutscenes introducing Cai, a young competitor trying to win the Heroic Games to free his imprisoned father. Once control returns to you, you are standing in Cai's home city of Ribeira with a small window to explore before the plot forces the first fight. Nothing here is missable in a way that blocks progress, so treat this stretch as a chance to learn the map rather than a puzzle to solve.
Your active roster for the coming battle is Cai, Tialla and Peter. Tialla carries the Assist command and can heal from turn one, and both Tialla and Peter can walk up to Cai during the free-roam segment to trigger short support conversations. Talk to both of them before you leave the exploration area; the game does not flag this step, and skipping it costs you a stat bump you will not get back later in the chapter. This is also the fight where the game quietly teaches the weapon triangle and terrain bonuses that carry through the entire campaign, so it is worth reading every tooltip the first time it appears rather than clicking past it.
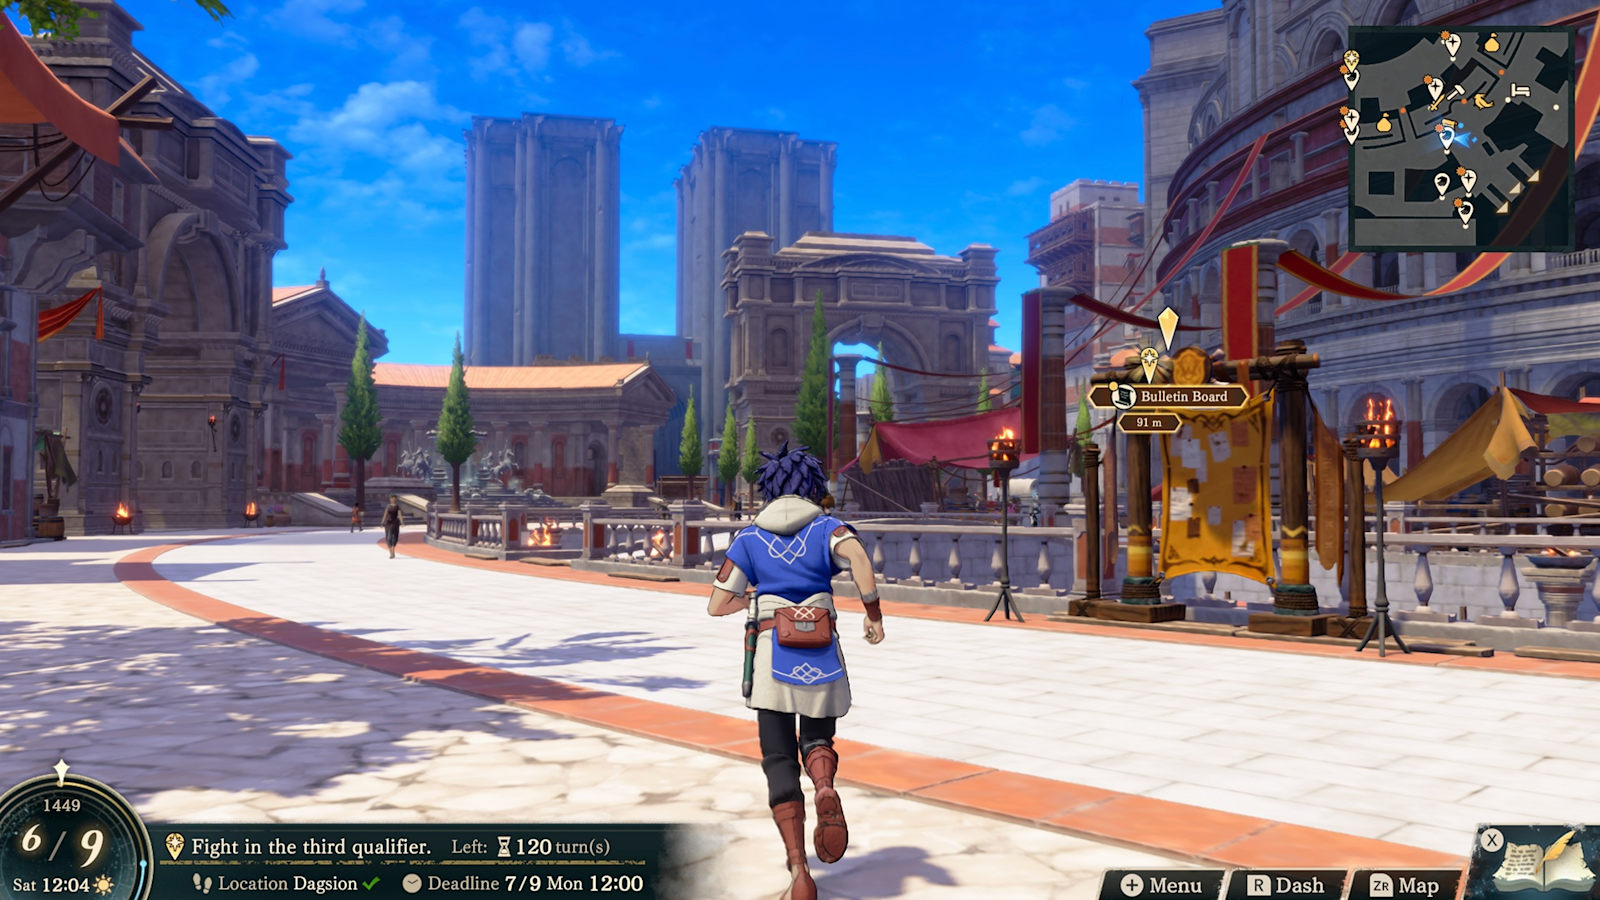
Step 1: Explore Ribeira and Grab the Pickup Orbs
Ribeira is scattered with small glowing pickup orbs that hand out common consumables — vulneraries, gold and basic weapon uses. Sweep the plaza and side streets before triggering the next cutscene. The items inside these orbs are semi-random, so there is no fixed checklist to chase; missing one or two costs you nothing meaningful this early. What matters more is using the walk to get oriented: this same layout, and a version of the same map UI, reappears once you reach Dagsion City in Chapter 2.
- Walk the full plaza loop before advancing the story — the game will not let you backtrack once the battle starts.
- Approach Tialla and Peter directly for the support-bump dialogue mentioned above.
- Save any healing items you find; you will want them for the bandit fight, not for exploration damage.
Step 2: The Bandit Ambush — Seize the Red Jewel
The story escalates into Ribeira's first battle: a bandit raid led by Nero. The map opens with a "Seize the red jewel" objective, and your loss condition is simply Cai falling in battle, so this fight is built to be forgiving while it teaches the interface. Keep Cai central and let Tialla stay just behind him so her Assist heal is always in range; Peter can screen the approach and soak the first hits from weaker bandits.
Don't rush the jewel. The tutorial prompts walk you through targeting, terrain bonuses and the Blaze Arts menu during this opening stretch, and reading each one before acting will save you from wasting a turn on a bad matchup. Bandits here hit hard against an unsupported unit but fold quickly once you commit two attackers to the same target. If a bandit gets an unlucky critical in on Peter, do not panic — the loss condition is tied only to Cai, and Tialla's Assist heal is more than enough to stabilize a single unit that dips low while you finish clearing the approach.
Positioning around the plaza's low walls and market stalls also matters more than it looks. Standing a unit on raised terrain gives a small avoid bonus that is enough to turn a coin-flip bandit attack into a clean dodge, so it is worth spending a turn repositioning Peter onto a ledge instead of trading blows in the open street.
Step 3: Turn 2 Onward — Corner Nero
On turn 2 the objective shifts: Fortuna's Blessing unlocks, giving you an extra tactical option, and the actual win condition changes from seizing the jewel to defeating Nero directly. This is also when Cai learns his first Blaze Art, Underworld Burst, which the game will prompt you to use in this exact fight — take the prompt. Underworld Burst hits harder than a standard attack and is the cleanest way to finish Nero once his health bar is low.
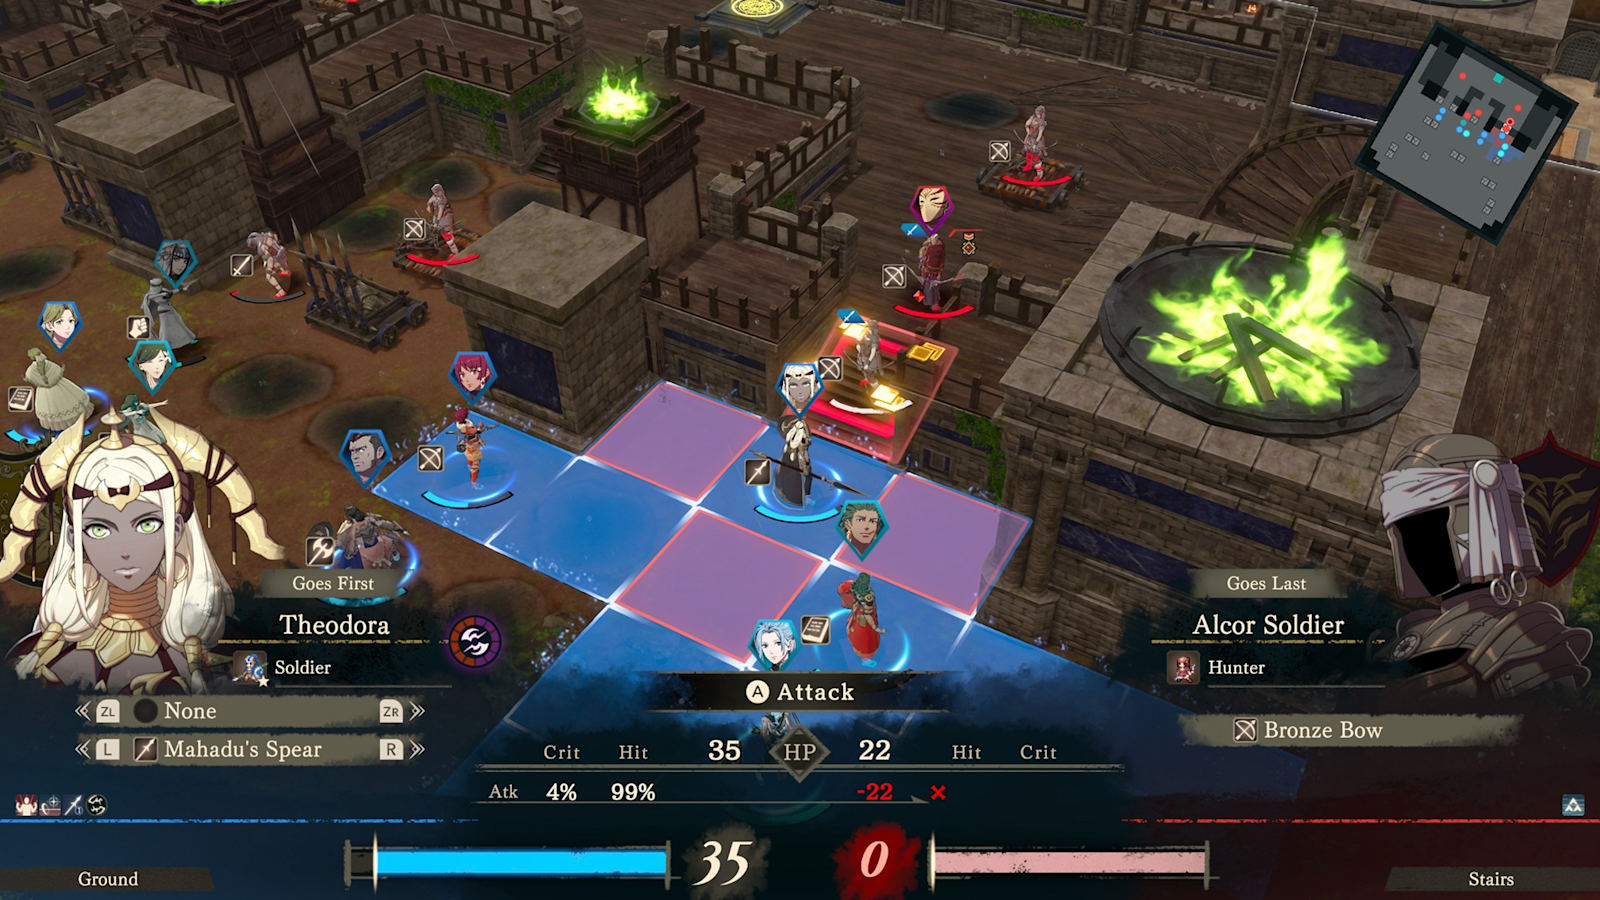
Push Cai toward Nero's position while Tialla keeps healing between attacks and Peter mops up any bandit that tries to flank from the side streets. Nero is not especially tanky for a chapter-one boss; two solid hits from Cai, backed by a Tialla heal in between, is usually enough to close the fight without losing a turn to retreating. If Cai's health drops below half before you reach Nero, pull back one square and let Tialla top him off rather than pressing the attack — the turn limit here is generous, and there is no bonus for finishing early.
Watch Nero's own weapon choice before committing Cai to a straight trade. Like most early Fire Emblem bosses, he hits noticeably harder on the counter than his stat screen suggests, so baiting him into an attack with a tankier unit first and then finishing him with Cai's Blaze Art is safer than opening with Cai directly.
After the Battle: Supports, Blaze Arts and the Handoff to Chapter 2
Once Nero is down, the game locks in whatever supports and dialogue choices you triggered during the exploration phase and rolls straight into the next story beat. Underworld Burst stays in Cai's Blaze Art list going forward, so this is also the point where it is worth opening the skills menu and confirming it is slotted for the next fight rather than buried under a default loadout.
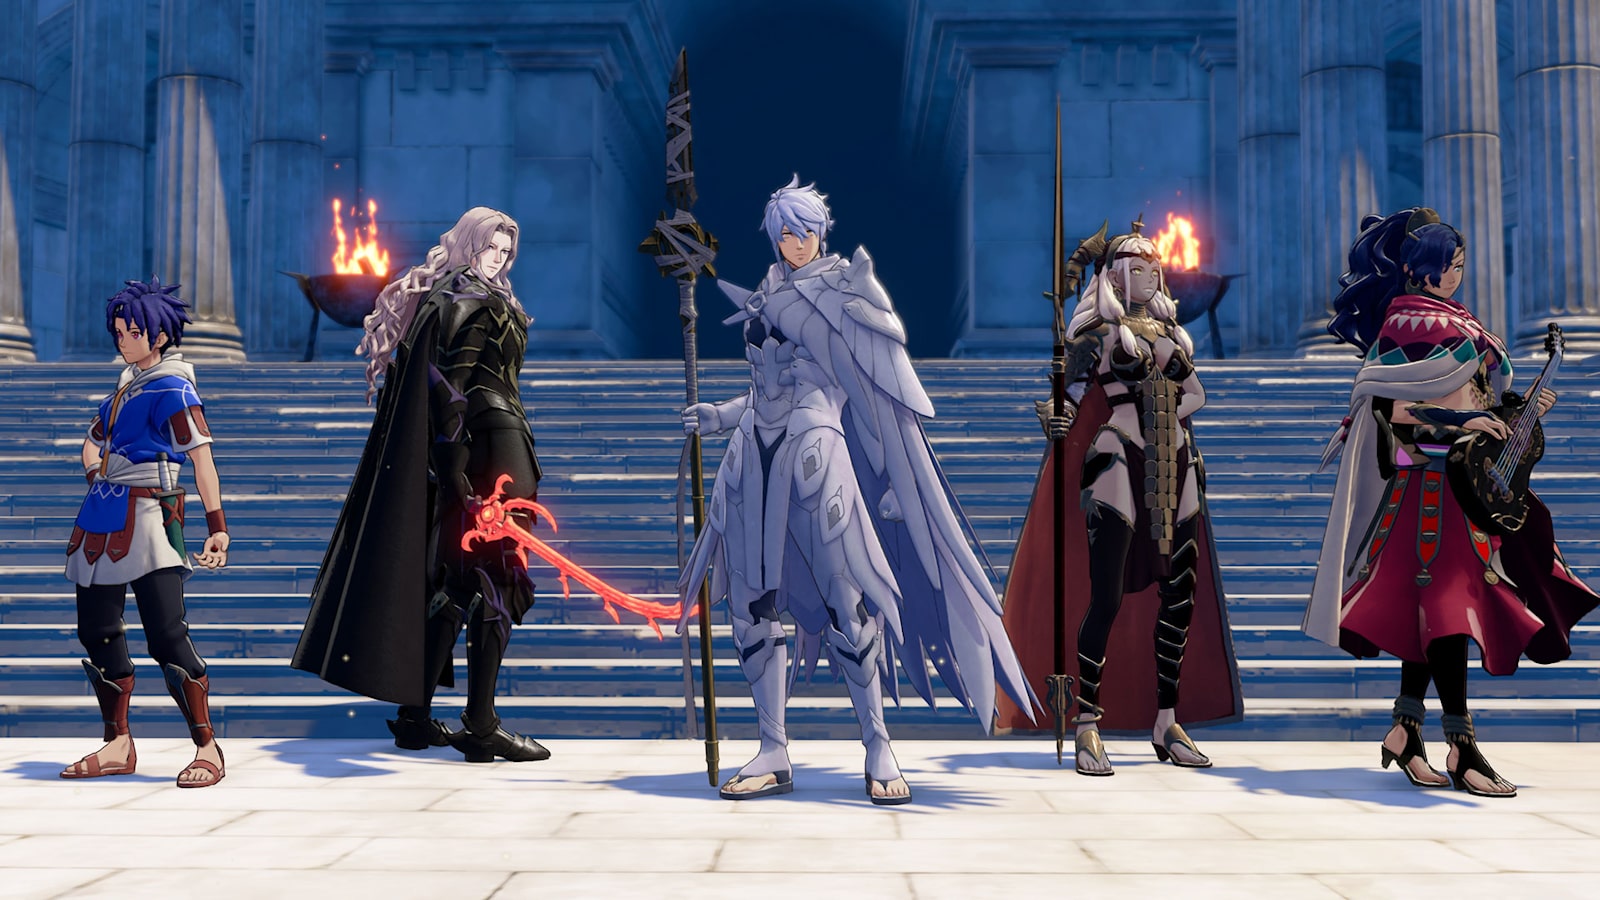
Chapter 1 hands directly into Chapter 2: Road to the Capital, which opens with an event battle and then drops you into a short dungeon tutorial at Galen Fort Ruins — your first look at the exploration-and-loot structure the game uses between story chapters. That dungeon segment teaches its own set of tools, from preemptive strikes on visible enemies to breakable crates that drop random materials, and it leads into a second battle defending a caravan before Cai's group reaches Dagsion City. None of that carries any risk of a permanent miss this early, so the smart approach is the same one that works in Ribeira: explore fully, talk to everyone available, and don't be afraid to spend a turn repositioning before you commit to an attack. If you are setting Cai up for the road ahead, our guide to Fortune's Weave's best starting path and Blaze Arts covers how to build on what Chapter 1 teaches you.
Quick Checklist for Chapter 1
- Explore Ribeira fully and collect the pickup orbs before advancing.
- Talk to Tialla and Peter for the pre-battle support bonus.
- Turn 1: keep Tialla in Assist range of Cai and let Peter screen the flank.
- Turn 2: watch for the objective switch to defeating Nero and use Underworld Burst when prompted.
- After victory: confirm Underworld Burst is slotted before you move on to Chapter 2.
Fortune's Weave is Intelligent Systems' first mainline Fire Emblem built around Joy-Con 2 mouse controls, and Nintendo has published a short developer walkthrough of the design choices behind Cai's route on its Ask the Developer series. For the full patch and platform details, see the game's official Nintendo Switch 2 store page and Nintendo's launch announcement. Background on the wider cast and timeline is tracked on the Fire Emblem Wiki and Wikipedia. For the news on the game's launch window, see our Fortune's Weave launch coverage.