ARC Raiders: How to Beat the Matriarch, the Toughest Boss in the Game
The Matriarch event boss hits harder than the Queen and needs a real plan. Here is her attack pattern, the best loadout, squad roles, and what she drops when you win.

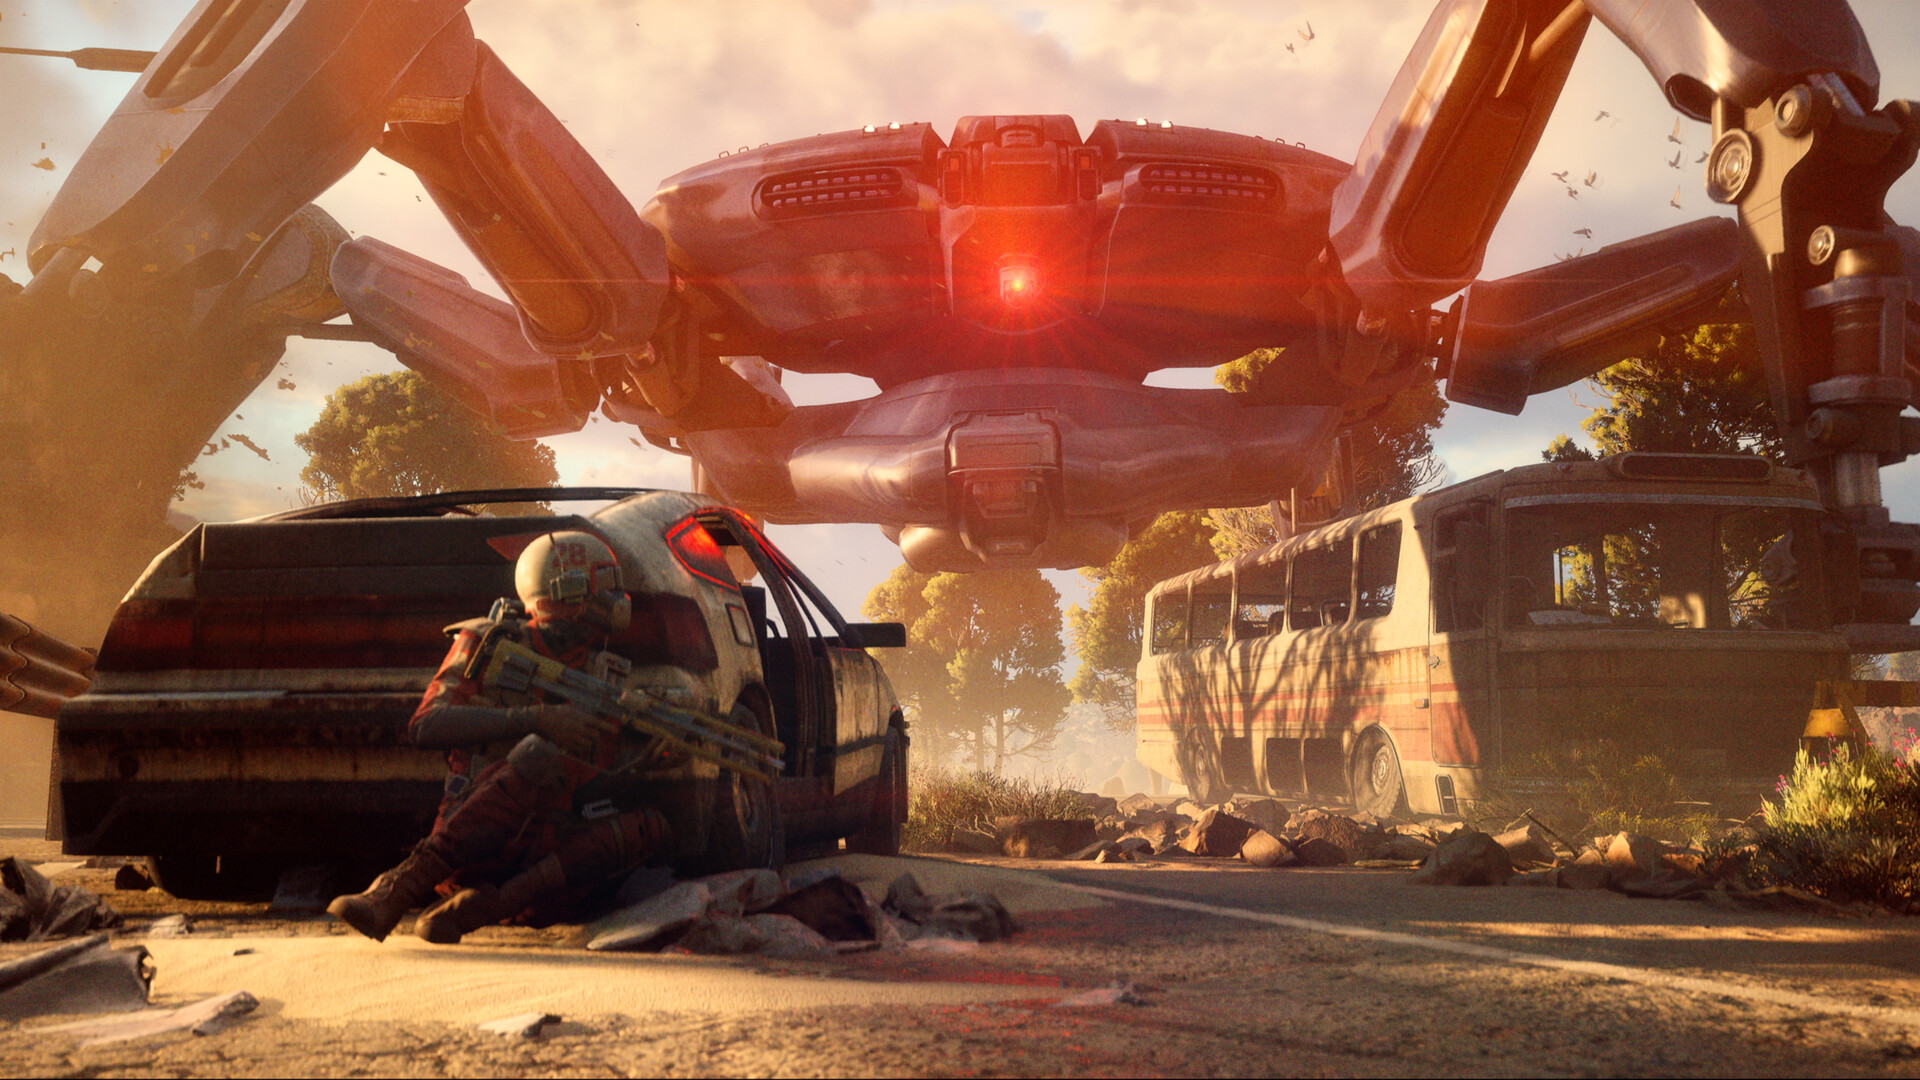
The Matriarch dwarfs every other ARC raiders have fought since launch. Image: Embark Studios.
The Matriarch is the hardest fight Embark Studios has put into ARC Raiders since launch. She arrived with the North Line update as an event-tier boss, one tier above the Queen, and she is built to punish a single trio that wanders in without a plan. If you have only fought the Queen during a Harvester event, nothing about that fight prepares you for the Matriarch's rocket volleys, her shield phase, or the waves of smaller ARCs she throws at you while you are trying to strip her armor.
What the Matriarch Is and Where She Spawns
The Matriarch does not have a fixed home. She shows up as a map condition on eligible maps, and the only way to know she is in your raid is the warning text that appears when you drop in: a Matriarch has been sighted nearby, and her children are keeping her from harm. Without that text on the map screen, she is not spawning in that instance, so check before you commit a full loadout to the fight. Because the event is map-wide, it is common for two or three separate squads to end up fighting her at once, which is by design. Embark has said the encounter is calibrated for multiple trios working the same target, not one squad alone.
Her Attack Pattern, Phase by Phase
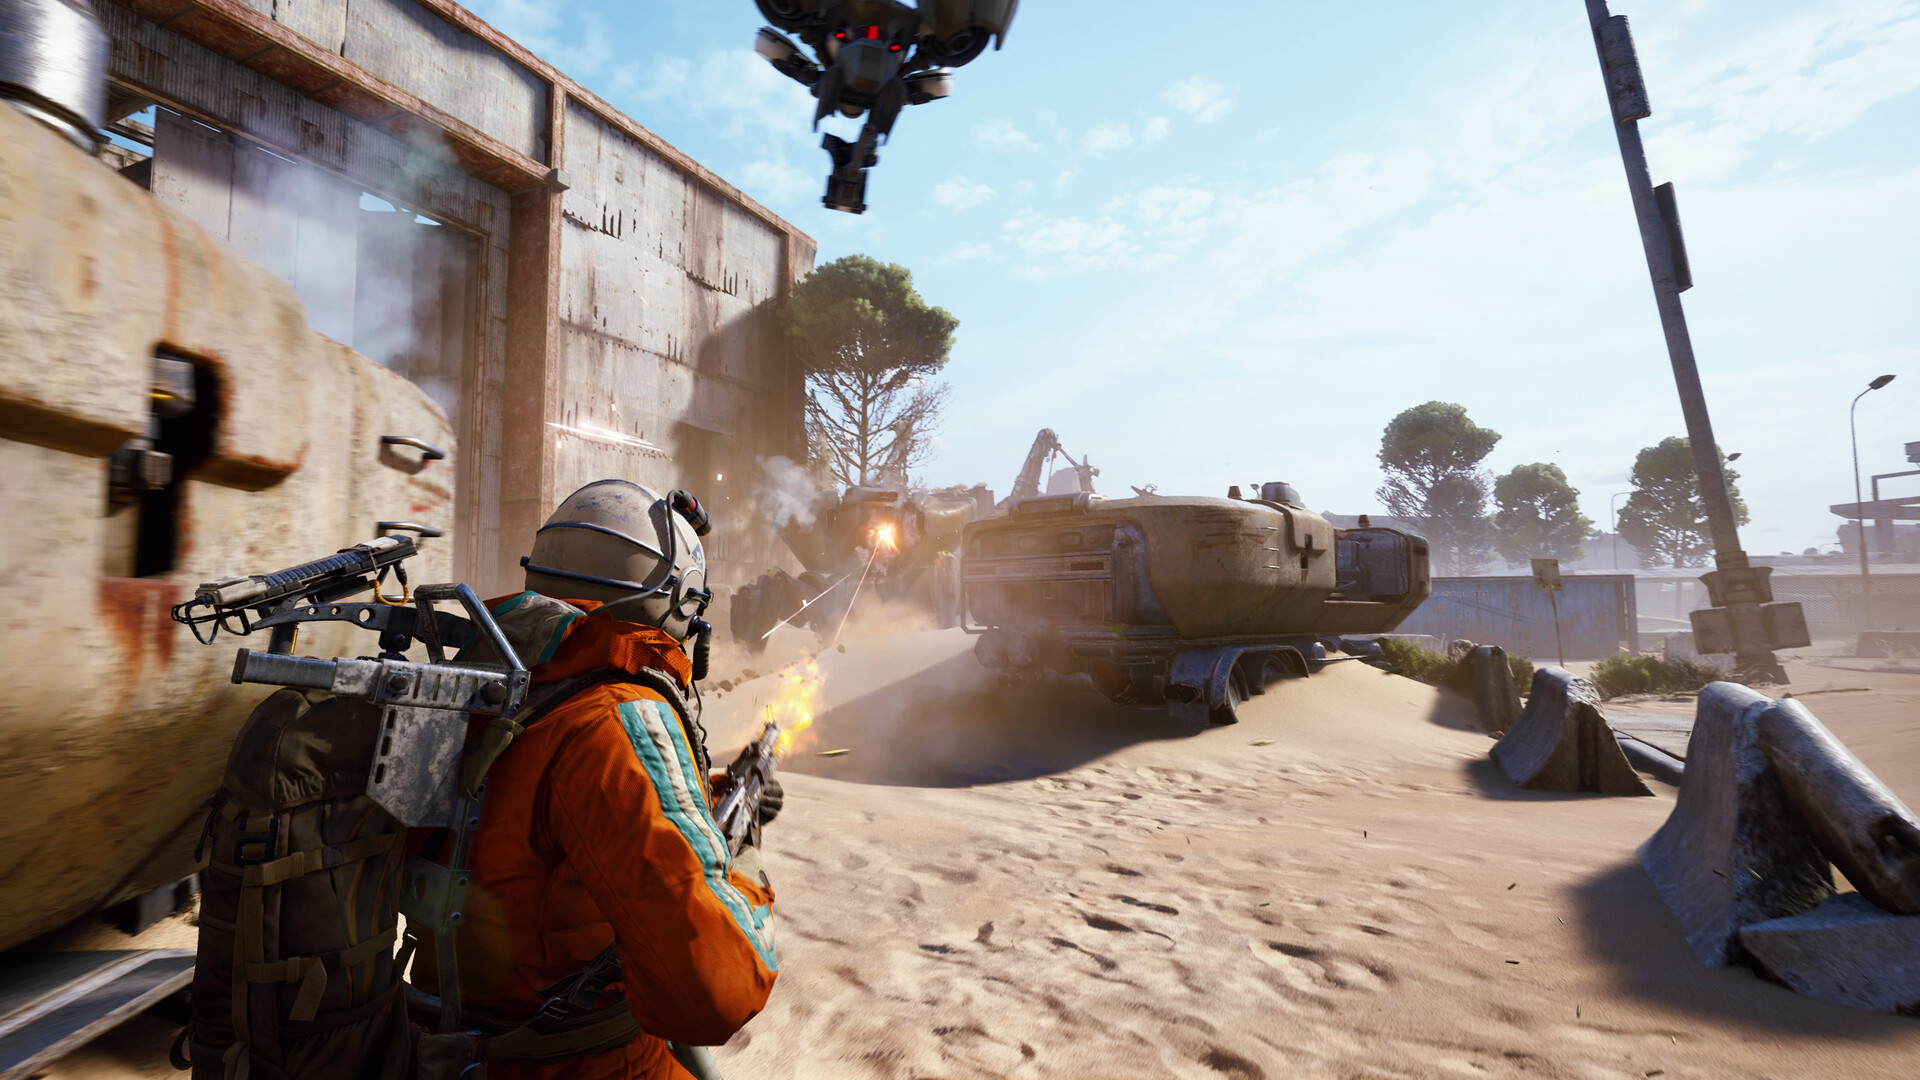
The Matriarch carries full plated armor and leans on long-range pressure rather than melee. Expect explosive rocket volleys that cover wide areas with splash damage, gas and area-denial grenades that force you off good cover, and a defensive energy shield phase similar to the one the Bastion uses, where incoming damage stops counting until it drops. On top of that she periodically calls in waves of smaller ARC units to screen her and chip away at anyone who gets close. Her two real weak points are her leg joints, which slow and limit her movement when broken, and the glowing core at her center, where damage spikes hard once her plating is gone.
- Rocket volleys: wide splash damage, best avoided with lateral movement and hard cover
- Gas and area-denial grenades: force repositioning, do not stand and trade
- Energy shield phase: stop wasting ammo on her until it drops, then resume immediately
- Summoned ARCs: screen her and need a dedicated add-clear player
Best Loadout and Augments
Bring an armor-penetrating primary built for sustained core damage; the Hullcracker is the community's go-to pick because it chews through plating fast. Pair it with something effective against both the summoned ARCs and any rival raiders drawn in by the noise, like the Venator. Stock up heavily on healing: Sterilized Bandages, Vita Shots, and shield recharges, since the rocket splash and grenades will wear your team down even when you are playing the angles correctly. Wolfpack and Showstopper grenades both help against her armor and her adds. For augments, a defensive Tactical loadout with a Heavy Shield buys your team the extra seconds it needs during the shield phase, and nobody should drop in without a Raider Hatch Key, since extraction is not guaranteed once the fight is over.
Squad Positioning and Add Control
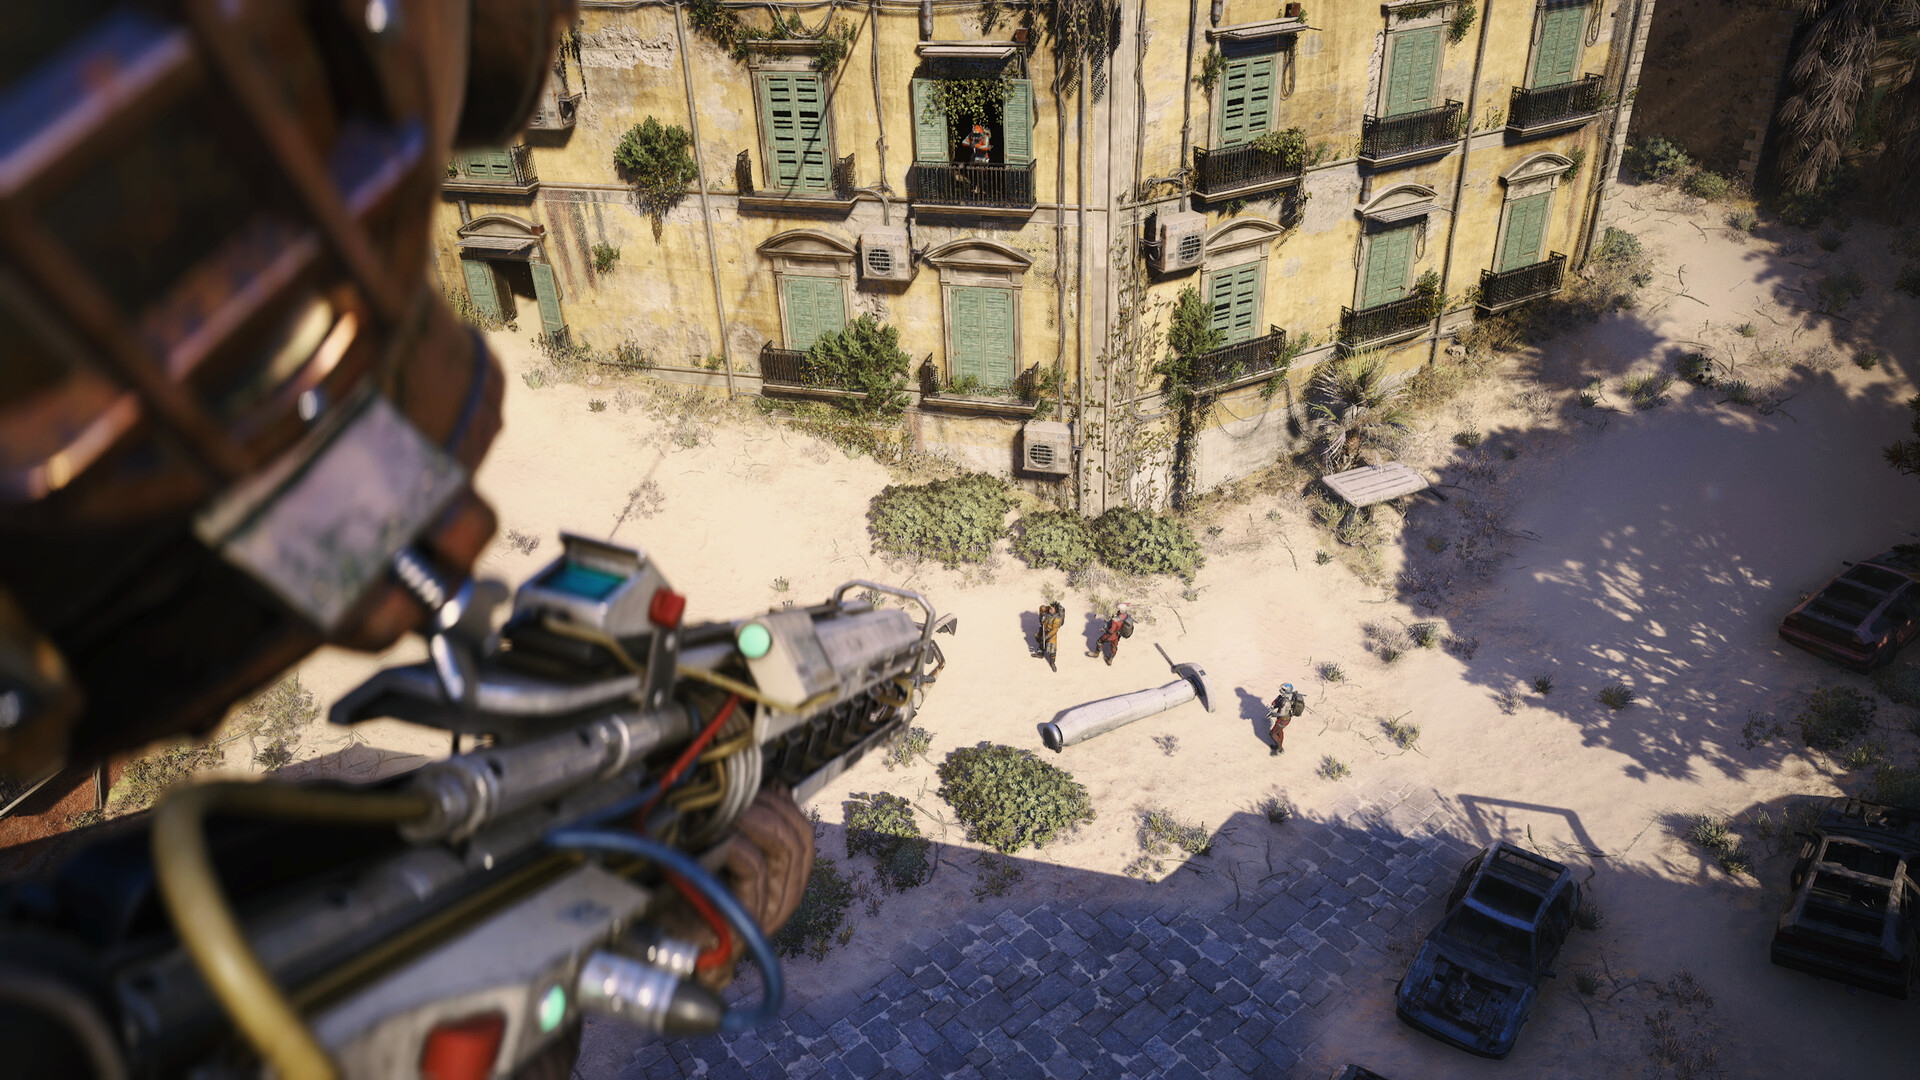
Treat this like a raid boss, not a raider fight. One player should hold high ground to minimize rocket splash and call her next move, one should stay on constant add-clear so the summoned ARCs never surround your core damage dealer, and the rest focus fire on the center mass once plating is stripped. Elevated structures near the event area, towers and rooftops in particular, give you sightlines on both the Matriarch and any rival squads moving in to third-party the fight. If you are running the skill tree our early skill tree picks cover, lean into the survivability nodes for this specific fight over pure damage; you will live longer than you deal damage in the first few attempts.
What You Get for Winning
The debris pool is built around high-tier crafting and upgrade materials: Magnetic Accelerator, Matriarch Reactor, Advanced ARC Powercells, ARC Alloy, ARC Circuitry, and ARC Performance Steel all drop from her loot pool. These feed directly into the game's top-end weapon and gear upgrades, which is why squads keep queuing back into Matriarch events even after a failed first attempt. Getting out alive with a Reactor or an Accelerator is worth more than most full runs on a standard map.
Quick Checklist Before You Engage
- Confirm the Matriarch map-condition text is active before you load in
- Bring an armor-penetrating primary and a secondary for adds and rivals
- Stack healing items and shield recharges past what you'd normally carry
- Assign one player to add-clear and one to call shield phases
- Take high ground near the event area and keep a Raider Hatch Key on you
The Matriarch is not a fight you win by outgunning her alone. Squads that split jobs clearly, cut their losses during the shield phase instead of wasting ammo, and respect her rocket range tend to walk away with the best loot in the game right now. For more on ARC Raiders, including patch notes and the latest development updates, check Embark Studios' official channels, the game's Steam store page, or its Wikipedia entry for background on the game's setting and development.