Onimusha: Way of the Sword Kiyomizu Walkthrough: Beat Sasaki Ganryu and Daidara
Chapter 2 of Onimusha: Way of the Sword sends Musashi through Kiyomizu-dera to duel Sasaki Ganryu and the towering Genma Daidara. Here is every puzzle, encounter and boss pattern in order.

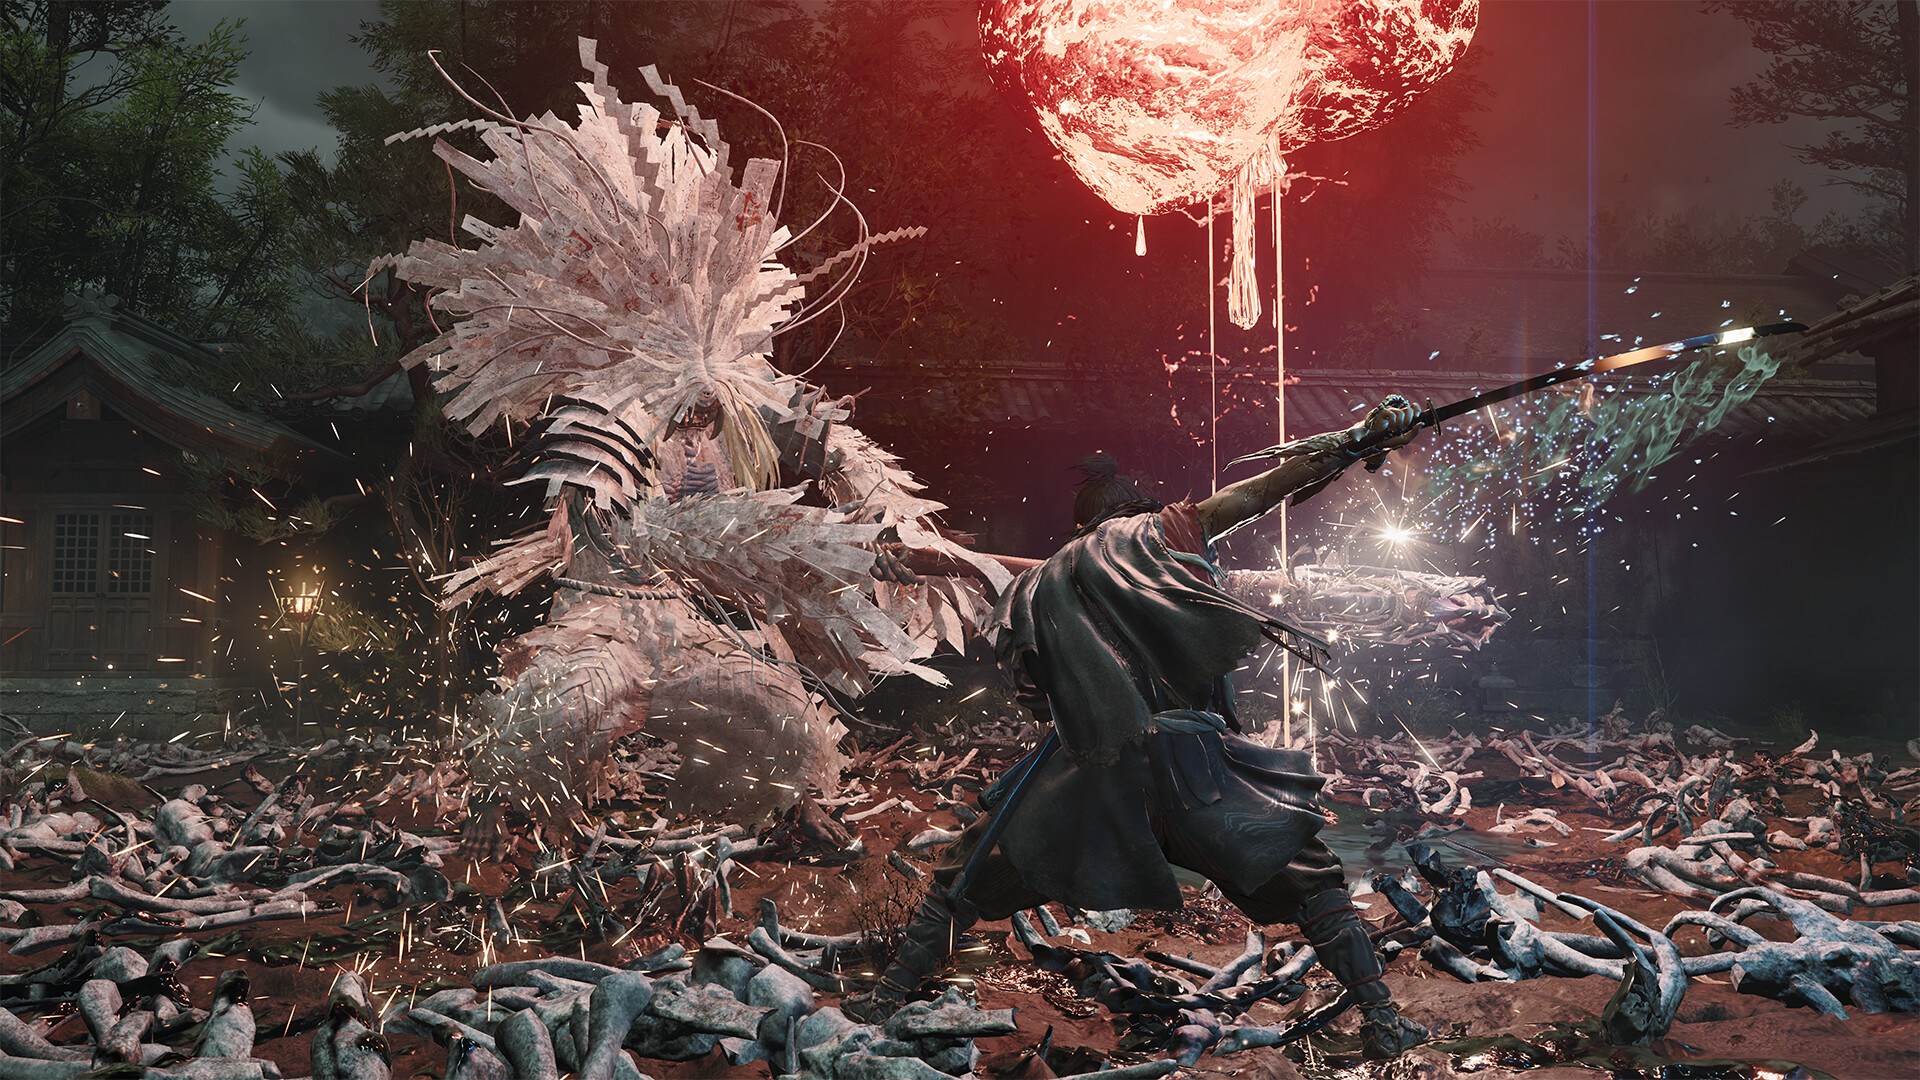
Musashi faces down an early Genma threat in Onimusha: Way of the Sword. Image: Capcom.
Chapter 2 of Onimusha: Way of the Sword, "The Stage is Set at Kiyomizu," is where Capcom's new samurai action game stops teaching and starts testing. The opening mission, "The Ruckus at Rendaino," hands you the basics of blocking, parrying and Issen counters; Kiyomizu is the first level that expects you to actually use them under pressure. Miyamoto Musashi returns to Kiyomizu-dera Temple at the request of the priest Takamura, hunting a group of missing clergy and the source of the Malice spreading through the sanctuary. The mission ends in back-to-back boss fights against the rival swordsman Sasaki Ganryu and the towering Genma Daidara, and neither one forgives button-mashing. This walkthrough covers every step in order, current as of September 2026.
Before You Enter Kiyomizu-dera
Way of the Sword launched on PS5, Xbox Series X|S and PC on September 4, 2026, and a Nintendo Switch 2 version with Joy-Con 2 motion swings is set for September 25. Whichever platform you are on, come into this mission with your Hozuki pouch topped up and at least one Mild Restorative in reserve; both boss fights run long enough that you will want a second wind. Keep a light attack build warmed up too, since both fights reward patience over aggression far more than raw damage.
The Nintendo Switch 2 version of Onimusha: Way of the Sword is set to launch on Friday 25 September 2026! As well as playing with a standard controller, you can enjoy a variety of actions by swinging the 'Joy-Con 2'! Pre-orders are now open!
— Onimusha: Way of the Sword (@OnimushaGame) Onimusha: Way of the Sword on X
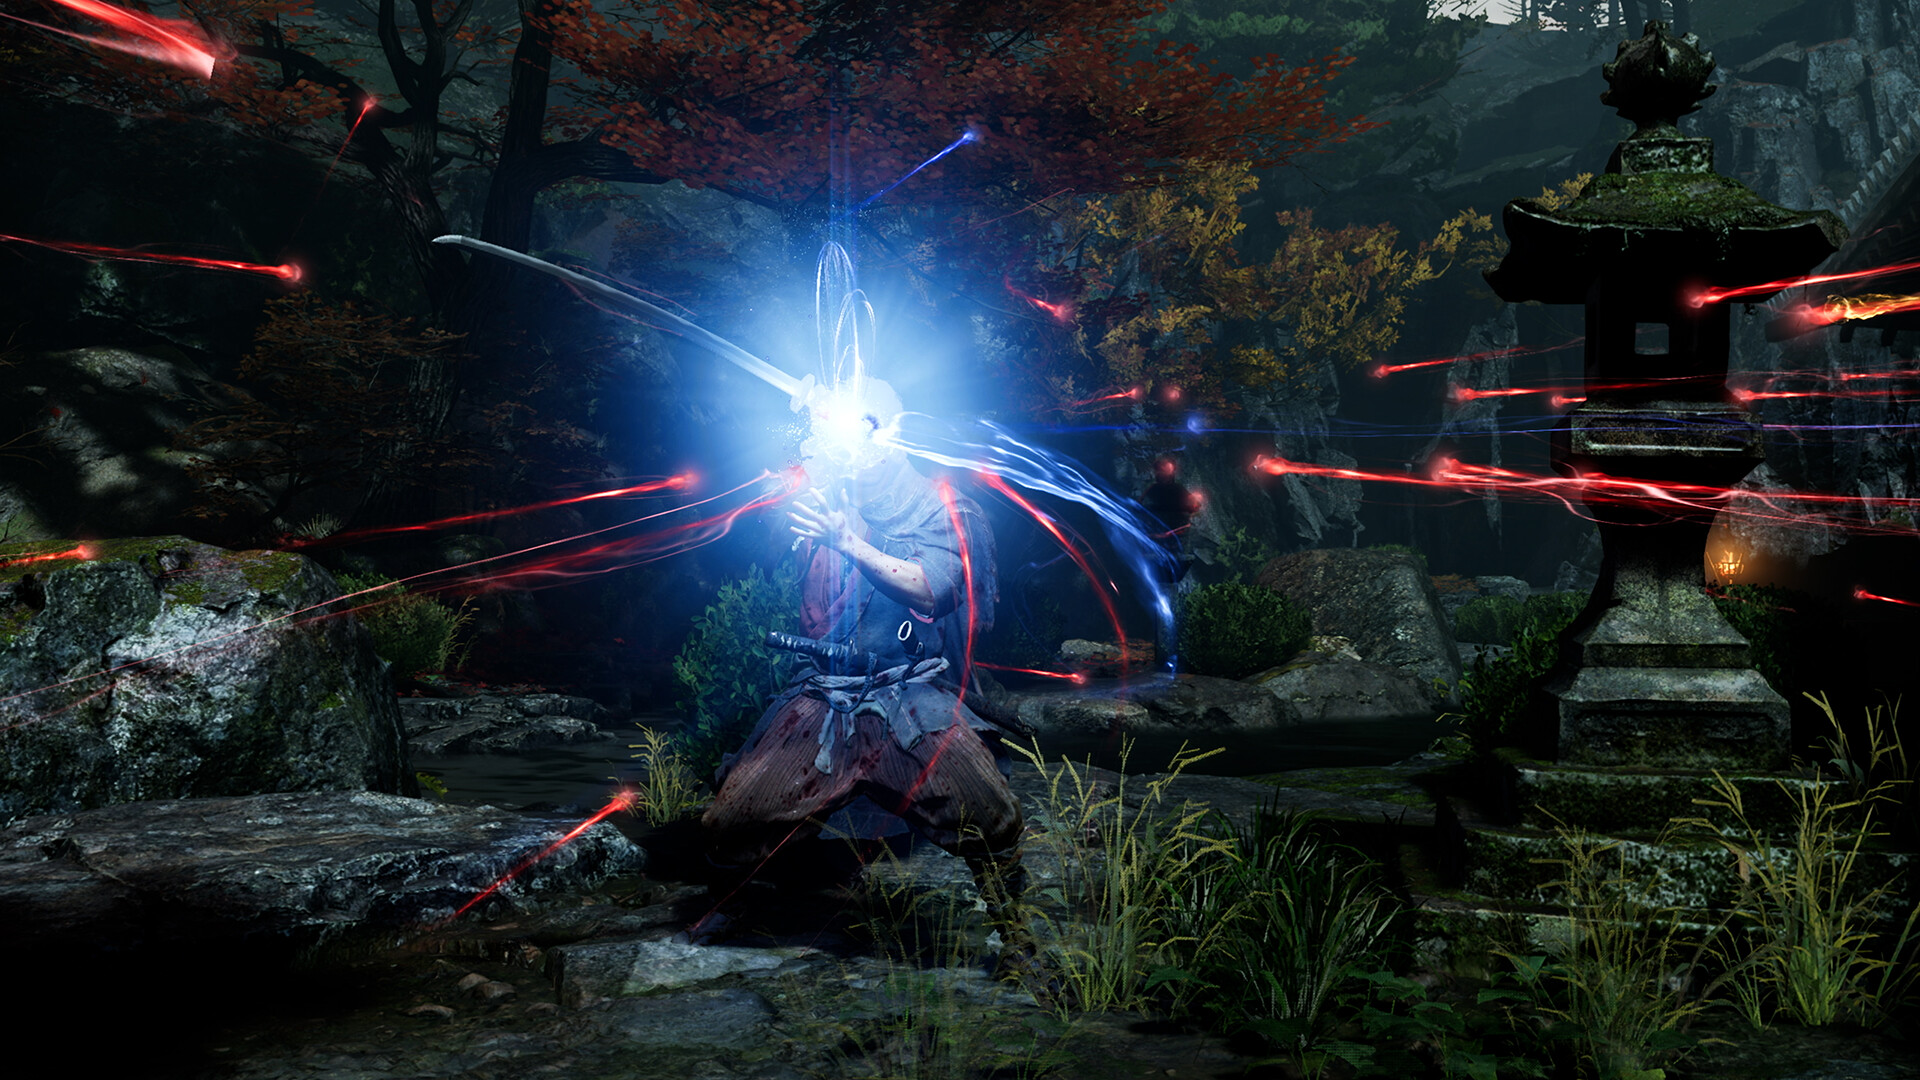
Finding Both Hidden Spiders with Oni Vision
Your gauntlet glows whenever there is a hidden spider, chest or Oni Portal nearby, so check in with Oni Vision often rather than only when the game forces it on you. The first spider sits in a hut behind a locked door near the temple entrance; push the nearby cart into the Genma blocking that door, clear them out, then break the spider inside. The second spider is past the main temple building. Fight through the standard Genma soldiers and archers along the linear route, using parries to knock attackers into each other for easy openings, then follow the path into the cave beyond to find it.
Genma soldiers here favor slow overhead swings that are simple to parry on reaction, while the archers stationed on the temple's upper walkways will keep peppering you from range if you ignore them; either close the distance fast or use terrain to break their sightline before you get swarmed. Breaking the second spider opens a chest holding The Two Celestials, a pair of daggers that generate the yellow souls you will lean on for healing in both boss fights, so it is worth the short detour even if you are eager to push toward the stage.
The Oni Sanctuary: Bow, Rocks and the Bridge
Past the spiders you reach the Oni Sanctuary and pick up the Oni Bow, which shoots the glowing red cores on rocks to shift them. Use it to knock down the wooden scaffolding blocking your path by hitting the leftmost rock core first. Further in, the Oni Bridge puzzle asks you to shoot floating blocks to raise or lower them into a working crossing; once the gaps line up, cross and use Oni Vision again to materialize the final section. A chest at the far end holds a Power Stone before the path opens onto the Kiyomizu-dera stage and the Sasaki Ganryu duel. Along the way you will also run into a Hitotsume Sho, a cyclops-like miniboss; block or parry its weapon swings, dodge its unarmed strikes, and save an Issen counter for its telegraphed jump attack.
How to Beat Sasaki Ganryu
Ganryu is a pure swordsman duel, and the fight rewards a defensive opening: let him come to you, then Dodge, Block, Parry or Issen his attack before landing a couple of hits and resetting. His moveset breaks down into a few readable patterns:
- Close-range quick slashes and combos: parry rather than block, since a clean parry stops the whole string.
- A thrust from range: clearly telegraphed, and safely blocked, parried or countered with Issen.
- A rushing dash that puts him behind you: block late, since the timing is delayed compared to his other openers.
- A jumping kick: dodge the kick itself, then block the slash that follows it.
- A two-handed overhead slash: the long wind-up makes this his easiest opening to parry or Issen.
Below half health he flips his sword to a reverse grip and gets more aggressive, adding a grab that follows his jump kick. Use a Grab Reversal right before it connects, or simply reposition rather than trade with him. Collect the blue souls he sheds during the fight to keep The Two Celestials charged, and do not be afraid to disengage and heal off a yellow soul if your Hozuki pouch runs dry. Ganryu does not have a true third phase, so once you have his patterns down the fight is mostly a matter of staying patient through a couple of full rotations rather than learning anything new.
The pace does not let up after Kiyomizu, and a walkthrough of the game's first five boss encounters is worth keeping open for what comes right after Chapter 3.
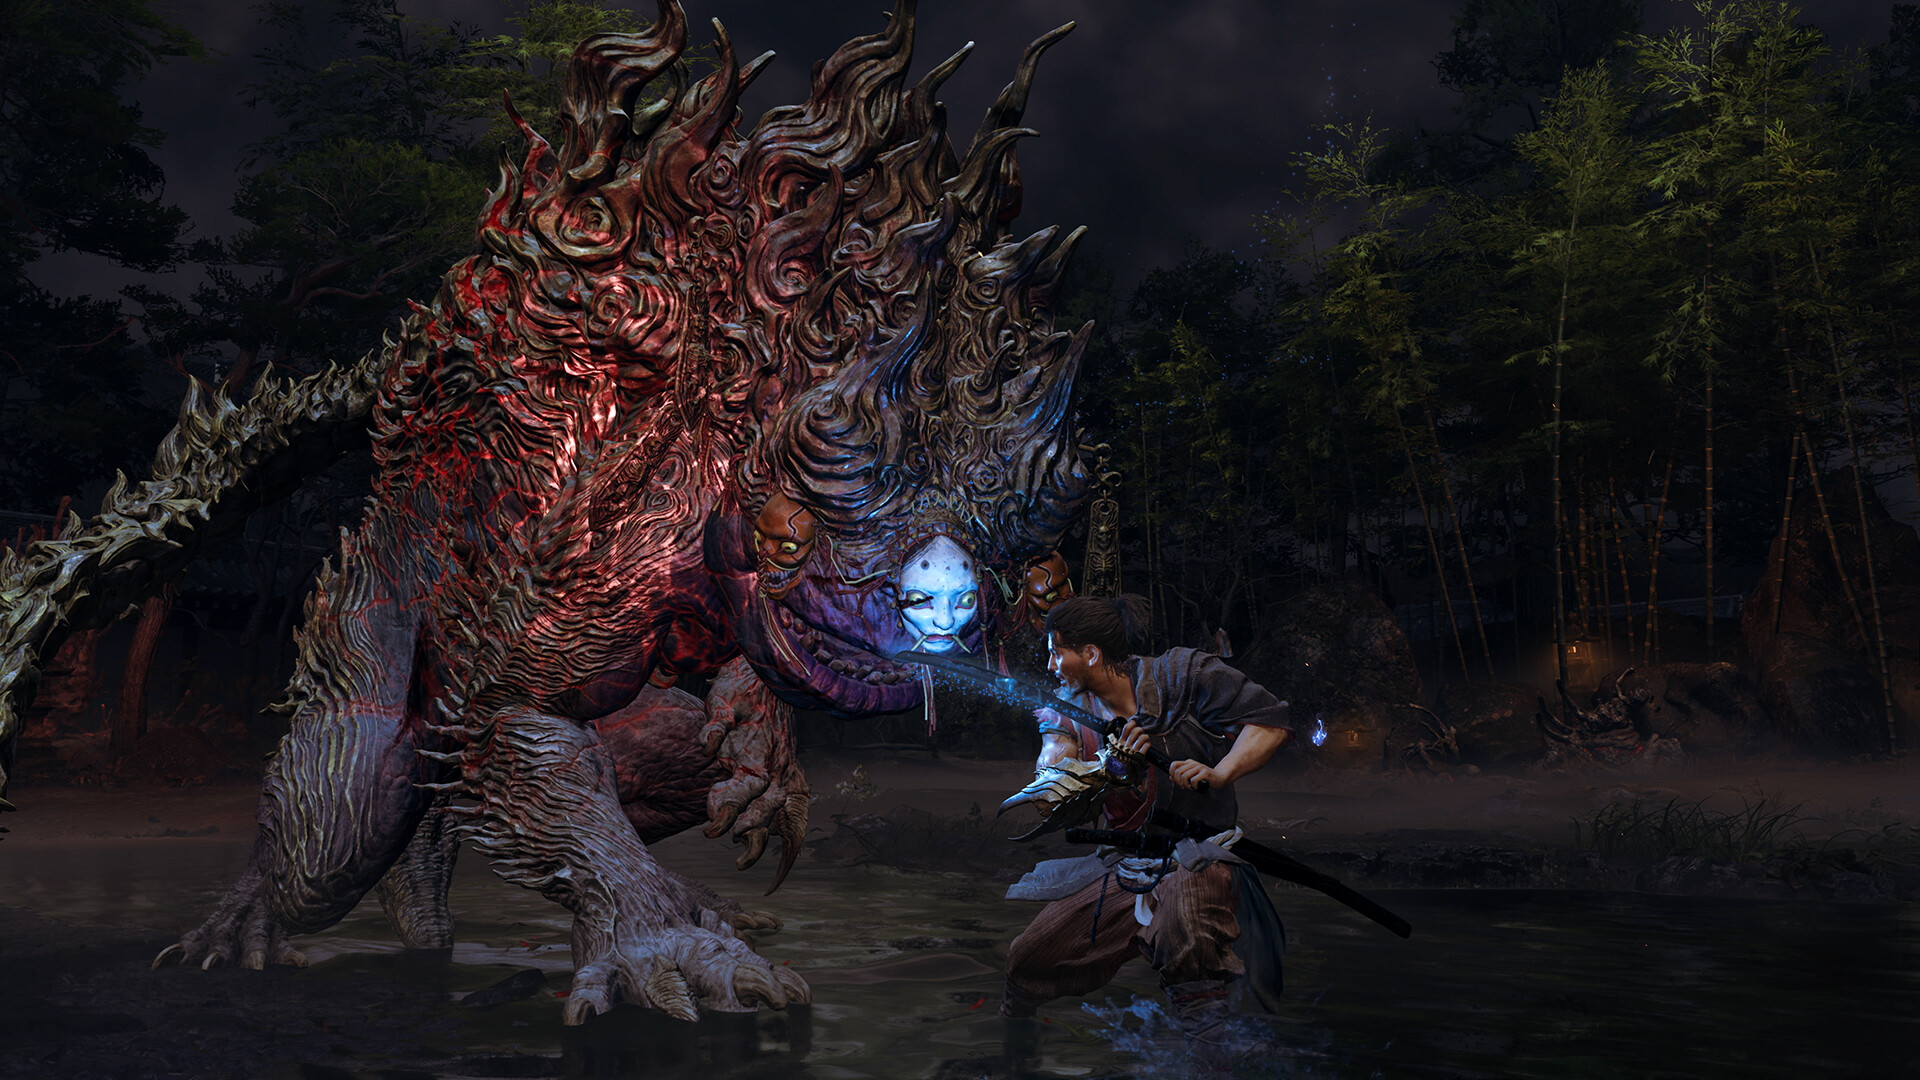
How to Beat Daidara, the Slavering Glutton
Daidara is a much bigger fight, both in scale and in arena space. He is a towering Genma whose gimmick is soul collection: any souls left floating around the arena get absorbed into him, and enough of them push him into an enraged Blazing state. Lure him to one side of the arena at the start and focus down the armor plating on that side's leg; each armor break opens a stagger window for real damage.
- Wide club swings from his left side are slow and easy to parry.
- Charges usually send him into a wall on a clean parry, which opens a long punish window.
- Unarmed swipes come from his right side and are the safest attacks to just dodge.
- A stamping animation is the tell for an incoming charge, so start moving before it lands.
Once he is Blazing, his club gains reach and his hits throw out ground shockwaves that make dodging riskier, but the attacks are still consistently parriable. He also picks up a grab with timing close to Ganryu's, so the same Grab Reversal window applies. Fighting near the arena's edges helps too, since his weapon occasionally catches on the environment and gives you a free opening. Expect this fight to run noticeably longer than the Ganryu duel; Daidara has more raw health and a bigger arena to chase him around, so pace your Oni Armament resource use rather than dumping it all in the opening minute.
Quick Checklist for the Kiyomizu Mission
- Stock a Hozuki pouch refill and a Mild Restorative before starting.
- Use Oni Vision liberally to catch both hidden spiders and the chest behind them.
- Solve the rock and bridge puzzles with the Oni Bow to reach the Oni Sanctuary chest.
- Parry-focus the Sasaki Ganryu duel and watch for the reverse-grip grab under 50% health.
- Break Daidara's leg armor first, harvest every soul, and keep parrying through his Blazing phase.
Clearing both fights unlocks Chapter 3, "Kyoto, Corrupted," and the Charm of the Healer along with new crafting materials. For patch details and platform support, Capcom's own Onimusha: Way of the Sword site and Steam store page stay current, and the Wikipedia entry and ESRB rating cover the wider release. Capcom also confirmed the accelerated launch window in its own investor press release.