Ocarina of Time Switch 2: Jabu-Jabu's Belly Walkthrough and How to Beat Barinade
Walk through Lord Jabu-Jabu's Belly in the Ocarina of Time Switch 2 remake: get King Zora to move, carry Princess Ruto, grab the Boomerang, clear all three tentacles, and beat Barinade for the Zora Sapphire.

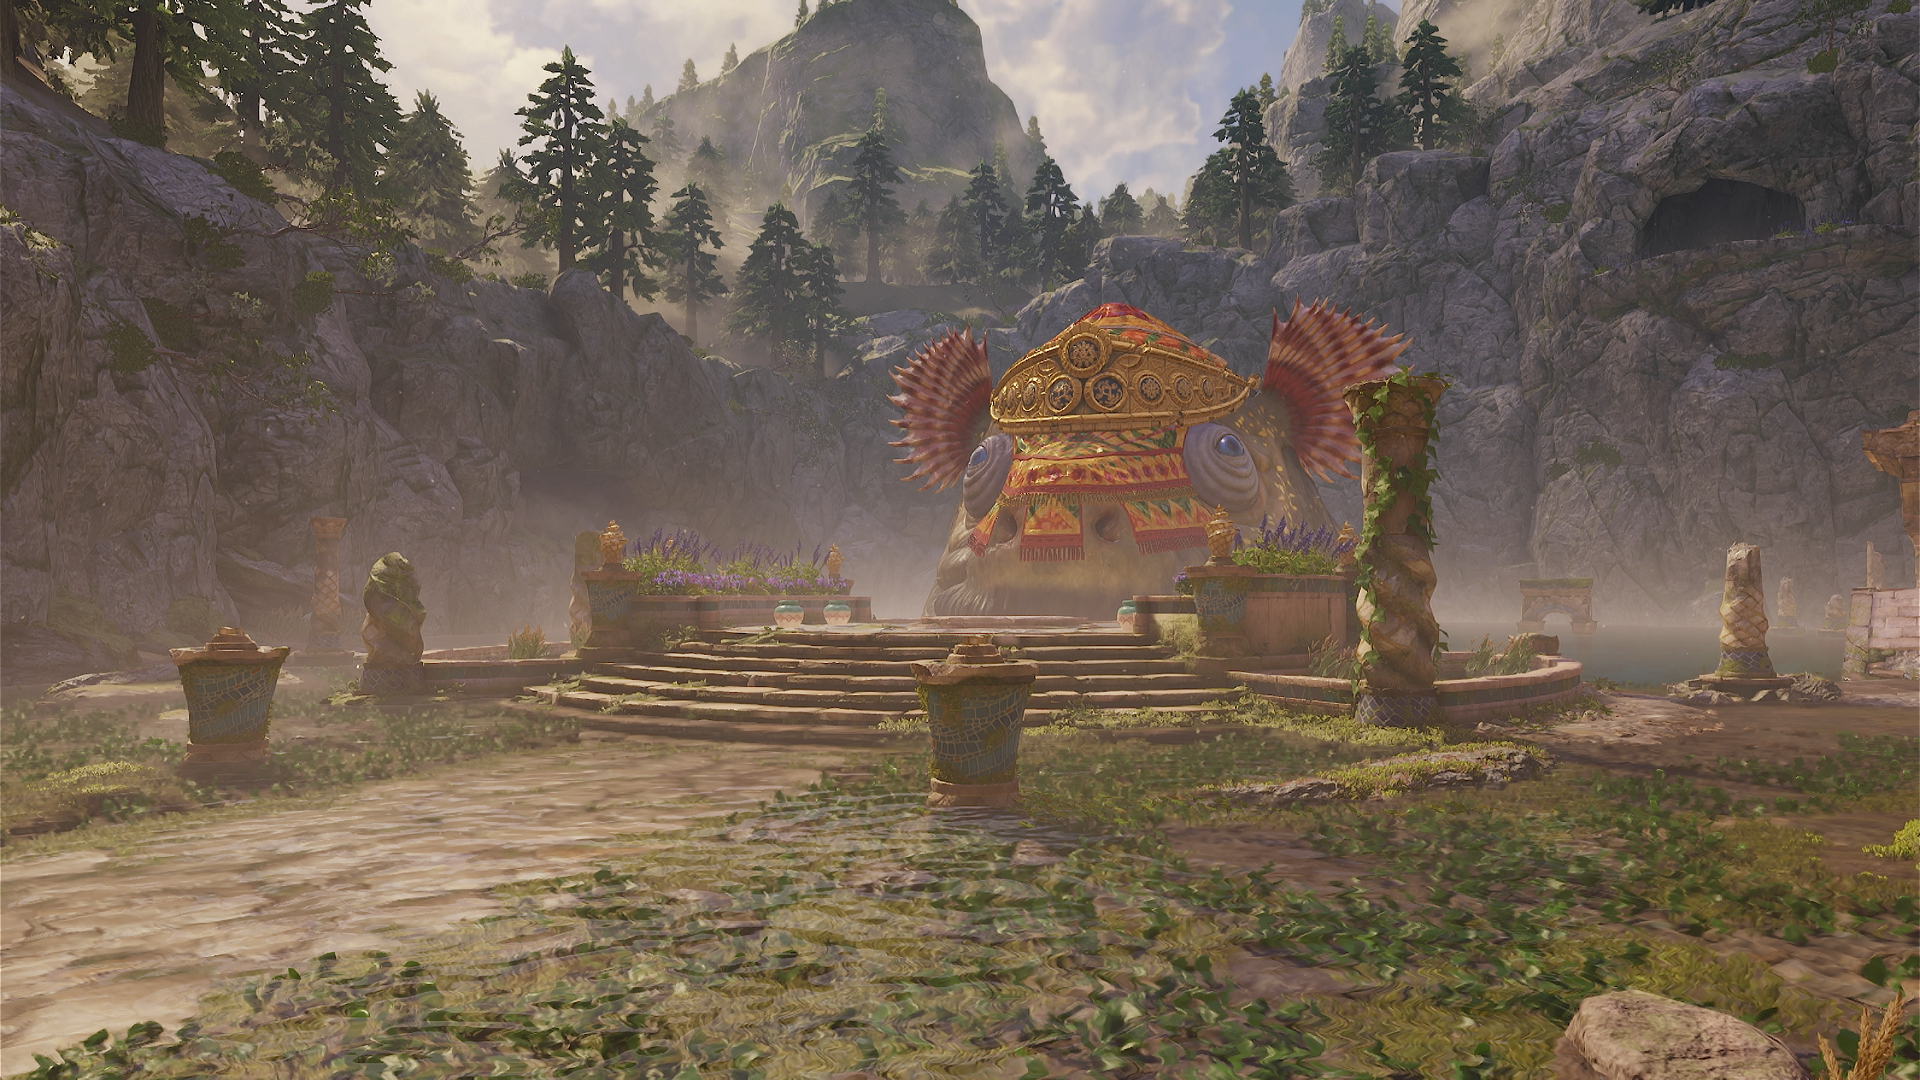
Lord Jabu-Jabu waits in Zora's Fountain, ready to swallow Link whole once he's fed a fish. Screenshot: Zelda Wiki, game by Nintendo.
Lord Jabu-Jabu's Belly is the third dungeon in The Legend of Zelda: Ocarina of Time, and as of November 2026 it's the one tripping up new players on the Switch 2 remake who expect a straight combat dungeon like Dodongo's Cavern. It isn't. You spend most of this one escorting Princess Ruto through a flooded, jellyfish-infested stomach, and the puzzle is as much about where you put her as it is about where you point the Boomerang. Here's the full route from Zora's Domain to the Zora Sapphire.
Before you open Jabu-Jabu's mouth
You can't walk into this dungeon cold. King Zora is parked across the entrance to Zora's Fountain, and he won't budge until you show him proof that his daughter is alive. That proof is a bottle with Princess Ruto's Letter inside, sitting on the lakebed of the tunnel that connects Zora's Domain to Lake Hylia. Dive into that tunnel from the Domain's lower pool and grab the bottle on the floor near the far exit. Swim back up, climb to the throne, and use the bottle on King Zora. He reads the letter, hauls himself out of the doorway, and the path to the fountain opens.
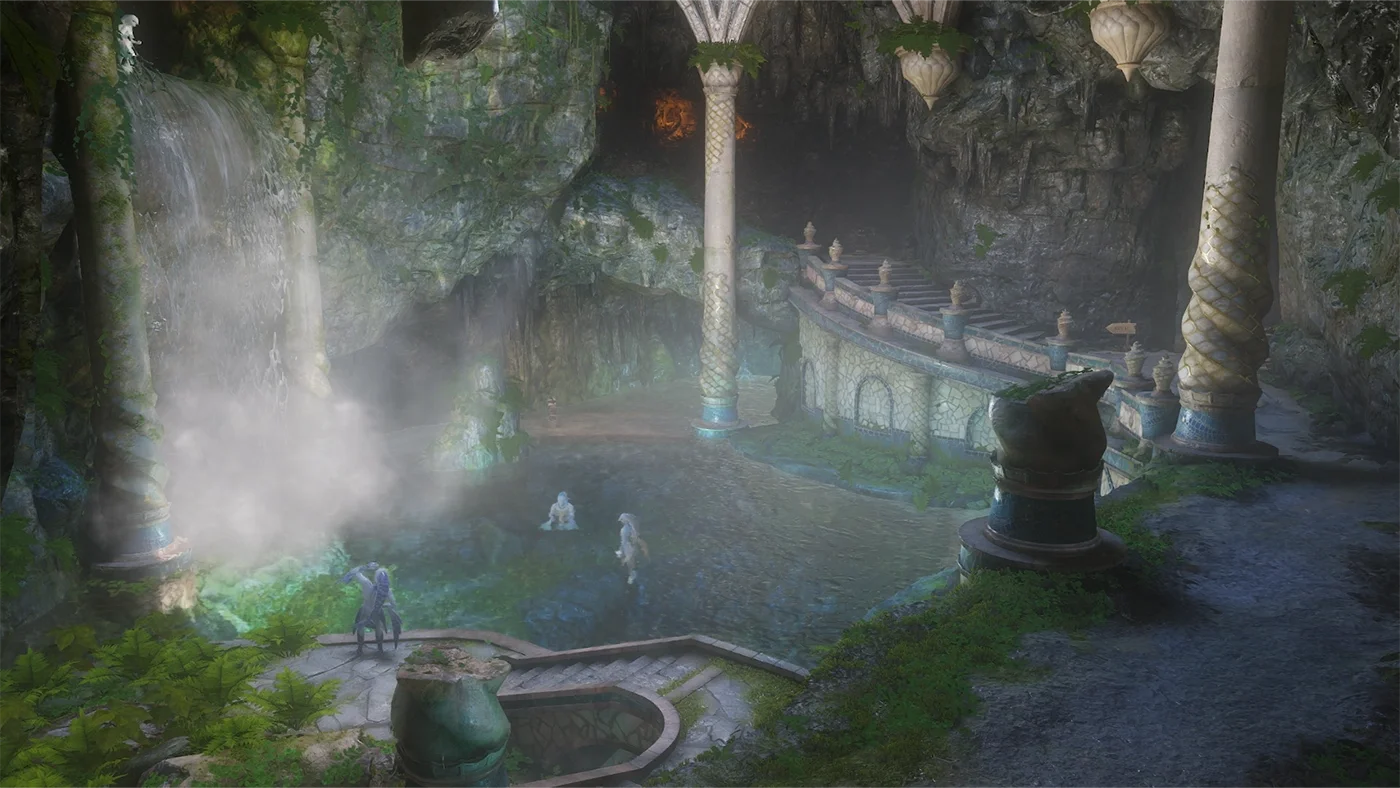
Before you head for the throne room, catch a fish. There's shallow water near the Domain's shop where fish are visible from the surface; scoop one into an empty bottle the same way you'd bottle a fairy. You keep that bottle after showing King Zora the letter, so there's no separate errand for it. Walk up to Jabu-Jabu floating in the fountain, stand right in front of his mouth, and release the fish. He swallows it, then he swallows you. That's the entrance.
Finding Princess Ruto and the Boomerang
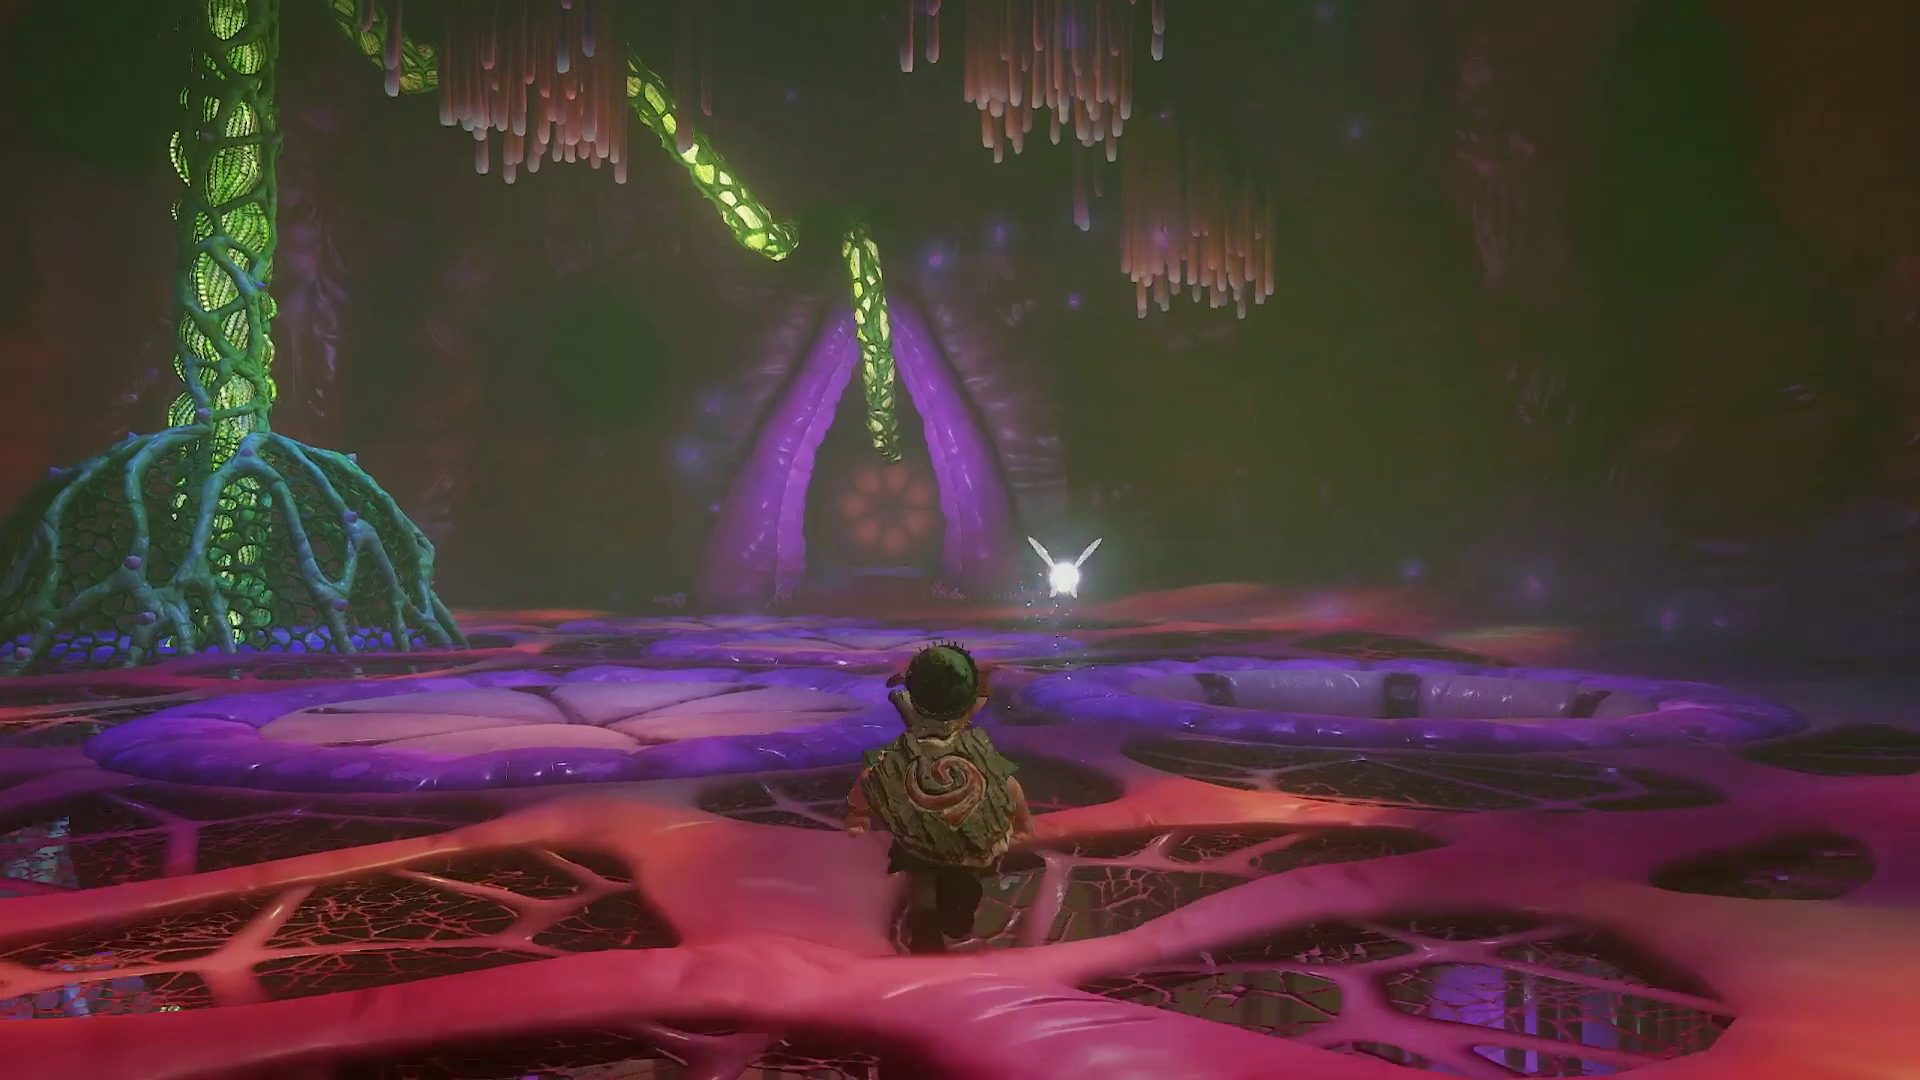
Inside, the entrance room has Octoroks lobbing rocks at you from ledges. Deflect a shot back at the switch hanging from the ceiling to open the next door, rather than trying to hit it with the Slingshot directly. The next room has an electric jellyfish drifting in open water; a Deku Nut stuns it long enough to swim past along the edge. Take the far door and you'll land in a room full of holes in the floor. Princess Ruto is here, and she's not interested in rescue talk at first. Drop through the hole after her when she falls, then keep talking to her until she agrees to let you carry her.
- Once you're carrying Ruto, stand directly against a door before opening it — interacting from a few steps away just throws her instead.
- In the water-switch room, set her on the near ledge and step on the floor switch to raise the water level, which exposes a Gold Skulltula token and a fairy.
- To continue, throw Ruto onto the far ledge, hit the switch again, swim across, and pick her back up before popping the Shaboms blocking the next door.
Past that point you'll ride a lift back up near the room where you first met Ruto. Follow the right-hand wall to avoid the holes and skip the fight with the Bari floating near the doorway — it's not worth the detour. At the branching corridor, take the right route to a floor switch; stand on it while still carrying Ruto to pop open a side room. Clear out the Stingers inside, then shoot the moving shadow on the floor with the Slingshot once it surfaces. The chest in that room holds the Boomerang, the item this entire dungeon is built around.
Clearing the three hanging tentacles
Carry Ruto back out to the central junction and leave her standing on the blue pressure switch there, then go through the side door alone. A tentacle hangs from the ceiling; lock onto it, circle in close so it lowers toward you, and hit the exposed joint with the Boomerang. Back off too far and it retracts out of range, so stay tight. The chest in this room is the dungeon map, not a key item, but grab it anyway before heading back to Ruto.
From the junction, the first left door leads to a bubble room — clear the Shaboms and take the compass. Go back to the junction and take the newly open door on the left for the second tentacle, beaten the same way. The middle-right door from the junction has a jellyfish guarding the third tentacle; knock it out with the Boomerang first, then repeat the lock-on-and-circle routine on the tentacle itself. With all three gone, head back to the hole room, follow the right wall, and drop into the second hole you find. Two more Gold Skulltula tokens are reachable from the ledge down there, both grabbable with the Boomerang without needing to get close.
Bigocto, the moving platforms, and the final throw
Carry Ruto along the ledge passage and throw her onto the central platform in the next big room. Approach after the short scene plays and Bigocto starts its attack. Stun it with the Boomerang, wait for it to spin around, then land a second stun once its back faces you so you can hit the glowing weak point with your sword. If it flees across the platform, stick to the inside of the circular path to avoid the spikes ringing the edge and keep repeating the stun-and-strike pattern until it goes down.
Standing on the central platform after the fight rides you up a level. Clear the jellyfish, deal with an Octorok on the slope below, and loop back to the ledge. Two flailing platforms block the path from here; hit each one with the Boomerang to freeze it still, then cross while it's calm. Ride the next ledge down into a lift chamber — you don't need Ruto past this point, so leave her. Push the wooden crate sitting nearby onto the blue switch in the side hallway to unlock the door beyond it.
In the room past that door, clear the jellyfish and climb the vines in the middle to a tall platform. The fourth Gold Skulltula token in this dungeon sits on those same vines, retrievable with the Boomerang. From the left edge of the tall platform, throw the Boomerang in a curve around the thin barrier rather than straight ahead; a direct throw won't reach the hanging switch that opens the boss door.
How to beat Barinade
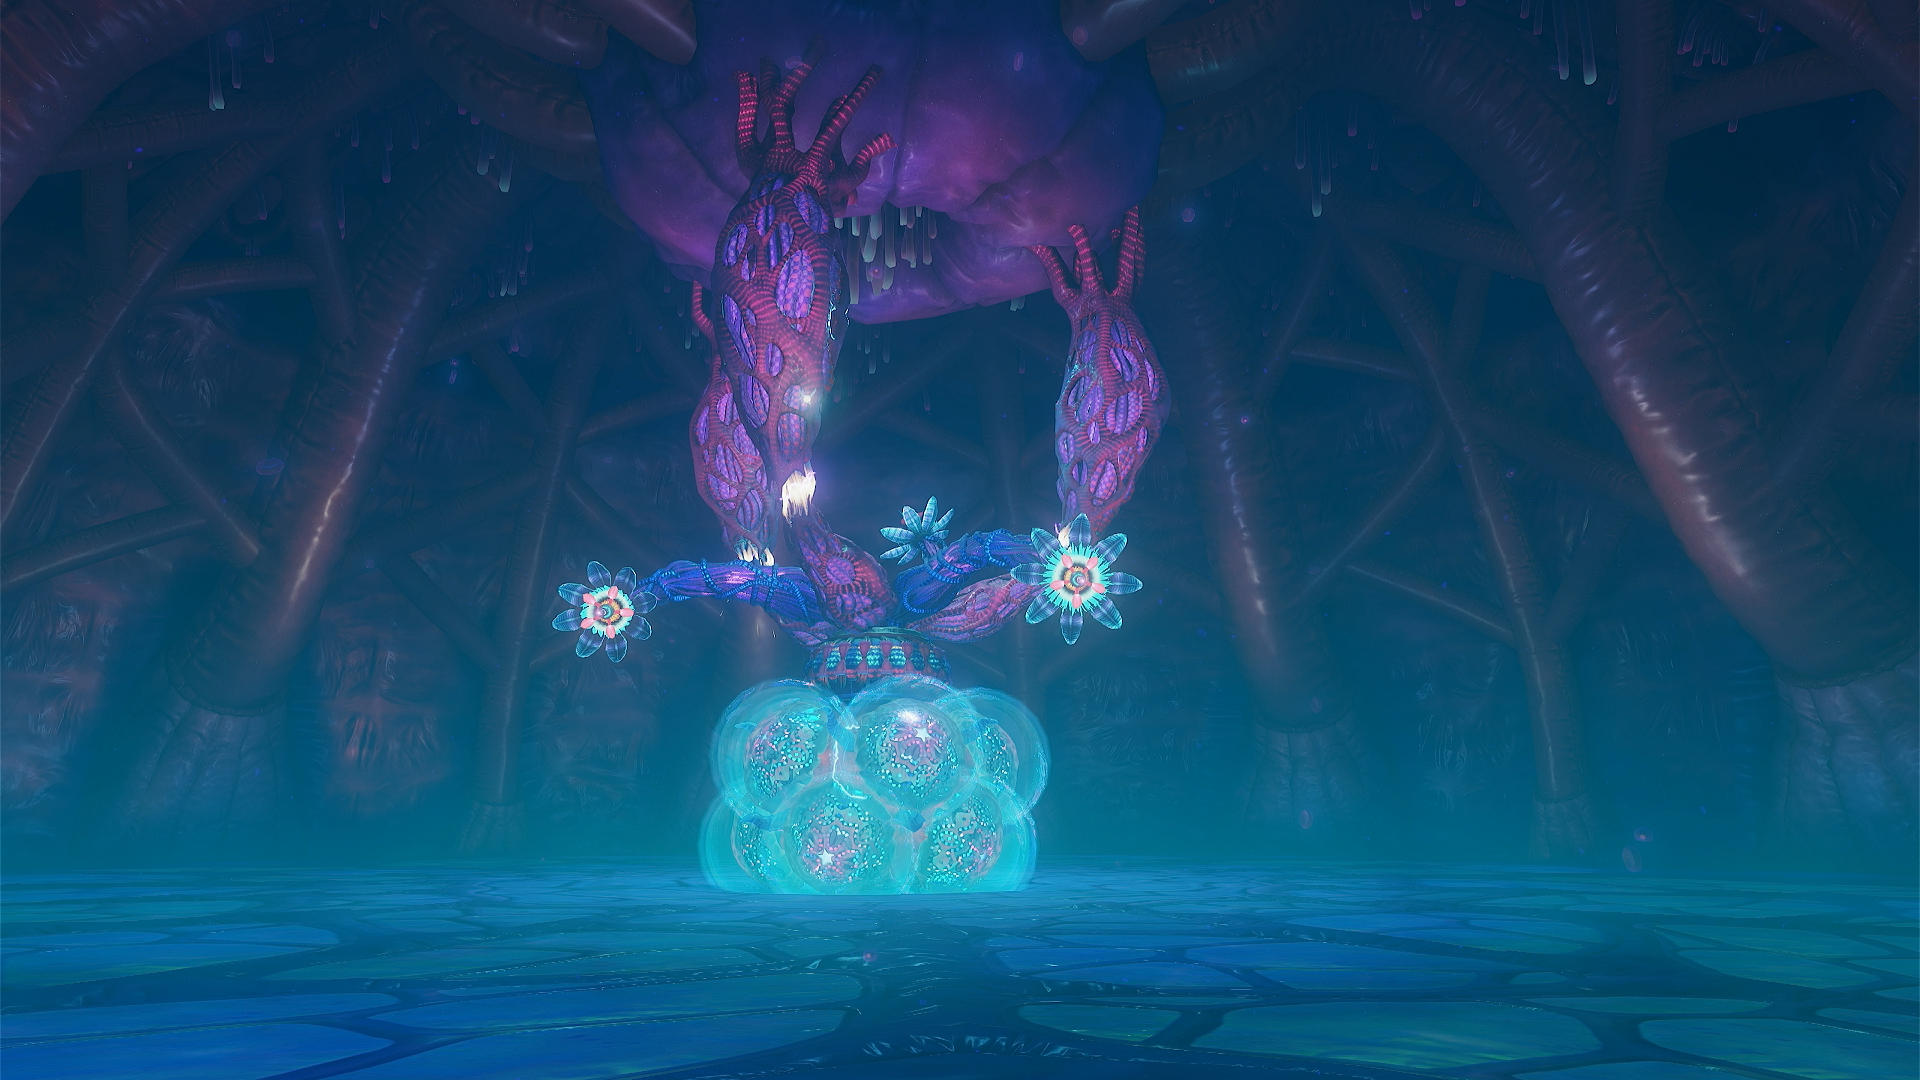
Barinade hangs from the ceiling of the boss room protected by three tentacle-like ceiling attachments and a Bari floating around its body. Circle the room and cut each of the three attachments with the Boomerang first; they come off one at a time and Barinade can't be hurt while any of them are still connected. Once they're gone, deal with the Bari shielding its body, then stun the exposed core with the Boomerang before moving in with the sword.
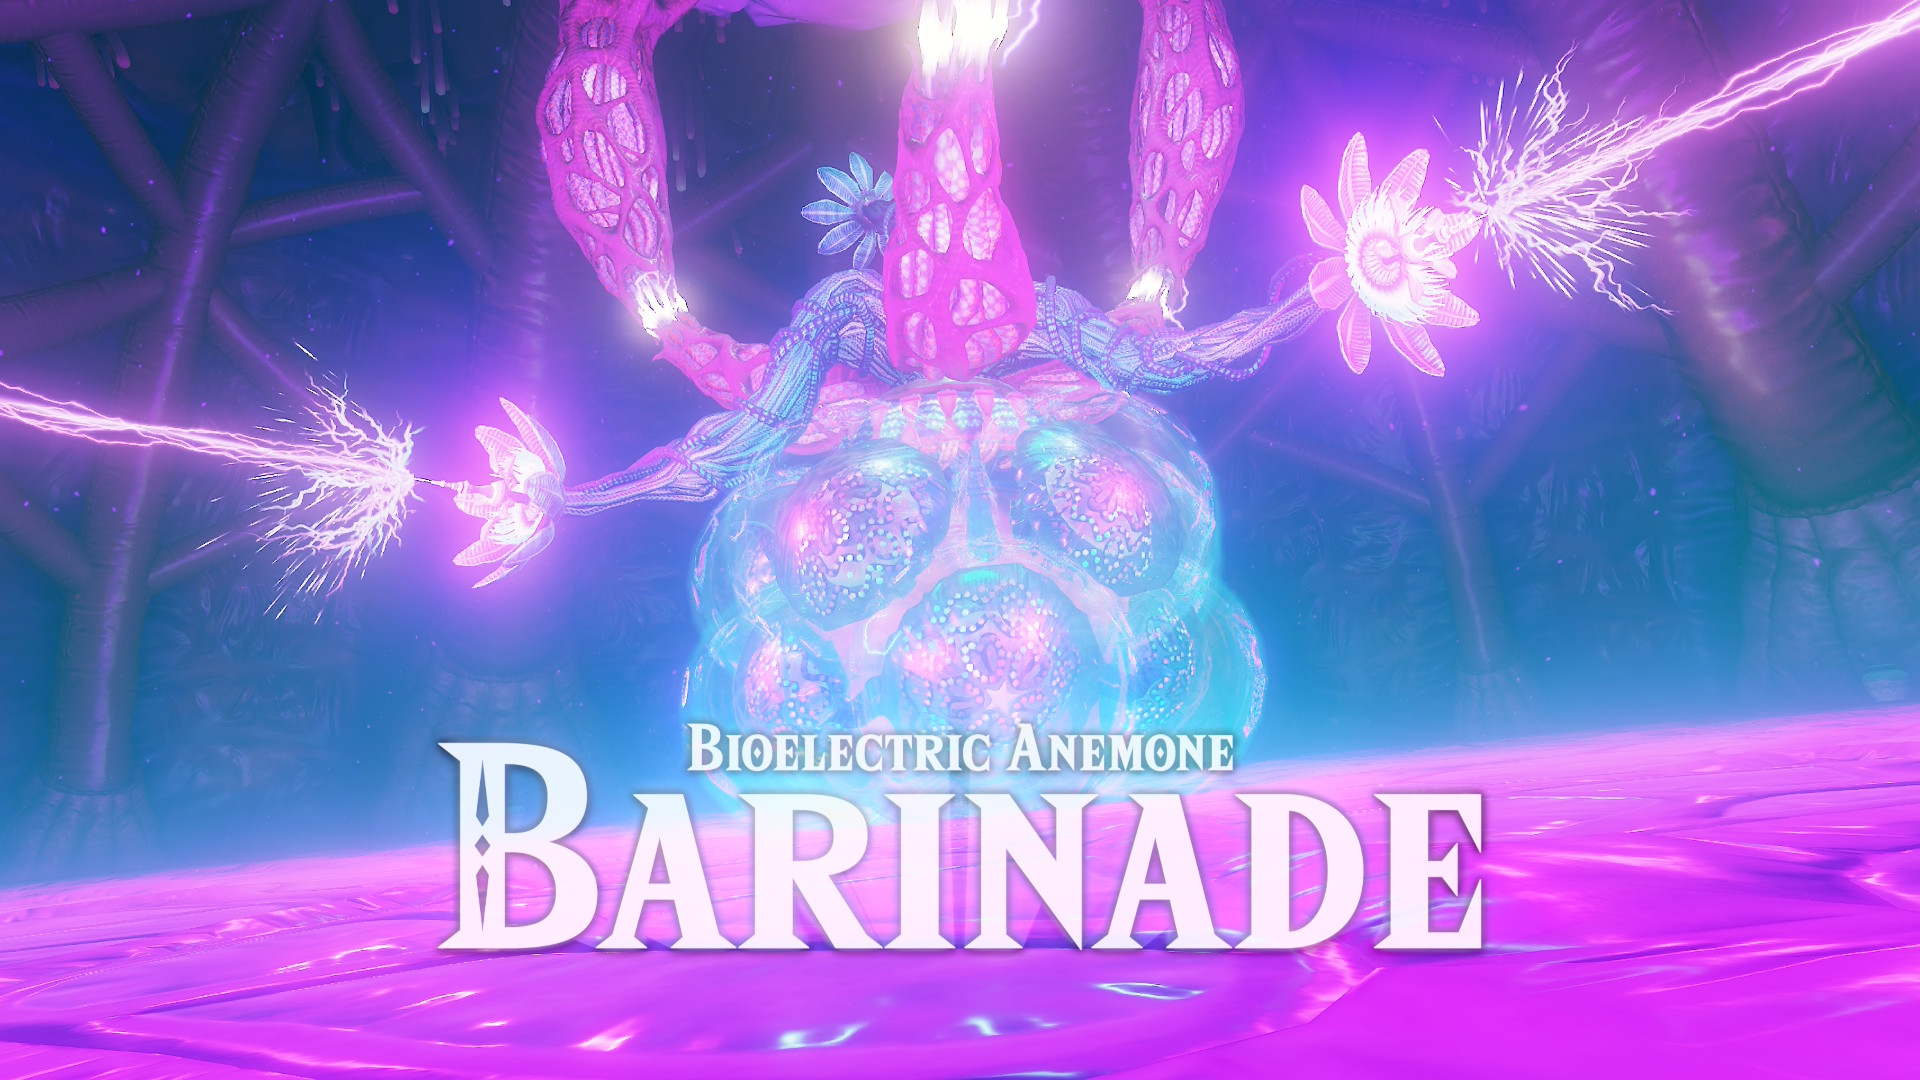
The fight's only real danger is the ring of electricity Barinade fires out when it's agitated. Keep circling around the outer edge of the room rather than standing still, and you'll have time to see the charge-up and dodge clear before it discharges. A few rounds of stun-and-strike on the core finishes it. Grab the Heart Container it drops before stepping into the warp that follows.
Princess Ruto hands over the Zora's Sapphire once you're both back at the fountain, the third of the three Spiritual Stones and the one most players pick up last. With the Kokiri Emerald and Goron Ruby already in hand from the first two dungeons, the next stop is the Temple of Time to present all three stones and reach for the Master Sword. For a refresher on which songs you'll need going forward, the site's full ocarina song guide covers what each melody does once you're playing as adult Link.
Quick checklist
- Get Princess Ruto's Letter from the lakebed tunnel and show it to King Zora to open Zora's Fountain.
- Bottle a fish near the Domain shop and release it in front of Jabu-Jabu's mouth to enter.
- Carry Ruto through the water-switch rooms to reach the Boomerang chest.
- Cut all three ceiling tentacles with the Boomerang, using Ruto on the pressure switch to open each room.
- Beat Bigocto, cross the flailing platforms, and curve a Boomerang throw around the barrier to reach the boss door switch.
- Strip Barinade's three attachments and its Bari shield before stunning and striking the core.
This is the last dungeon of the child-Link opening stretch, and if you came here straight from Death Mountain, the Dodongo's Cavern walkthrough covers the second Spiritual Stone dungeon in the same level of detail. For the remake's full feature list and the Switch 2-exclusive ocarina mic support, Nintendo's Switch 2 product listing and the 40th Anniversary Direct recap cover what changed going into launch. The game carries the same content rating as the original release on the ESRB ratings page, and Wikipedia's entry has the full release history for anyone comparing this version to the N64 and 3DS editions.