Ocarina of Time Switch 2: Dodongo's Cavern Walkthrough and How to Beat King Dodongo
Child Link's second Switch 2 dungeon: earn the Goron Bracelet, clear Dodongo's Cavern step by step, and learn the exact bomb timing to beat King Dodongo.

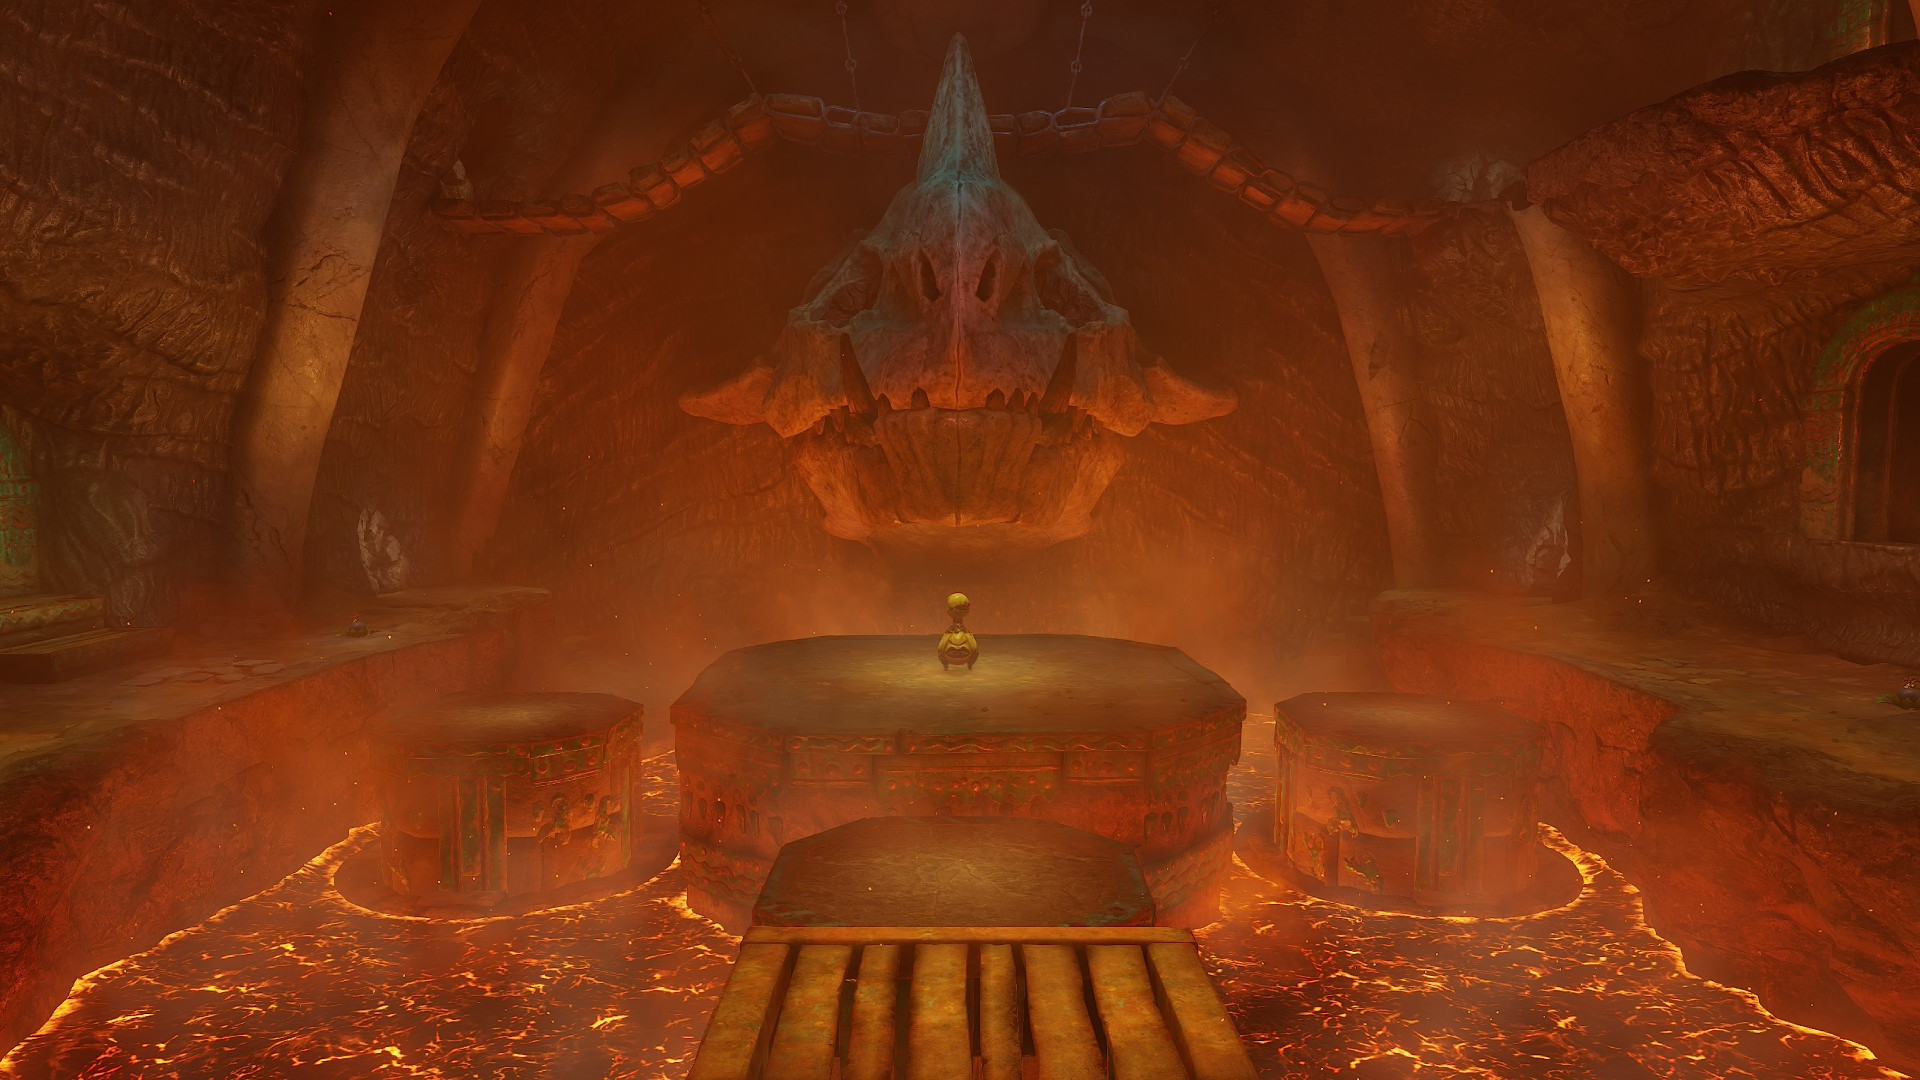
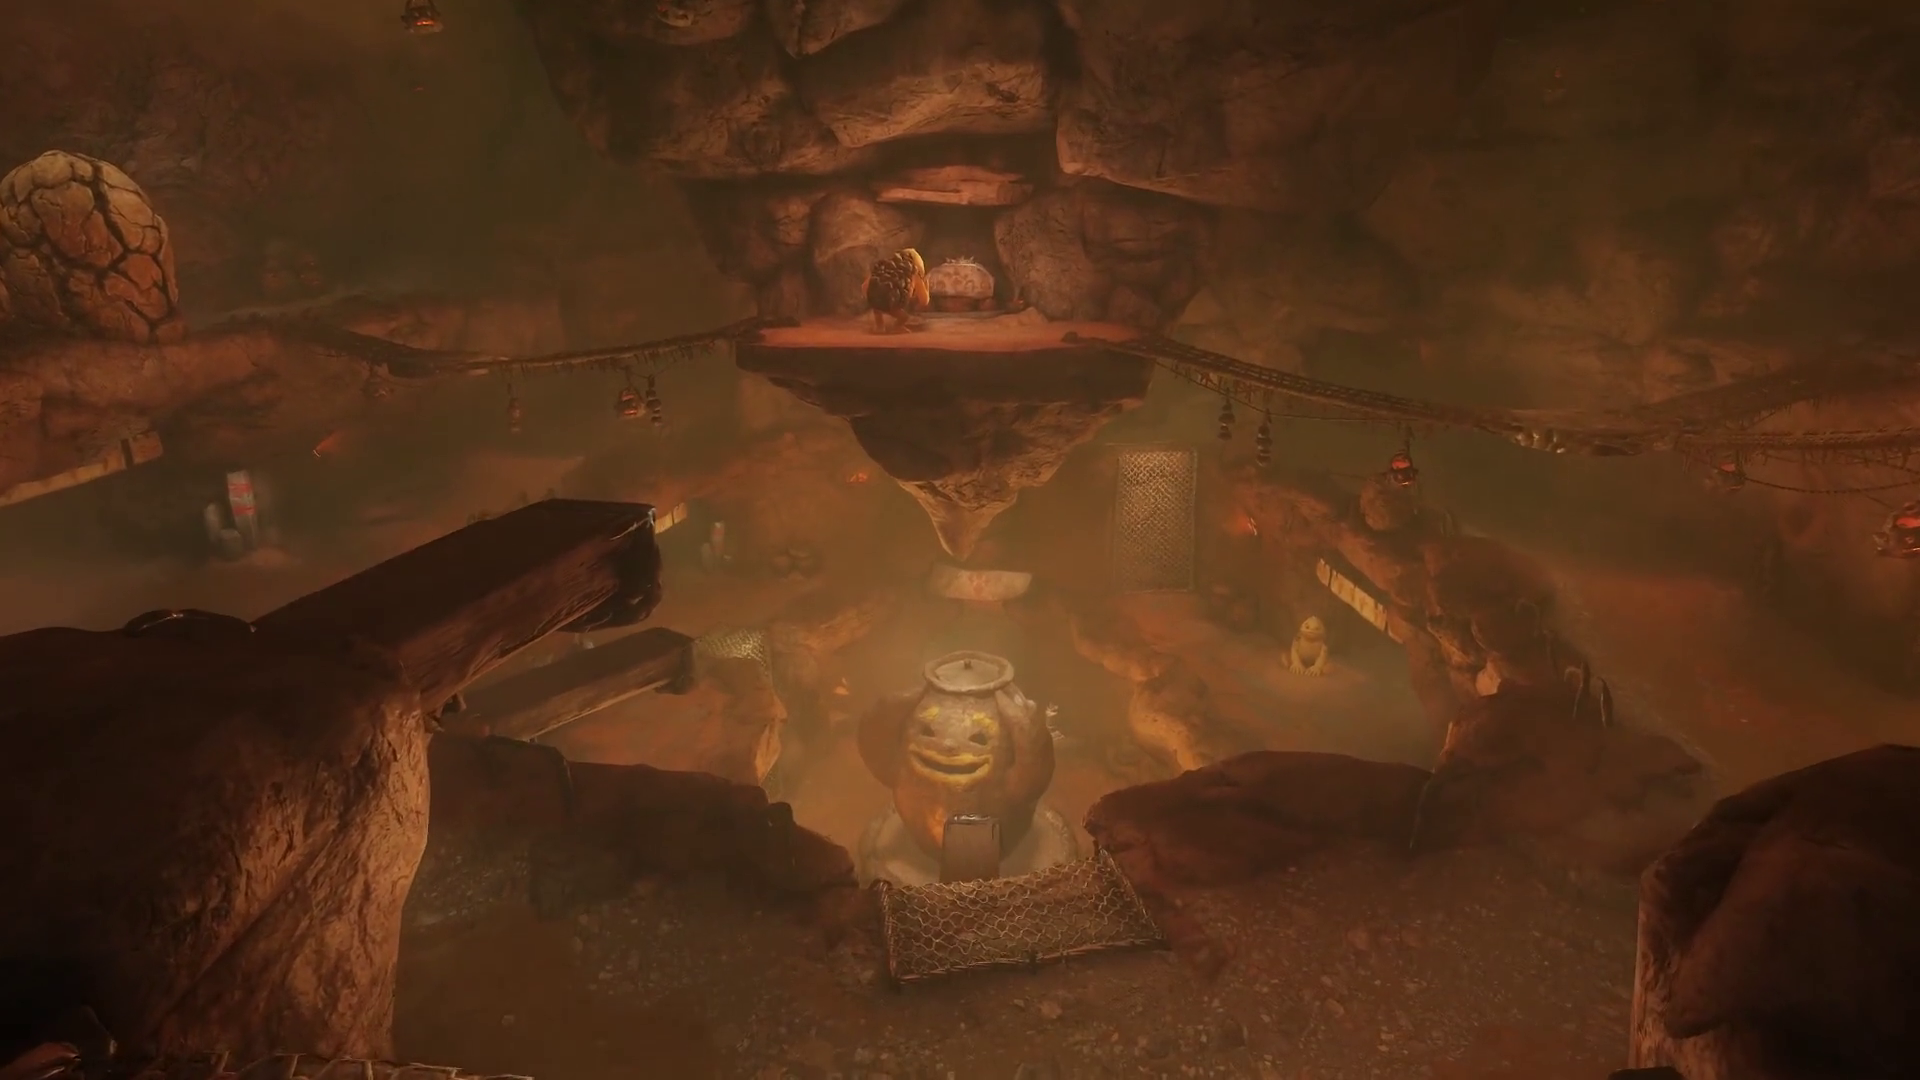
The main chamber of Dodongo's Cavern, built around the skull of a long-dead Dodongo, in the Switch 2 remake of Ocarina of Time. Screenshot: Zelda Wiki, game by Nintendo.
Dodongo's Cavern is the second of the three dungeons child Link needs in the Switch 2 remake of The Legend of Zelda: Ocarina of Time, which launched November 5, 2026. It swaps the Kokiri Forest's green light for Death Mountain's lava glow, and it is built around a joke the original game only half-explained: a cave full of lizard-dinosaurs that the Gorons used to eat for food. Here is every step from the boulder on Death Mountain Trail to King Dodongo's Heart Container, current as of November 2026.
Before You Enter: Getting the Goron Bracelet
You cannot reach Dodongo's Cavern without the Goron Bracelet, and you cannot get the bracelet without playing a song you learn well before Death Mountain. Head up Death Mountain Trail from Kakariko Village and you will find the cavern's entrance sealed behind a boulder about halfway up the slope, with Dodongo carvings warning you off. Leave it for now and continue up into Goron City.
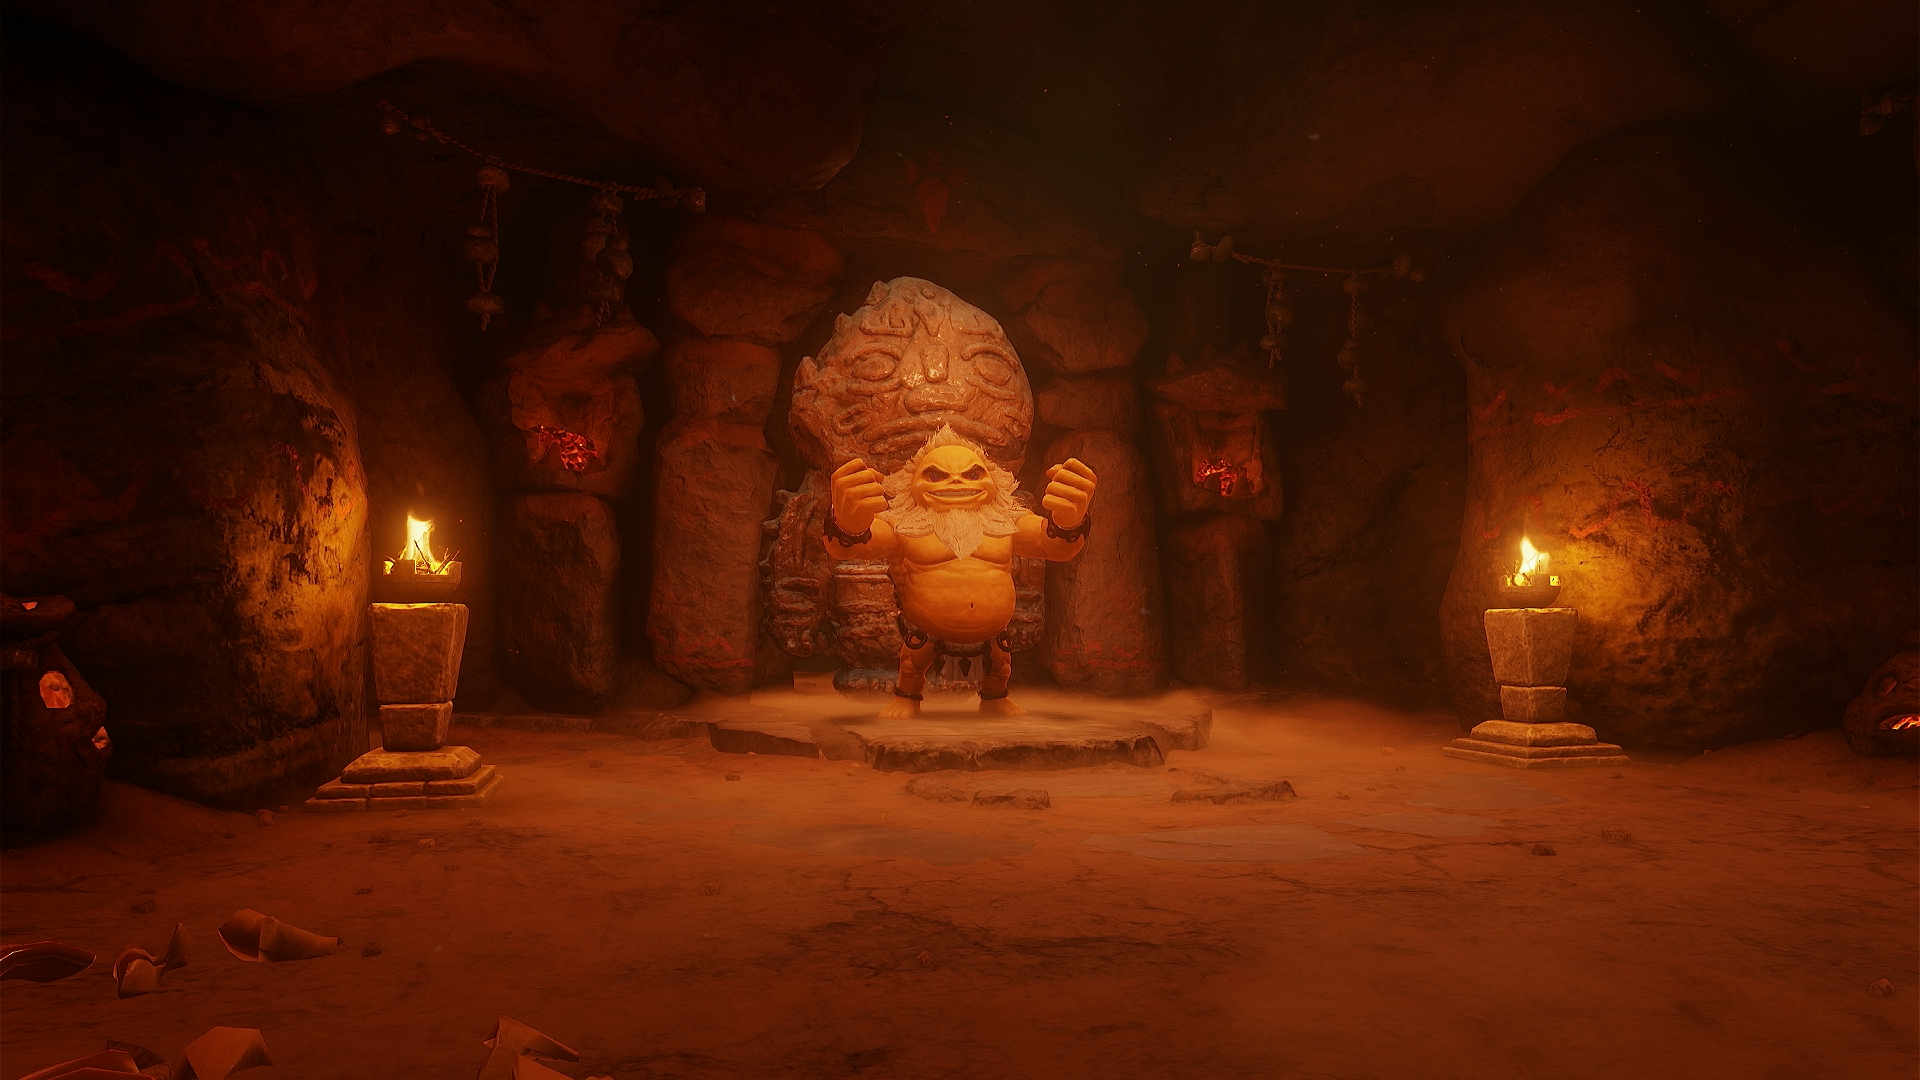
Inside Goron City, head down to the lowest level and find Darunia, the Goron chief, slumped in his chamber worrying about the rockslide blocking the Gorons' quarry. Play Saria's Song in front of him and he will leap up dancing, then hand over the Goron Bracelet on the spot. The bracelet lets Link pick up and throw Bomb Flowers, which is the only thing standing between you and the cavern.
With the bracelet in hand, go back down to the trail. A Bomb Flower grows near a Deku Scrub planter just outside the cavern; pick the flower up, carry it to the boulder, and throw it in. The explosion clears the entrance.
Through the Entrance Hall and the Dead Dodongo's Mouth
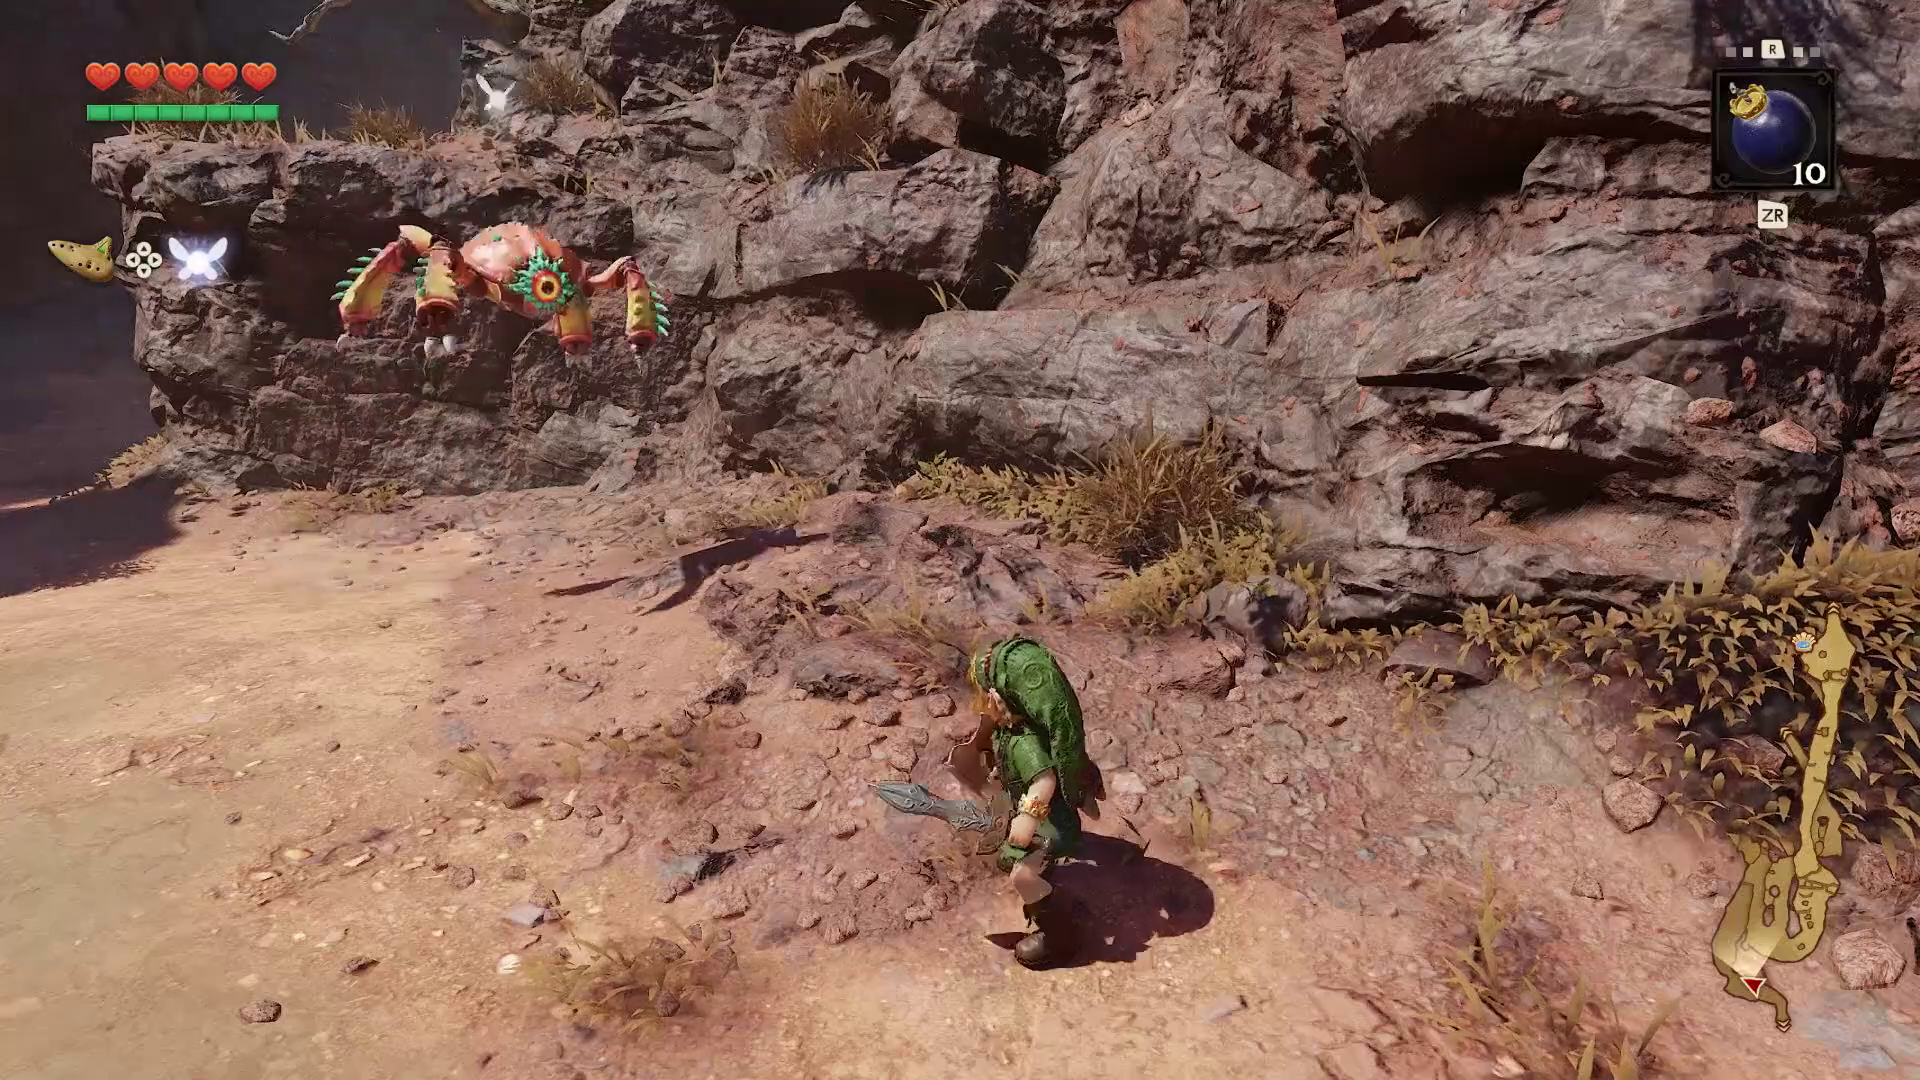
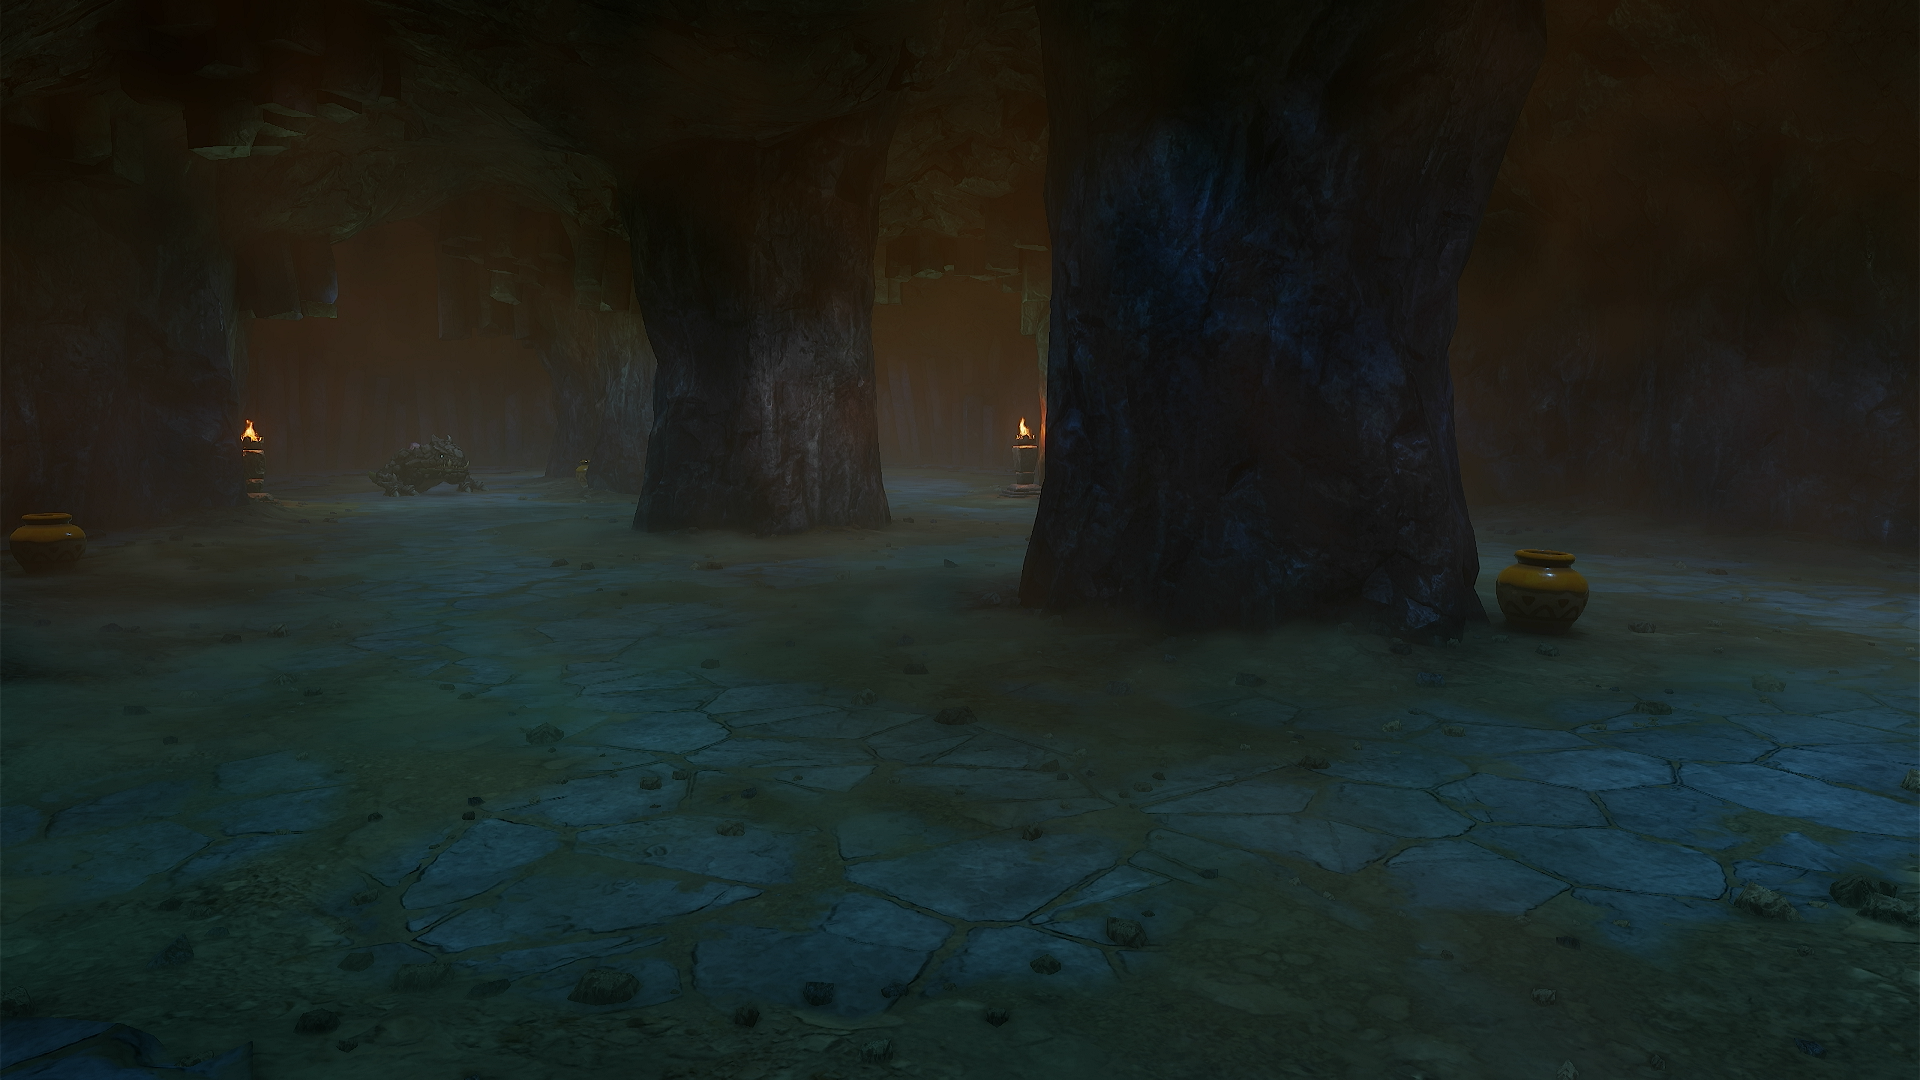
The cavern opens into a dim room with storage jars, a couple of torches, and a Baby Dodongo wandering the floor. Baby Dodongos spit fire in a straight line, so approach from the side and either roll past them or finish them off; killing one occasionally opens a cracked wall that a Bomb Flower alone will not budge. Work your way down and to the right along the first floor, using Bomb Flowers growing from the walls to blast through rubble, and keep an eye out for a Lizalfos-guarded side room hidden behind a lava waterfall — it hides a single Heart Piece if you can slip past the falling water.
The path eventually spills into the main chamber, the one dominated by the skull and ribcage of a long-dead, oversized Dodongo hanging from the ceiling. A stone tablet nearby reads that the giant dead Dodongo will open a new path "when it sees red." Push or bomb a block onto the switch in that room and the mouth will glow and open, revealing a new route deeper into the dungeon. This room is also where most of the cavern's five Gold Skulltulas tend to turn up, so it is worth a careful look around the ledges before moving on.
The Lizalfos Fight and the Bomb Bag
Past the dead Dodongo's mouth, the cavern narrows into a corridor patrolled by two Lizalfos at once — the game's first real mini-boss fight. They circle and lunge with their claws, so bait one into overextending, get in two or three sword hits, then back off before the second one catches you from the side. A shield block absorbs most of their damage if you are not ready to dodge. Clearing both opens the room beyond, where a treasure chest holds the Bomb Bag, letting Link carry his own bombs instead of relying on wall-grown Bomb Flowers for the rest of the dungeon, and for every dungeon after it.
From here the cavern loops back toward a raised platform area with crumbling stonework and more Business Scrub enemies hiding in the walls; use your new bombs on the cracked sections you could not open before, including a couple of overlooked Gold Skulltula walls if you have not grabbed all five yet. Once the area is clear, a ladder and a short climb lead to the boss door.
How to Beat King Dodongo
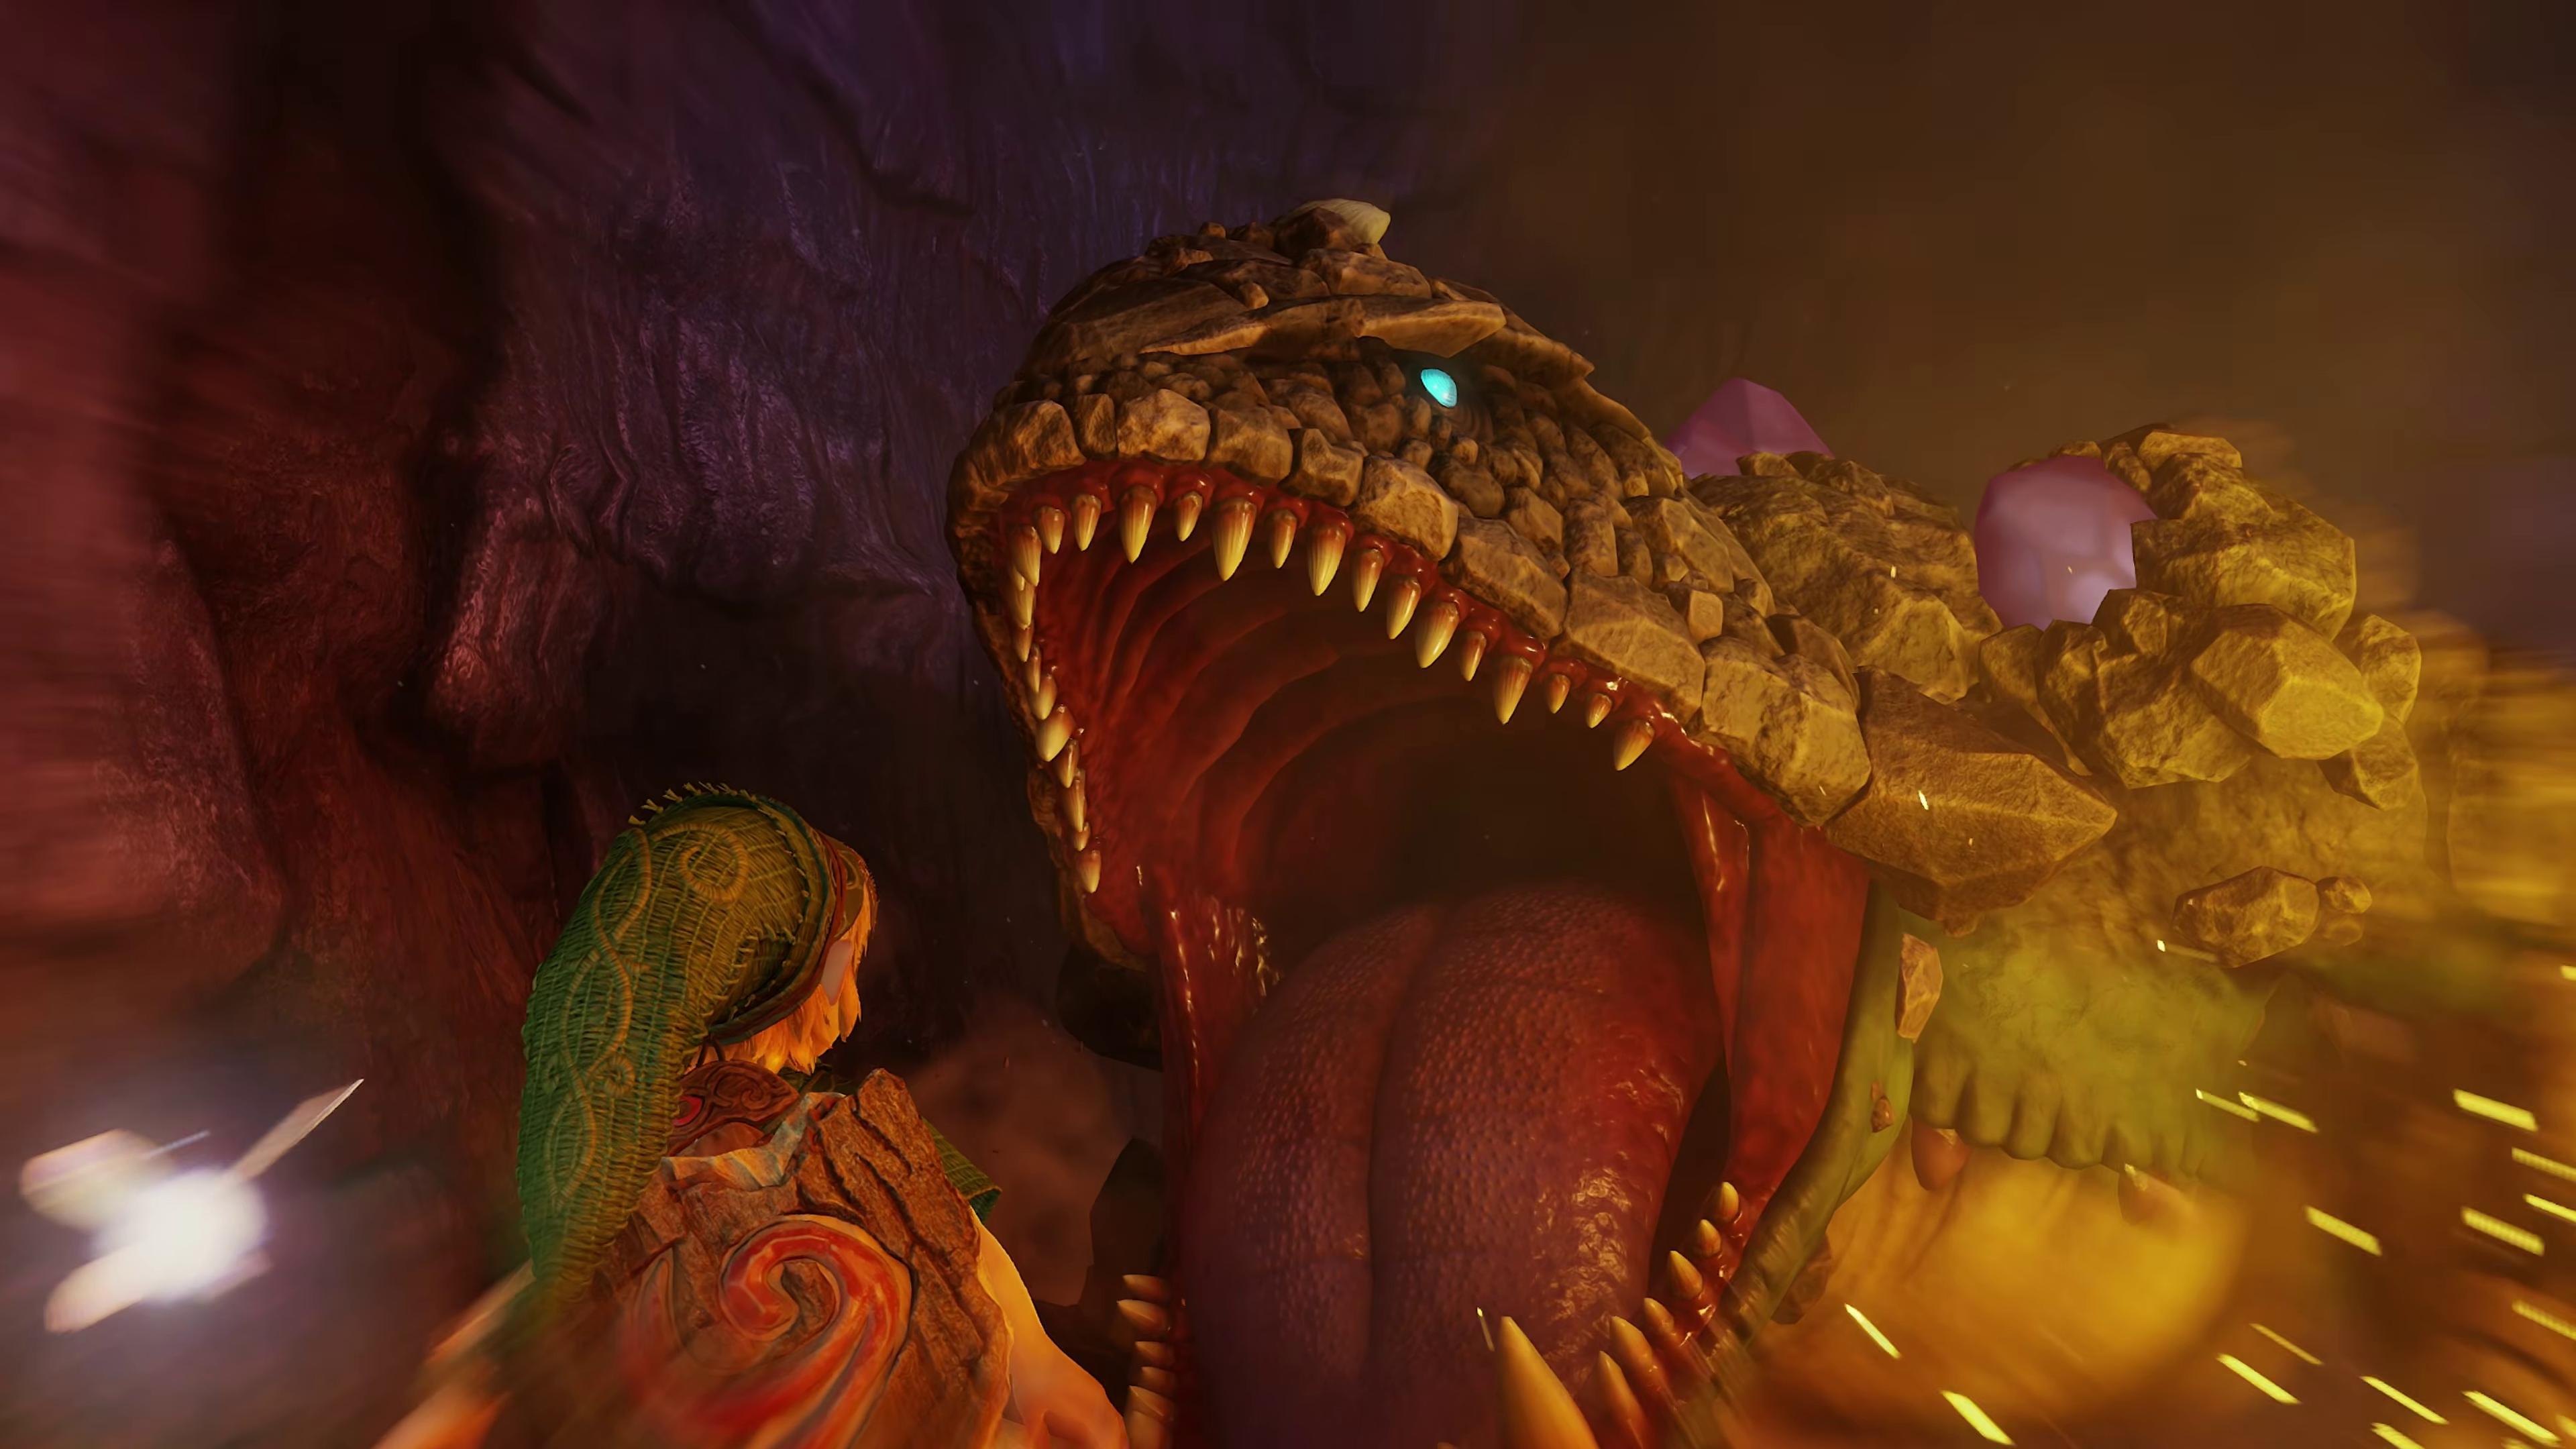
King Dodongo's chamber is a wide stone arena ringed by a moat of lava, with a sleeping, boulder-like shape at its center that wakes up the moment Link steps onto the platform.
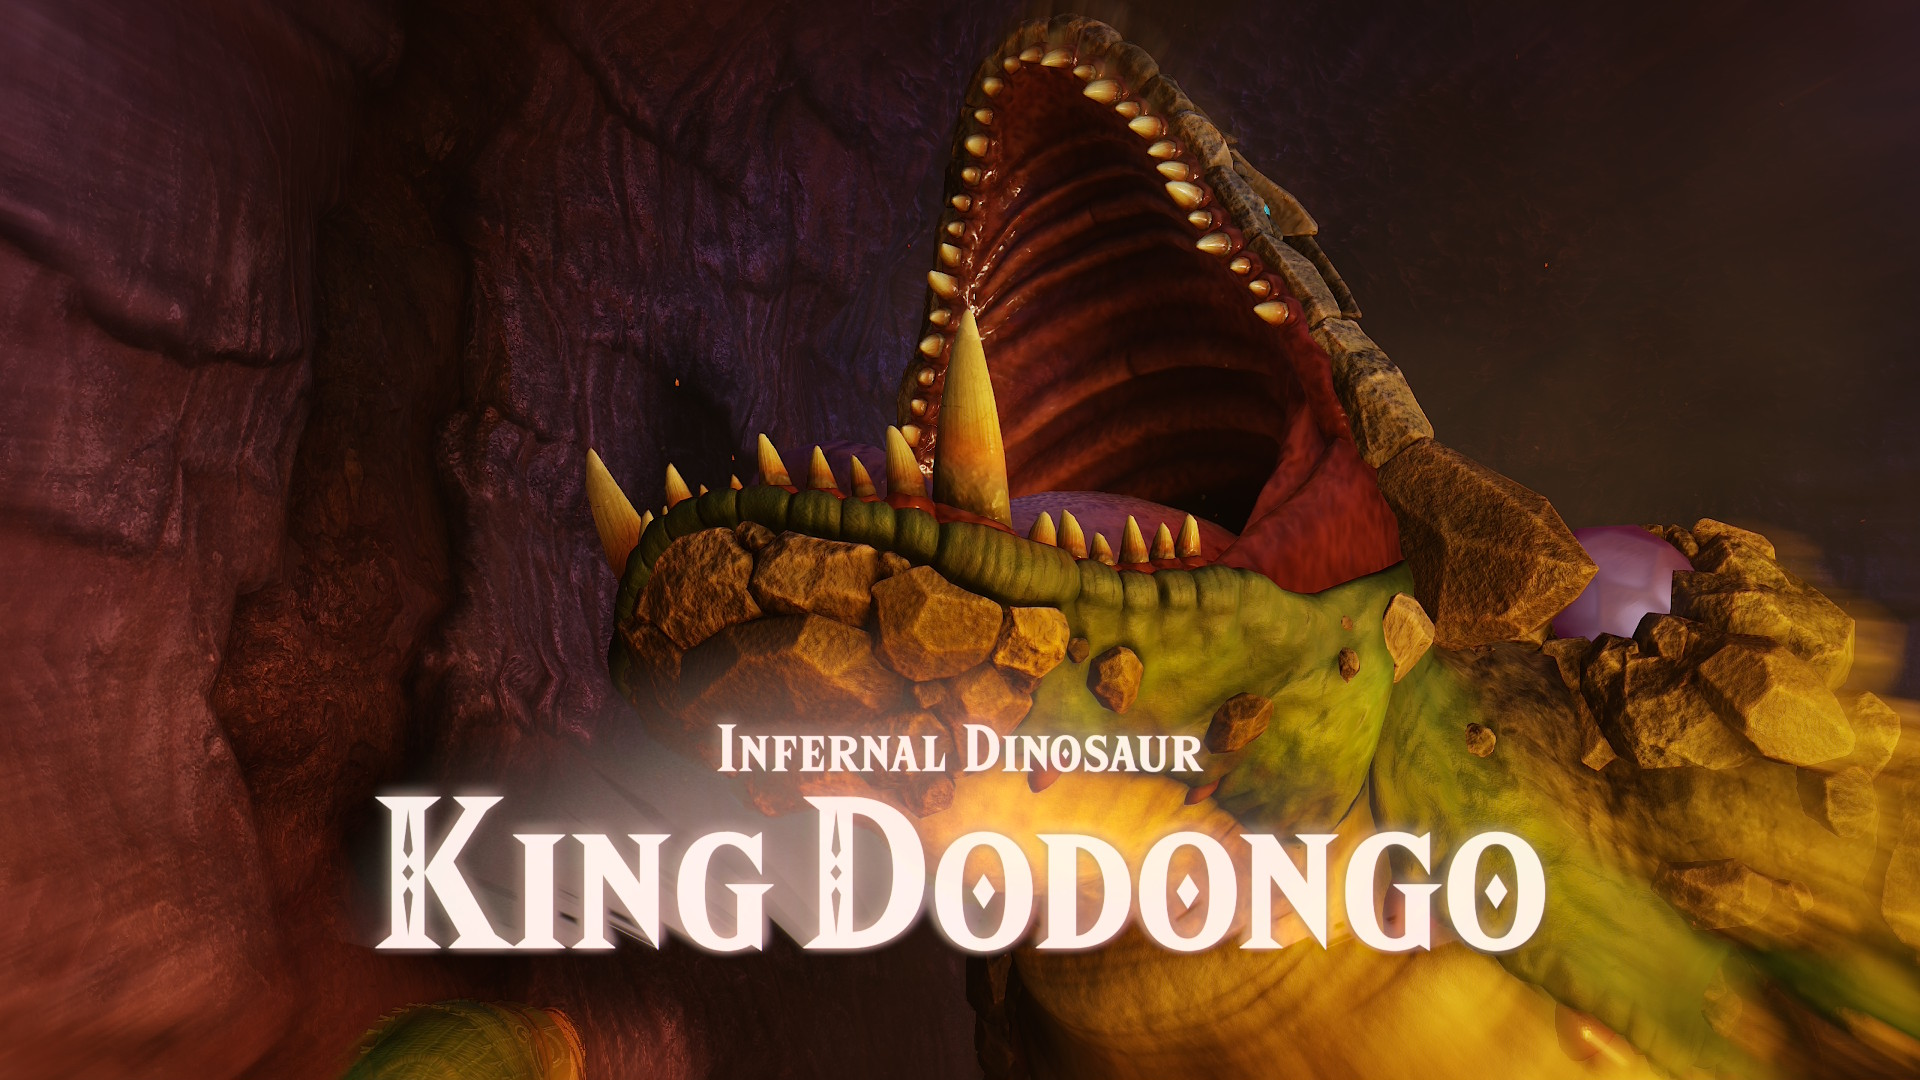
The fight runs through the same three beats every round:
- King Dodongo curls up and rolls across the arena, or rears back to breathe fire in a cone. Stay on the move and keep your distance while he is doing either.
- Every so often he stops to take a deep breath, inflating before his next fire attack. That inhale is the opening: toss a bomb (or an unexploded Bomb Flower, if you still have one) straight into his mouth while he is breathing in.
- The swallowed bomb detonates and flips him onto his back, stunned. Run in and hit the exposed belly with your sword two or three times before he rights himself and starts the pattern over.
Three successful bomb-and-swing cycles are enough to finish him. Avoid the lava moat itself, since stepping or getting knocked into it costs a full heart on top of fall damage from the ring's uneven footing.
After the Fight: The Goron Ruby and the Heart Container
King Dodongo's defeat drops a Heart Container immediately, and the room beyond the arena is clear to walk through back toward Goron City. Report back to Darunia and he will formally make Link his "sworn brother" before handing over the Goron Ruby, the second of the three Spiritual Stones and the item that unlocks the next leg of the quest toward the Temple of Time.
With the Goron Ruby secured, the only Spiritual Stone left is Zora's Sapphire, which sends Link north to Zora's Domain next. If you are still missing any of Dodongo Cavern's five Gold Skulltulas, this is also the easiest point to backtrack for them, since the dungeon's layout does not change once the main story moves on.
Quick Checklist
- Learn Saria's Song, then play it for Darunia at the bottom of Goron City to get the Goron Bracelet.
- Carry a Bomb Flower from outside the cavern to the boulder on Death Mountain Trail to open the entrance.
- Clear the entrance hall, then trigger the switch inside the giant dead Dodongo's mouth to open the main path.
- Beat the two-Lizalfos mini-boss room to unlock the Bomb Bag chest.
- Toss a bomb into King Dodongo's mouth while he inhales, then hit his exposed belly; repeat three times.
- Collect the Heart Container, return to Darunia in Goron City, and claim the Goron Ruby.
For the dungeon right before this one, see our Deku Tree walkthrough and Gohma boss guide. Full patch and platform details for the remake are in Nintendo's own Switch 2 product listing and its 40th Anniversary Direct recap, the game carries an ESRB rating page for the Switch 2 release, and the dungeon's full history across every version is covered on Wikipedia.